Looking to trim down that new carbon fiber spoiler to fit your ride just right? It’s not your usual weekend DIY—carbon fiber is tough stuff. Most folks don’t realize how fine the dust gets, or how easy it is to mess up the edge and ruin that expensive look when you’re careless with a saw.
No need to panic, though. If you’ve got a few basic tools and you’re careful, you can handle this at home—no pro workshop needed. You’ll need more than just a steady hand: a mask, some tape, and a way to keep your carbon fiber steady. What you use matters a lot—grab an angle grinder with a thin diamond blade, a handsaw with a fine-tooth blade, or even a Dremel for curves and tiny fixes.
Oh, here’s a pro tip right off the bat: always tape the cut line with masking tape before you start. It keeps the fibers from fraying and stops the surface from chipping. Don’t skip the safety gear—a dust mask and goggles are non-negotiable, because carbon fiber dust is no joke. Working slow keeps the blade cool and your piece from splintering; speed only brings headaches (and replacement spoilers).
- Why Carbon Fiber Is Tricky to Cut
- Choosing the Right Tools
- Step-by-Step Cutting Instructions
- Safety Gear and Clean-Up
- Tips for a Clean Finish
Why Carbon Fiber Is Tricky to Cut
So, what makes carbon fiber such a pain to cut, compared to plastic or even metal? It’s all about the layers. Carbon fiber sheets and spoilers are built from stacks of tough, thin fibers mixed with resin, baked into something super strong but also kind of brittle. When you cut it, you’re not just slicing one piece—the blade shreds a bunch of tiny fibers at once, and that can cause the edges to splinter, chip, or just look sloppy if you’re not careful.
Unlike wood or aluminum, where a little roughness might not hurt, a bad cut on carbon fiber almost always stands out. That glossy finish? One wrong move, and it gets frayed or dulled. The dust is another headache—these tiny flakes aren’t just messy, they can even be bad for your lungs if you don’t wear a mask.
If you try using regular tools, things can get messy fast. Dull blades pull the fibers instead of cleanly cutting through them, making the whole edge fuzzy (and making you wish you’d paid for better gear). Even using too much force or rushing can make the edge delaminate, which just means the layers start peeling apart. That’s a spoiler you’ll want to hide, not show off.
- Carbon fiber edges tend to splinter if not taped or clamped properly.
- Most standard blades dull quickly or leave uneven cuts.
- The resin can heat up, gum up your tools, or release irritant dust.
Take it from guys who’ve ruined a part or two: it pays to prep right and use blades made for composites whenever possible. Having patience is more important than muscle here, no matter how strong that urge is to just saw through and move on.
Choosing the Right Tools
When you’re tackling a carbon fiber spoiler, not every saw or blade will cut it—literally. Carbon fiber is way tougher on tools than regular plastic or metal, so you need to pick what actually works. Skip old wood saws or those cheap kitchen knives, no matter how tempting.
The best bet for most folks at home is an angle grinder with a diamond wheel or a thin abrasive blade. Diamond-cut wheels last longer, cut cleaner, and handle heat better. If you’re working with curves or smaller bits, a Dremel rotary tool with reinforced cutoff wheels is awesome. For straight lines on thin material, a fine-tooth metal hacksaw can do the job, though it’ll take more elbow grease.
- Angle Grinder (with a diamond-grit or abrasive wheel)
- Dremel (for tiny details and weird shapes)
- Hacksaw (fine-tooth, for simple straight cuts)
- Clamps (to hold your part in place—don’t skip these!)
- Masking Tape (prevents fraying and messy edges)
- Shop Vacuum (keeps your space free of hazardous dust)
According to Chris Fix, a popular YouTube car DIYer,
"If you use the right tool and keep a firm grip, your cuts will come out clean—and you won’t breathe in a bunch of itchy dust."
One thing people overlook is the speed setting on their tools. Run it too fast and the resin in carbon fiber will melt, ruining your cut. Aim for a steady, medium pace. To give you an idea of tool performance, here's a quick snapshot:
| Tool | Average Cut Quality | Best For |
|---|---|---|
| Angle Grinder (diamond blade) | High | Long, straight cuts |
| Dremel (reinforced wheel) | Medium-High | Curves, fine details |
| Hacksaw (fine-tooth) | Medium | Short, straight, thin sections |
Don’t forget safety. No spoiler upgrade is worth itchy lungs or eyes. Goggles and a mask aren’t suggestions—they’re a must any time you cut carbon fiber.
Step-by-Step Cutting Instructions
All right, let’s break down exactly how to cut carbon fiber for your spoiler project at home. There’s no room for guesswork—you want clean results without tearing up your piece or your lungs.
- Prep Your Workspace
Clear your area, lay down a drop cloth, and set up a workbench or table. Make sure there’s good ventilation. If you’ve got access to a shop vac for dust, you’re ahead of the game. - Mark and Tape the Cut Line
Use a ruler and a bright marker to draw your cut line right where you want it. Press a strip of painter’s tape or masking tape along the exact line. This is a must—the tape stops the carbon fiber from splintering or chipping as you cut. - Gear Up
Put on safety goggles, a dust mask (N95 or better), and gloves. The dust from carbon fiber gets everywhere and you don’t want it near your nose or eyes. - Clamp the Spoiler Down
A loose spoiler is asking for trouble. Secure your spoiler to your table or bench with a couple of strong clamps. You don’t want it shifting mid-cut. - Choose Your Tool
Here’s where you pick: for straight lines, most folks favor an angle grinder with a thin diamond or carbide blade, or a fine-tooth hacksaw. If you need to make curves, a Dremel with a cutting wheel is king. - Cut Slowly and Steadily
Keep your hand steady and follow the taped line. Go slow—the blade will do the work. For thick spoilers, sometimes you’ll need to go over the same line twice. Don’t force it; forcing creates jagged edges or can even crack the panel. - Finish the Edges
Once you’re through, pull back the tape. Use a fine file or sandpaper (grit 220 to 400) to smooth out the edge. Work gently and always wear your mask—there’s still dust coming off. Wipe it down with a damp cloth when you’re done.
Here’s a quick look at the tools and what they’re best for:
| Tool | Best For | Cleanliness |
|---|---|---|
| Angle Grinder | Straight Cuts | High if used slowly |
| Dremel | Small Curves/Detail | Very Good |
| Hacksaw (Fine Teeth) | Short, Straight Cuts | Good, but slower |
The payoff is a smooth, pro-looking carbon fiber spoiler custom-fit to your project. Don’t rush the job, and you’ll end up with something that looks like you spent way more than a couple weekends in your garage.
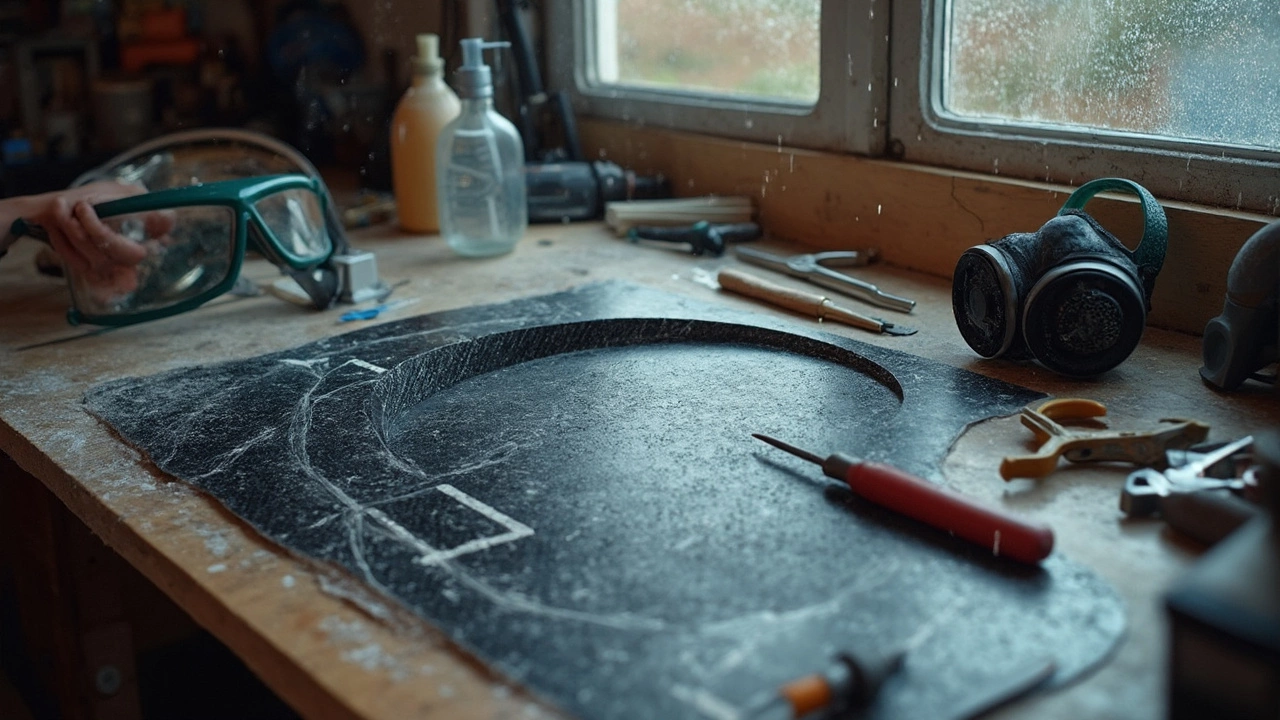
Safety Gear and Clean-Up
If there’s one thing you don’t want to mess around with while cutting carbon fiber, it’s safety. The dust from carbon fiber isn’t like wood chips or even fiberglass—it’s super fine and not safe to breathe in. Before you even plug in a saw, suit up properly. N95 masks work, but a half-face respirator with P100 filters is better. You’ll also want safety glasses. I know goggles aren’t stylish, but you only get one pair of eyes.
Your arms? Cover them, unless you like itchy, splintery skin. A long sleeve shirt works, but disposable sleeves are cheap and smarter. Gloves help, too—they don’t just protect from cuts, but also from the itch that comes with handling carbon fiber sheets. Ear plugs are smart if you’re using power tools. The noise from a grinder or cutting wheel can ring your ears for days.
- Respirator or N95 mask: Blocks fine carbon fiber dust.
- Goggles or safety glasses: Keeps those tiny shards out of your eyes.
- Gloves: Stops splinters and irritation.
- Long sleeves/sleeve covers: Cuts down on skin exposure.
- Ear protection: For saws and grinders.
Now, for the mess. Carbon fiber dust is no joke—it sticks to stuff, floats in the air, and can hang around for hours if you don’t clean it up right. A wet/dry vacuum with a HEPA filter is best for sucking up the mess. Avoid sweeping—the dust just goes airborne. If you’re working on a bench, lay down some plastic sheets or cardboard first. This makes clean-up way faster: just bundle up the dust and drop it in the trash. Wipe down all surfaces with a damp cloth to pick up any leftover particles.
Here’s a simple breakdown comparing basic clean-up tools:
| Tool | Best For | Why It Works |
|---|---|---|
| Wet/Dry Vacuum (HEPA) | All debris | Catches fine dust, keeps air clean |
| Plastic drop cloth | Bench/floor protection | Quick clean-up, disposable |
| Damp cloth | Final wipe-down | Grabs dust left behind |
One last thing: change or wash your clothes right after you finish. Shake them out outside. And definitely don’t eat or drink in your work area. A few minutes being careful helps you avoid years of breathing trouble or skin irritation—it’s worth the trouble every time.
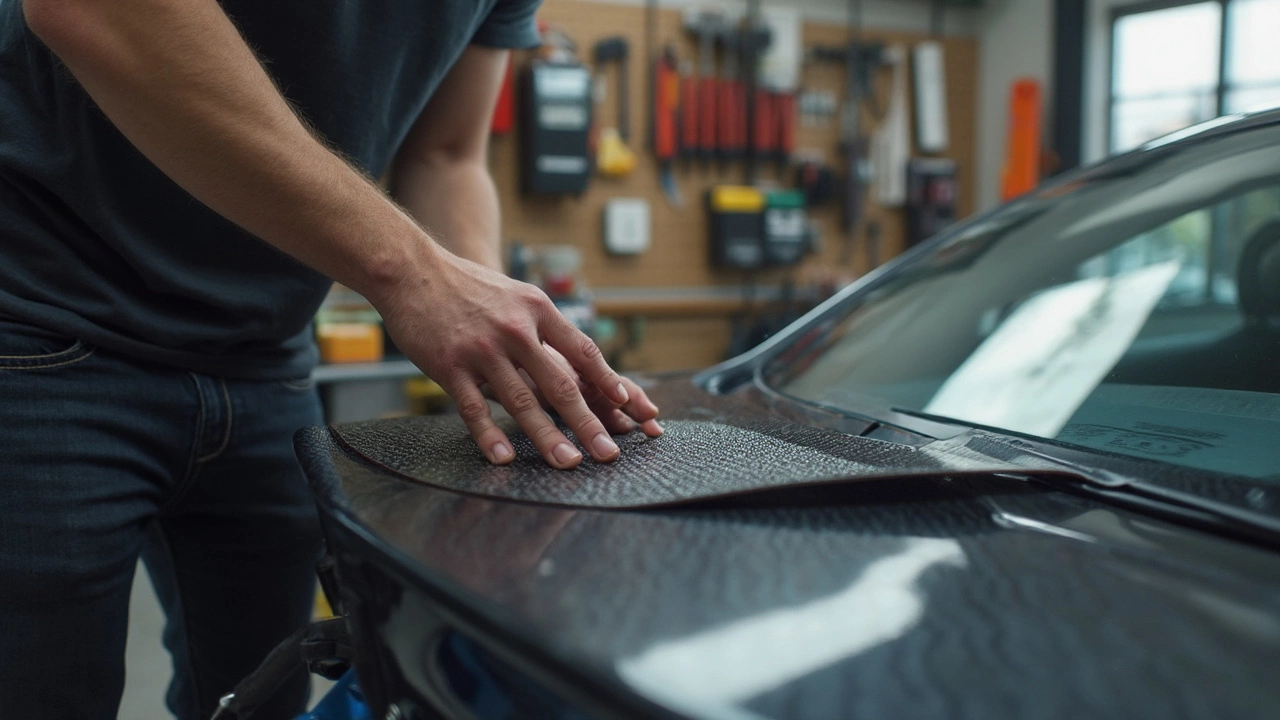
Tips for a Clean Finish
Nailing a clean edge on your carbon fiber spoiler isn’t just about looks—it helps stop splinters and keeps the surface strong. Once you’ve made your cut, there’s a bit of work left to get that pro look you see at car meets.
- Sand the Edges Smooth: Use a sanding block or fine-grit sandpaper (around 220 to 400 grit works best). Always sand slowly in one direction. Don’t use too much force—carbon fiber layers can peel if you go wild.
- Finish with Wet Sanding: Grab some water and even finer sandpaper (like 800 or 1000 grit). Wet sanding cuts down the dust and helps polish the edge to a super-smooth line. It’s way easier to get a gloss finish this way.
- Clean Up the Dust: Wipe your spoiler down with a microfiber cloth, and if needed, use isopropyl alcohol to remove any leftover dust. This keeps the carbon fiber surface prepped for sealant or paint.
- Seal the Edge: Unsealed carbon edges can take in moisture over time. To be safe, apply a thin layer of epoxy or a clear coat along the fresh edge. This keeps it tough and shiny, and it’ll blend right in with the rest of your spoiler.
If you care about getting it perfect, some guys even use a little painter’s tape to check how straight their edges are before sealing everything up. A steady hand and a careful pace are the real keys. And if you’re sealing, make sure to set the spoiler where dust won’t land on the wet finish (unless you’re aiming for the 'sandpaper' look, which isn’t a vibe).
By the way, a 2023 DIY auto survey showed that 8 out of 10 home builders who polished and sealed their edges were way happier with the final look of their home-cut spoilers compared to those who skipped those steps. So, a little extra effort pays off. Tidy up, seal that edge, and show off your work—your garage crew will notice the difference.