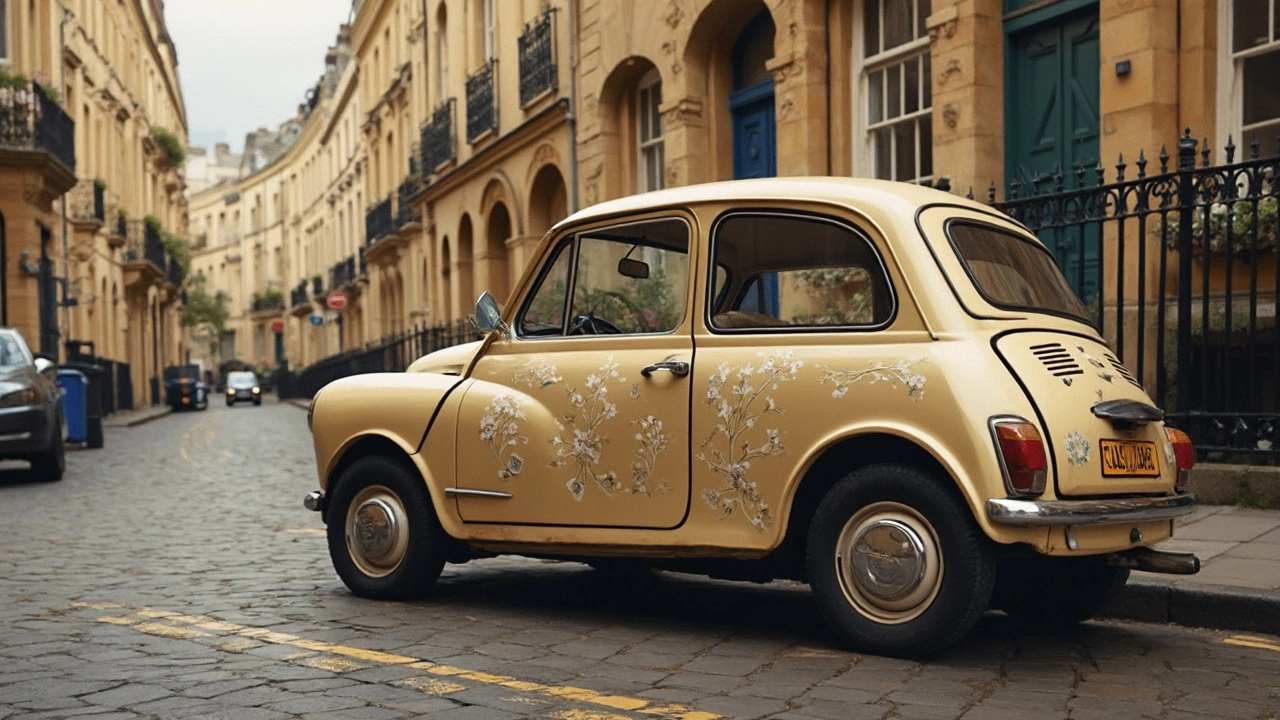
If you want to give your ride a personal touch without a full paint job, a car decal is the easiest way. Decals are cheap, removable, and come in countless styles, so you can switch looks whenever you feel like it. This guide walks you through the whole process – picking the right design, installing it right, and keeping it looking sharp.
First, think about what you want the decal to say. Are you after a bold logo, a subtle stripe, or a full‑body wrap? Your lifestyle matters – a lot of off‑road drivers prefer durable vinyl that can handle mud, while city drivers may like sleek graphics that complement a glossy finish.
Check the material. Most quality decals use cast or calendered vinyl. Cast vinyl stretches more and lasts longer, especially in hot climates. Calendered vinyl is cheaper but can lift at the edges after years of sun exposure.
Size matters too. A tiny bumper sticker looks great on a compact car but can get lost on a larger SUV. Measure the surface you plan to cover and compare it with the decal dimensions before you buy.
Don’t forget local regulations. Some areas restrict large graphics on certain vehicle types. A quick search for your state or council rules saves you a costly removal later.
Preparation is the key step most people skip. Wash the spot with soap and water, then dry it completely. Use an isopropyl‑based cleaner to remove wax, oil, or grime – any residue will cause bubbles later.
Next, position the decal with masking tape. This lets you see how it looks and make adjustments before committing. When you’re happy, peel off the backing slowly while keeping the film taut.
Use a squeegee or a soft cloth to press the decal onto the surface. Work from the center outward to push out air pockets. If bubbles appear, poke a tiny hole with a needle and smooth the air out.
After the decal is down, give it a final wipe with a clean microfiber cloth. Let the vinyl cure for at least 24 hours before washing the car. During this time, avoid high pressure water or harsh chemicals.
Keeping your decal fresh is simple. Hand wash with mild soap and lukewarm water, and avoid abrasive brushes. If you need to remove stubborn dirt, a quick spray of diluted isopropyl alcohol works well.
When it’s time to remove the decal, heat it with a hair‑dryer or heat gun. The warmth softens the adhesive, making it peel off in one piece. Any leftover glue can be cleared with an adhesive remover or a mix of vinegar and water.
Finally, think about where to buy. Reputable online stores often let you upload custom artwork, while local shops can print and cut on demand. Checking reviews for print quality and customer service helps you avoid cheap, low‑bond decals that peel too soon.
With the right choice, careful installation, and routine care, a car decal can stay vibrant for years. It’s a fast, affordable way to showcase your personality, support a brand, or just add some flair to the daily drive.
Ready to pick your next graphic? Browse our tag page for more articles on car styling, from wrap cleaning tips to body‑kit performance insights – all designed to help you get the most out of your vehicle.
Discover the key differences between car decals and stickers in this comprehensive guide. Learn about their specific uses, materials, and application processes, all while gaining useful insights into how to personalize your vehicle effectively. Whether you're looking to make a bold statement or add a subtle touch, knowing the difference can help you make the right choice. Explore practical tips and interesting facts to ensure your car looks exactly how you envision it.