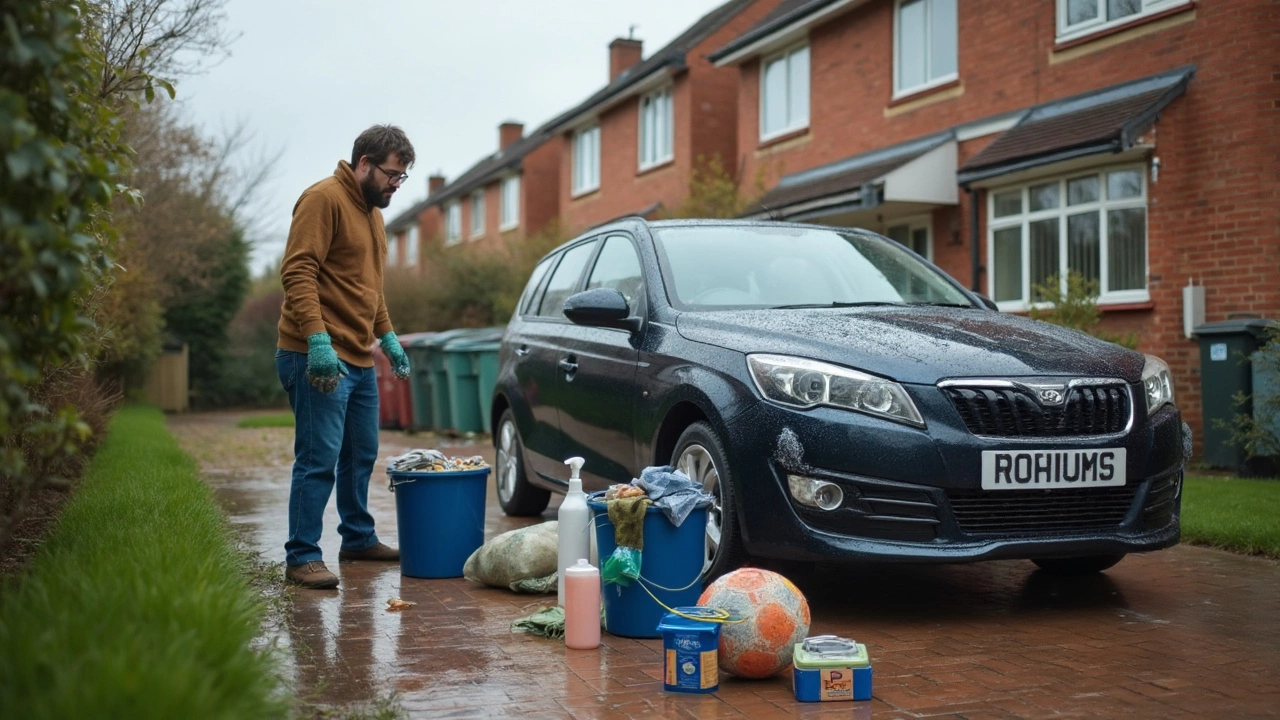
Got a dirty car and no idea where to start? You’re not alone. Most owners think detailing is a pricey, professional‑only job, but the right approach can give you showroom results without draining your wallet. Below are simple steps you can follow right now, plus advice on kits, interior care, and special finishes like vinyl wraps.
The first rule of detailing is to treat the paint like skin – clean gently, dry carefully, then add a protective layer. Use a pH‑balanced shampoo and a microfiber wash mitt to avoid swirl marks. Rinse thoroughly, then pat dry with a clean microfiber towel. Once dry, apply a quick‑detail spray or a spray‑in wax. This thin coat fills microscopic scratches and gives the paint a glossy finish that lasts for weeks.
Inside the car gets neglected fast, especially if you have kids or pets. Professional detailers swear by a two‑step process: vacuum first, then treat each surface with the right product. For fabric seats, a foam‑spray carpet cleaner works wonders – spray, agitate with a brush, then blot. Leather or faux‑leather surfaces respond best to a pH‑neutral leather cleaner followed by a conditioner to keep the material supple. Don’t forget the dashboard: a mild interior cleaner and a soft brush remove dust without damaging sensors.
If you want to match what the pros use, check out our post "What Do Professional Car Detailers Use to Clean Car Interiors?" It lists the exact tools, from microfiber cloths to low‑foam brushes, that give a fresh‑out‑of‑the‑showroom feel.
For cars with vinyl wraps, the washing method changes a bit. Use a pH‑neutral car wash and avoid harsh brushes. A gentle rinse with lukewarm water and a soft sponge protects the wrap’s protective film. Our guide "How to Wash a Wrapped Car Like a Pro" walks you through each step so the wrap stays vibrant for years.
When you’re ready to invest in a detailing kit, ask yourself: do you need a full‑body kit or just a few essentials? Our article "Are Car Detailing Kits Worth It?" breaks down the cost, what’s included, and how to choose a kit that actually saves you money.
Here are three must‑have items for any beginner kit:
Using these tools consistently will keep swirl marks at bay and maintain that glossy look you love.
Finally, remember that detailing isn’t a one‑time event. Set a schedule: wash weekly, wax every two months, interior deep‑clean every three months. Stick to it and your car will stay fresh, resale value will stay high, and you’ll enjoy driving a cleaner ride every day.
Got a specific problem like stubborn water spots or pet hair? Drop a comment or check our other posts for targeted solutions. Car detailing time doesn’t have to be a chore – with the right habits and a few smart products, you’ll have a car that looks and feels brand new, no matter how many miles you put on it.
Wondering how long it really takes to detail your own car? This article breaks down typical time frames for DIY car detailing, what can speed things up, and what might slow you down. You'll find practical tips, overlooked time-savers, and honest advice on what to expect with real-world examples. Whether you're trying to squeeze detailing into a free afternoon or planning a full weekend project, you'll know exactly how to get the job done right. Find out what impacts your detailing timeline and how to make the process work for you.