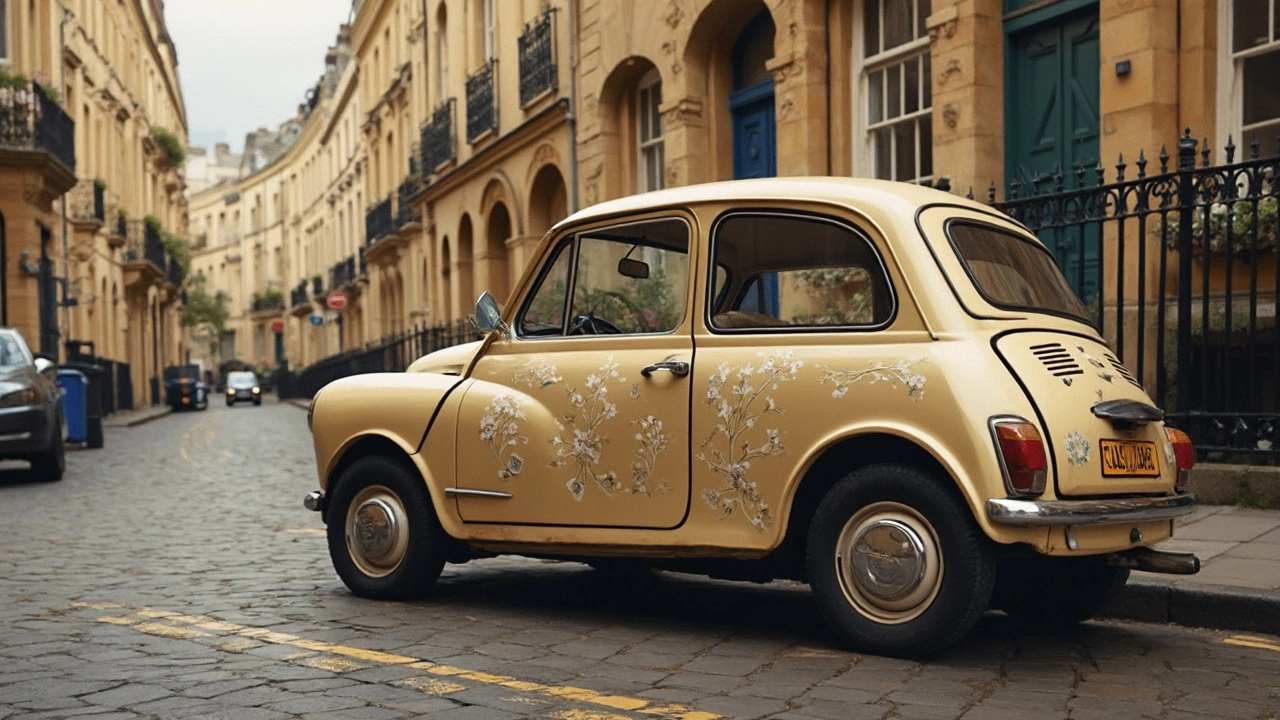
Ever wonder why some cars grab everyone's attention on the street? Most of the time it's the graphics – bold vinyl wraps, sleek decals, or a unique paint job that tells a story. If you’re thinking about giving your ride a fresh look, this guide will walk you through the basics, help you pick the right style, and show you how to keep it looking sharp.
There are four main ways to add graphics to a vehicle. First up are full‑body vinyl wraps. These are large sheets of high‑quality film that cover the entire car. They protect the paint underneath while giving you virtually any colour or pattern you can imagine, from matte black to neon camo.
Second, you have partial wraps or accent pieces. Think roof panels, hood graphics, or side stripes. They’re cheaper than a full wrap and let you highlight specific areas without overwhelming the look.
Third, decals and stickers are the most budget‑friendly option. Made from thin vinyl, they can be as simple as a logo or as complex as a custom illustration. Because they’re small, you can change them often – perfect for seasonal themes.
Finally, custom paint finishes are still popular. Modern paint technologies allow for metallic, pearlescent, or even colour‑shift effects that react to light. Paint is permanent, so choose a colour you truly love.
Installing graphics yourself can save money, but it takes patience. Start by cleaning the surface thoroughly – any dust or wax will cause bubbles. Use a soft‑bristled brush and a dedicated automotive cleanser. If you’re wrapping the whole car, work in a warm, dry garage to keep the film pliable.
When you lay the vinyl, use a squeegee to press it out and smooth away air pockets. A heat gun helps the film conform to curves around doors and fenders. If a bubble pops up, cut a tiny slit and press it out with the squeegee – don’t yank the film.
Decals are simpler. Peel off the backing, place the graphic on the spot you want, and use a credit‑card edge to press it flat. A quick spray of soapy water can help you reposition before the adhesive sets.
After installation, protect the graphics with a high‑quality sealant or wax. This adds a layer of UV resistance and makes cleaning easier. Speaking of cleaning, avoid automatic car washes with harsh brushes. Instead, hand‑wash with a mild soap, rinse with low pressure, and dry with a microfiber cloth.
If you ever need to remove a wrap or decal, a heat gun can soften the adhesive. Gently peel the film while applying heat, and clean any leftover residue with an adhesive remover safe for paint.
One of our readers asked how to wash a wrapped car without damaging the film. The short answer: use lukewarm water, a pH‑neutral shampoo, and a soft sponge. No harsh chemicals or high‑pressure jets – they can lift the edges of the wrap over time.
When choosing a graphics shop, look for places that offer a warranty on both material and installation. A reputable shop will also let you see sample pieces and explain the cleaning routine they recommend.
Whether you go for a full wrap, a few decals, or a fresh paint job, the goal is the same: make your car reflect your personality. Choose a style you’ll still love after a few months, and give it proper care so the graphics stay vivid for years.
Ready to start? Grab a design idea you love, find a trusted installer, and give your ride the visual upgrade it deserves. Your car will thank you, and the heads will turn.

Discover the key differences between car decals and stickers in this comprehensive guide. Learn about their specific uses, materials, and application processes, all while gaining useful insights into how to personalize your vehicle effectively. Whether you're looking to make a bold statement or add a subtle touch, knowing the difference can help you make the right choice. Explore practical tips and interesting facts to ensure your car looks exactly how you envision it.