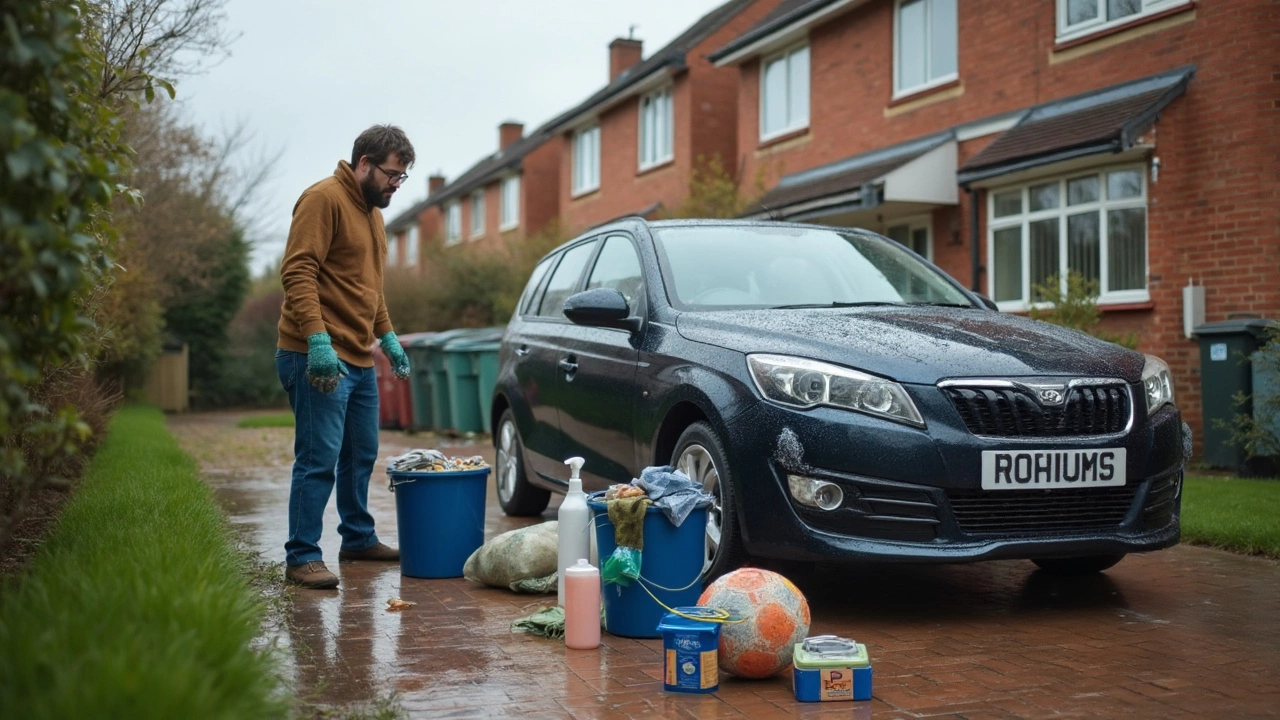
Want your car to look like it just rolled out of a dealer? You don’t need a pro shop – a few basic tools and the right routine can give you that clean, glossy look at home. Below we break down what you really need and how to use it.
Start with a good quality microfiber wash mitt, a bucket with a grit‑guard, and a dedicated car shampoo. Skip household detergents – they strip wax and leave spots. A separate bucket for rinsing keeps dirt from re‑grabbing the paint.
For interior work, grab a vacuum, a soft‑bristle brush, and a high‑pH‑free interior cleaner. If you’re tackling leather seats, a leather conditioner will keep the material supple. And don’t forget a spray‑on quick detailer for that instant shine between washes.
1. Pre‑wash: Rinse the car thoroughly to knock off loose debris. This prevents scratches when you start scrubbing.
2. Wash: Fill the first bucket with soap water, the second with clean water for rinsing your mitt. Work from the top down, rinsing the mitt often.
3. Rinse: Use a hose with a gentle spray or a pressure washer on low. Make sure no suds stay on the surface.
4. Dry: Pat the car dry with a clean, plush microfiber towel. Avoid dragging the towel; it can cause swirl marks.
5. Clay Bar (optional): If the paint feels gritty, run a clay bar with a quick‑lubricant spray. It removes bonded contaminants and preps the surface for wax.
6. Wax or Sealant: Apply a thin layer of wax with a foam applicator. Let it haze, then buff off with a fresh microfiber. This adds protection and shines.
7. Wheels and Tires: Spray wheel cleaner, let it sit, then scrub with a dedicated wheel brush. Rinse well and finish with a tire dressing for a black look.
8. Interior: Vacuum seats, carpets, and floor mats. Use the interior cleaner on plastics and vinyl, wiping with a microfiber. For leather, apply conditioner after cleaning.
9. Final Touch: Spray quick detailer on any missed spots, wipe with a clean cloth, and step back to admire the work.
These steps cover everything from a basic wash to a full detail. If you’re short on time, focus on wash, dry, and quick detailer – you’ll still get a noticeable improvement.
Remember, consistency beats occasional over‑the‑top jobs. A quick 15‑minute wash once a week keeps grime from building up, making each deeper detail easier and faster.
Got a specific problem – like stubborn brake dust or pet hair? Look up targeted guides such as our "What Do Professional Car Detailers Use to Clean Car Interiors" or "How to Wash a Wrapped Car Like a Pro" for extra tips.
With the right tools, a routine, and a bit of patience, DIY car detailing becomes second nature. Your car will thank you, and you’ll save a lot of cash in the process.

Wondering how long it really takes to detail your own car? This article breaks down typical time frames for DIY car detailing, what can speed things up, and what might slow you down. You'll find practical tips, overlooked time-savers, and honest advice on what to expect with real-world examples. Whether you're trying to squeeze detailing into a free afternoon or planning a full weekend project, you'll know exactly how to get the job done right. Find out what impacts your detailing timeline and how to make the process work for you.