If you want a fresh look inside your ride without swapping the whole seat, fabric painting is the answer. It’s cheaper than new upholstery, lets you pick any colour, and you can redo it whenever you feel like a change. The trick is using the right paint, prepping the surface properly, and letting everything cure the right way. Below you’ll find everything you need to start, from tools to finish‑up tricks, so you can get a professional look without leaving the garage.
First off, fabric painting lets you personalize your car in a way that stickers or trim can’t. You can match your exterior wrap, add a racing stripe on the seats, or hide wear spots with a colour that fits your style. It also saves money – a can of quality fabric paint costs a fraction of a new seat cover set. Plus, the process is reversible; a good cleaning solvent will strip the paint if you ever change your mind.
Another perk is durability. Modern fabric paints are designed to flex with the material, so they won’t crack when you sit or move around. When you choose a paint rated for automotive fabrics, you get resistance to sunlight, moisture and everyday wear. That means your new look stays sharp for months, not weeks.
1. Gather the right gear. You’ll need a high‑quality fabric paint (spray or brush‑on), a clean‑cut foam brush or a low‑pressure spray gun, masking tape, a soft‑bristle vacuum, and a sealant spray for extra protection. Lay down drop cloths to keep the garage tidy.
2. Prepare the surface. Remove any loose threads or dirt with a vacuum, then wipe the fabric with a mild soap solution. Let it dry completely – any moisture will cause the paint to bubble or streak.
3. Mask off areas you don’t want painted. Use painter’s tape to protect seams, leather patches, or plastic trim. This keeps the paint where you want it and saves you from extra cleanup.
4. Test the paint. Spray a tiny patch on an inconspicuous spot. Wait 10‑15 minutes to check adhesion and colour match. If it looks good, you’re ready for the full job.
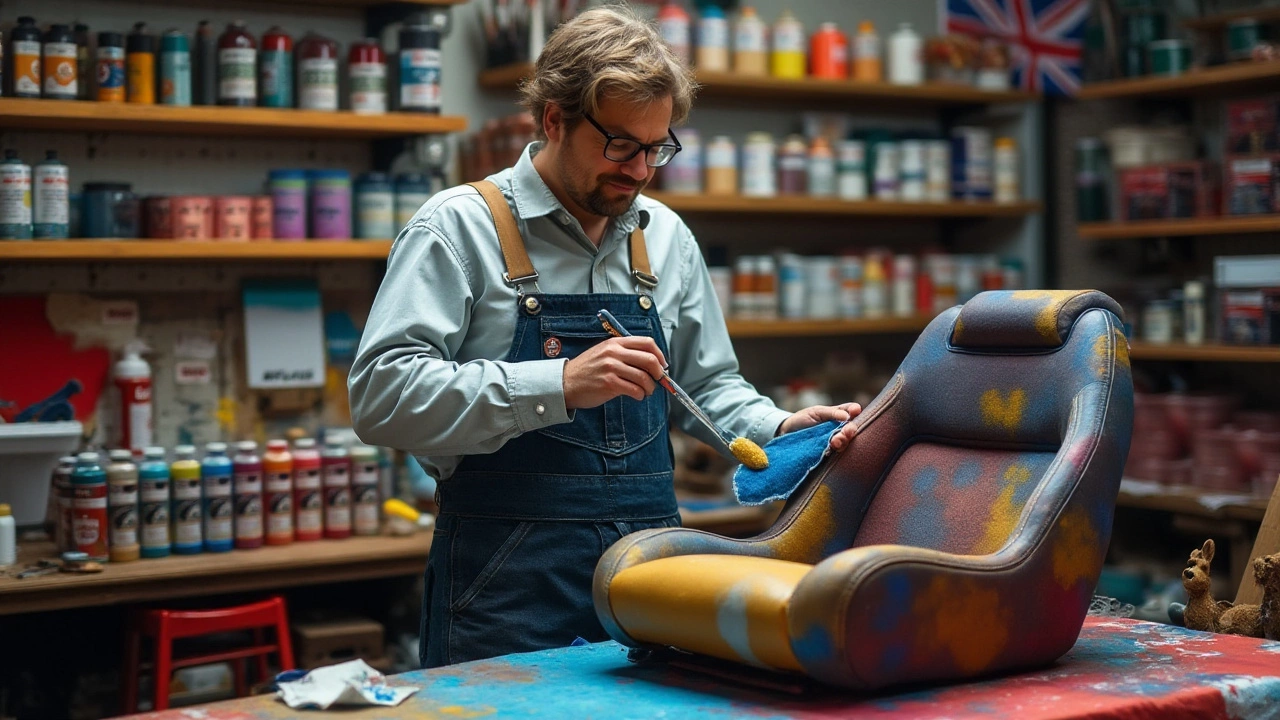
5. Apply the paint. Work in thin, even coats. If you’re using a brush, dab rather than brush to avoid streaks. For spray, keep the nozzle 6‑8 inches away and move in steady, overlapping strokes. Let each coat dry for the time the manufacturer recommends – usually 20‑30 minutes.
6. Build colour depth. Two to three light coats give a smoother finish than one heavy coat. Patience here pays off with a professional look.
7. Seal the paint. Once the final coat is dry, spray a clear, flexible sealant. This adds UV protection and helps the colour resist fading from sunlight and heat.
8. Cure time. Let the interior sit for at least 24‑48 hours before reinstalling the seats. Avoid heavy use, moisture or direct sunlight during this period.
When the paint is fully cured, give the fabric a light vacuum to remove any dust, then step back and admire your work. You’ve just turned a plain interior into a custom showcase.
Quick tips to remember: work in a well‑ventilated area, wear a mask, and keep the temperature between 65‑75°F for best results. If you ever need to touch up a scratch, simply repeat the coat‑and‑seal steps on the affected spot.
Fabric painting opens up endless possibilities for car enthusiasts who love to stand out. With the right prep and a bit of patience, you can achieve a showroom‑grade finish that reflects your personality and protects your seats for the road ahead.
Transforming your car's interior can be as simple as painting the fabric. This article explores the possibilities and techniques for painting car interior fabric, providing helpful tips and insights. Learn the step-by-step process, choose the right materials, and discover how to maintain your painted surfaces. Dive into the world of DIY car styling and give your vehicle a fresh look.