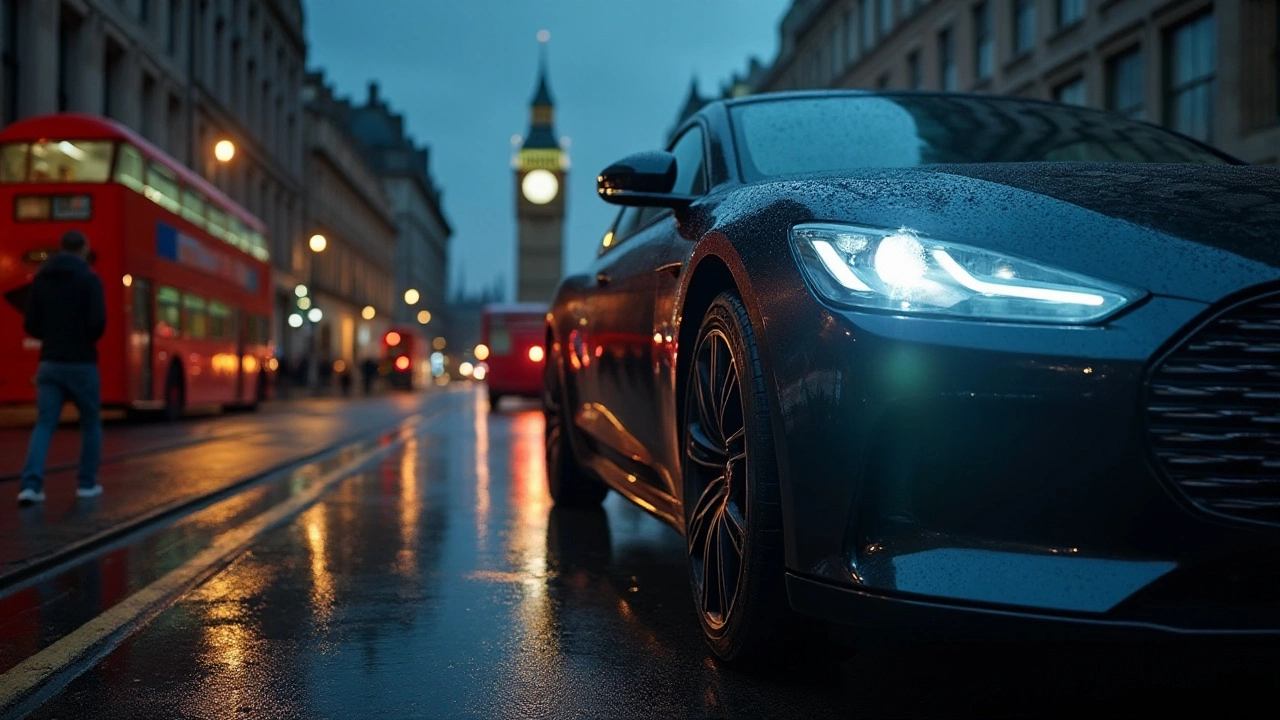
Swapping your stock bulbs for LEDs is one of the easiest upgrades you can do on a car. The brighter light, lower power draw, and modern look make it tempting, but a sloppy job can cause flicker, error codes, or even a blown fuse. This guide walks you through everything you need to know so you can get the job done right the first time.
Before you pop the hood, gather these items. A set of flat‑head and Phillips screwdrivers covers most clips. You’ll also want a plastic trim removal tool to avoid cracking panels, a pair of needle‑nose pliers for tight spaces, and a multimeter to check voltage. For the LEDs themselves, pick bulbs that match your vehicle’s wattage and fit the socket type (H4, H7, 9005, etc.). If you’re switching to a different voltage, grab a resistor or an LED driver kit – they keep the car’s computer happy and prevent the dreaded “hyper‑flash” that can damage electronics.
Don’t forget heat‑shrink tubing or electrical tape to seal connections, and a zip‑tie pack to tidy up wiring. A small bottle of dielectric grease helps keep moisture out of the connectors, extending the life of your new lights.
1. Disconnect the battery. This simple safety step stops accidental shorts and protects your car’s computer.
2. Remove the old bulb. Pop the headlamp or interior cover, twist the bulb out, and set it aside. If a retaining clip is present, gently release it with your trim tool.
3. Check polarity. Plug the LED into the socket without wiring it permanently. If it lights up correctly, the socket’s polarity matches the LED. If it’s dim or doesn’t turn on, you’ll need to reverse the connector or add a reverse‑polarity diode.
4. Install resistors or drivers. For vehicles with CAN‑bus systems, attach the resistor to the LED’s ground wire. Most kits come with a plug‑and‑play resistor that snaps in place. If you’re using a driver, connect it between the power source and LED, following the driver’s wiring diagram.
5. Secure the LED. Slide the bulb into the housing and lock any clips. Make sure it sits flush – a loose bulb can cause vibration and eventual failure.
6. Re‑connect the battery and test. Turn on the lights and look for any flicker, abnormal color, or error messages on the dashboard. If everything looks good, finish up by routing any excess wire away from moving parts and securing it with zip‑ties.
Pro tip: If you’re installing LEDs on fog lights or marker lights that blink, you’ll likely need a capacitor to smooth out the pulse. Without it, the LEDs can appear dim or strobe erratically.
Now that you’ve got the basics down, you can move on to more advanced projects like full‑strip LED underglow or interior accent lighting. The same principles apply – clean power, proper grounding, and a little patience.
Remember, the goal isn’t just a brighter look; it’s a safe, reliable upgrade that lasts. Keep your wiring tidy, double‑check connections, and you’ll enjoy that crisp, white light for years to come.

Switching to LED headlights can enhance your car's appearance and visibility on the road. This article explores the process of conversion, legal considerations, and the benefits of LEDs over traditional halogen bulbs. Learn about installation tips, costs, and potential challenges you may face. LED headlights offer longer lifespan, energy efficiency, and brighter light output, making them a popular choice among car enthusiasts.