If you love giving your ride a personal touch, stickers are the easiest way to stand out. In a few minutes you can go from plain to eye‑catching without a big budget or a workshop. This guide breaks down the kinds of stickers you’ll see, how to pick the right one for your car, and simple steps to apply and protect them.
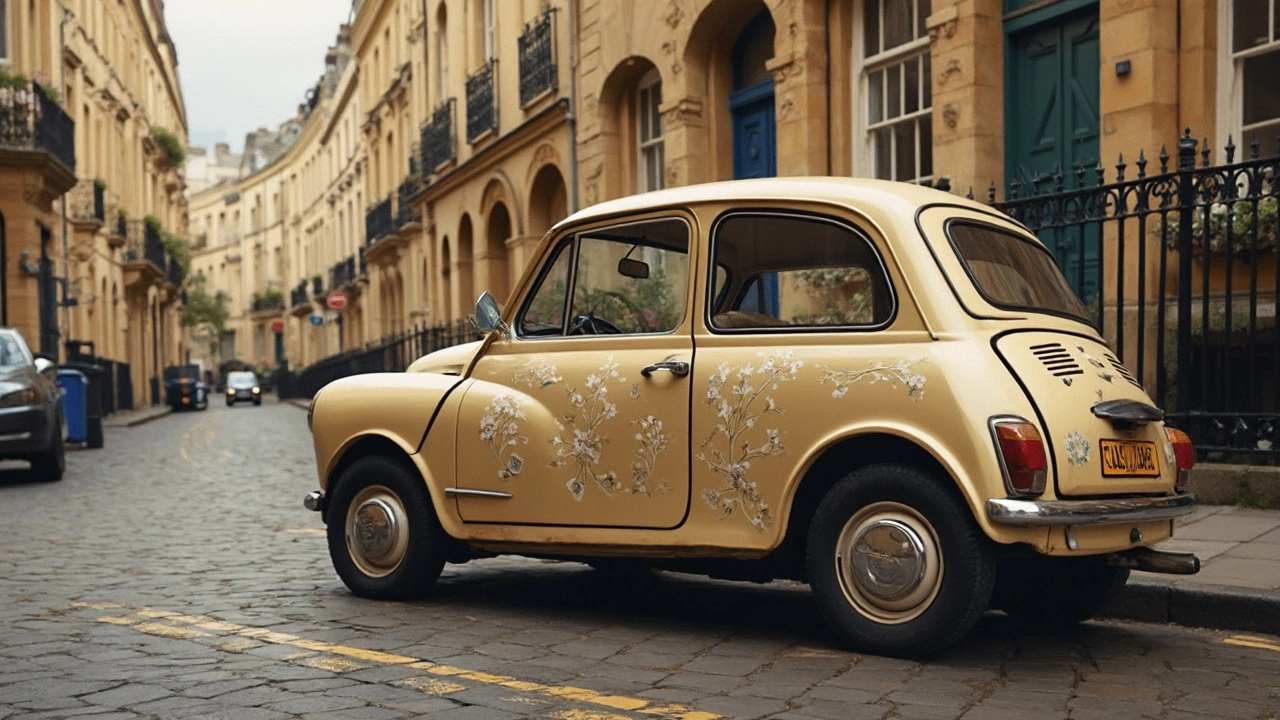
First, think about the material. Most car stickers are made of vinyl because it handles weather, UV light, and flexing metal. Vinyl comes in matte, glossy, and even metallic finishes. Matte gives a subtle look, glossy pops more, and metallic adds a premium feel.
Size matters too. Small logos or fonts work well on windows, hoods, or rear panels where you want a quick statement. Bigger graphics look great on doors or the roof, but make sure they don’t cover important safety stickers or light lenses.
Check the legal side. In the UK and many other places you can put stickers on windows as long as they don’t block the driver’s view. Avoid anything that covers the rear‑view mirror, side mirrors, or windscreen. If you’re not sure, a quick look at your local road rules will save you a fine.
Got your sticker? Here’s how to stick it on without bubbles. Clean the surface with soap and water, then dry it completely. Alcohol wipes work well for removing any grease. A clean surface is the biggest factor for a smooth fit.
Peel the backing off slowly. Use a credit card or a squeegee to press the sticker down as you go, pushing out air from the centre outwards. If you see a bubble, lift the edge gently and smooth it out again. For larger stickers, a spray of soapy water can help you reposition before it dries.
After it’s in place, let it cure for 24‑48 hours before washing. When you do wash the car, avoid high‑pressure jets on the sticker for the first week. Use a soft sponge and mild car soap. To keep colours bright, apply a UV‑protective clear coat or a vinyl sealant every few months.
If a sticker gets torn or starts to peel, you can usually re‑apply it with a bit of automotive adhesive. For stubborn residue, a dab of citrus‑based remover will clean the surface without damaging the paint.
Stickers are cheap, fun, and can be swapped out whenever you want a new look. Experiment with different designs, keep an eye on the law, and follow these easy steps for a flawless finish. Your car will thank you for the fresh style, and you’ll enjoy the satisfaction of a job well done.
Discover the key differences between car decals and stickers in this comprehensive guide. Learn about their specific uses, materials, and application processes, all while gaining useful insights into how to personalize your vehicle effectively. Whether you're looking to make a bold statement or add a subtle touch, knowing the difference can help you make the right choice. Explore practical tips and interesting facts to ensure your car looks exactly how you envision it.