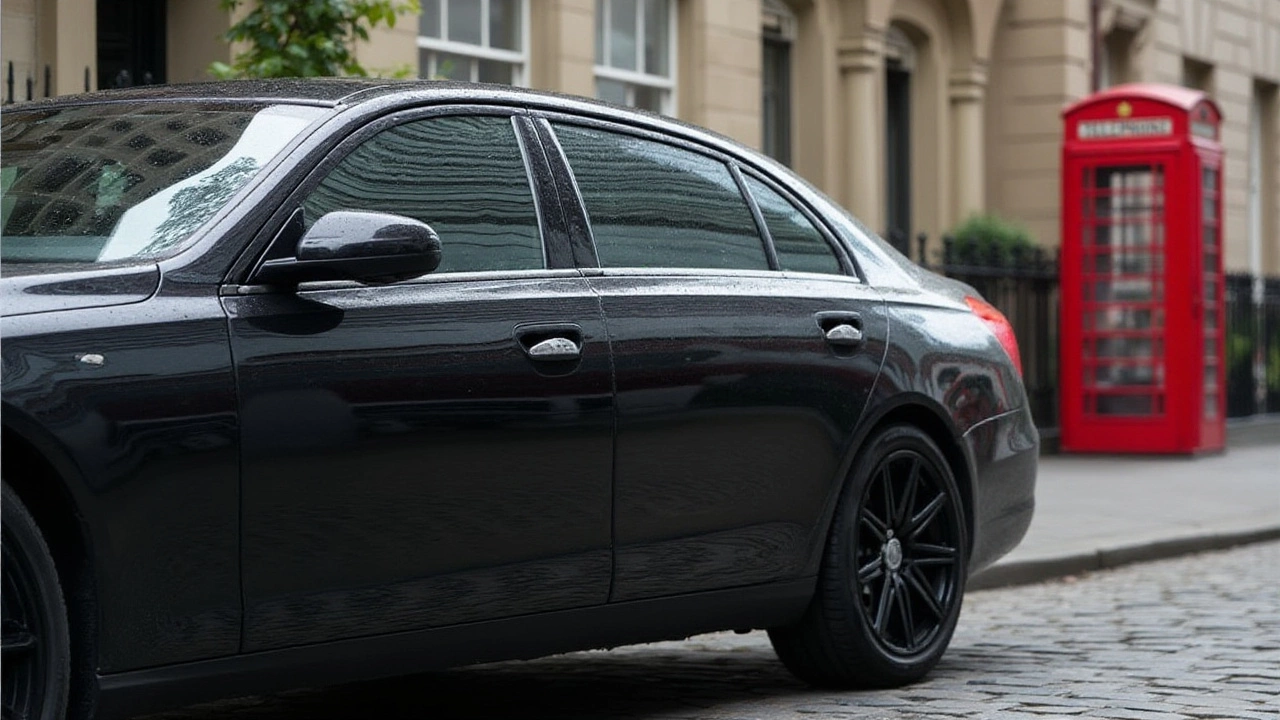
If you’ve ever wondered why some window tints feel darker or last longer, the answer lies in the tint layers. A tint isn’t just a single film; it’s made up of multiple layers that each have a job. One layer blocks UV rays, another reduces glare, and a third controls heat. Together they give you the look you want and the protection you need. Knowing how those layers work helps you pick the right tint and avoid common mistakes.
First, the top layer is a clear protective coat. It shields the film from scratches and keeps it from peeling when you clean the windows. Below that you’ll find the tint pigment layer – this is what actually changes the amount of light that passes through. Darker pigments mean a lower visible light transmission (VLT) percentage, which is what the law measures. The last layer is often a UV‑blocking layer that stops sun‑burned interiors and fading. When a tint is well‑made, these layers bond tightly, so the film stays flat and doesn’t bubble.
Start with your local tint laws. Each state or country sets a minimum VLT for front windows; the back windows can usually go darker. Once you know the legal limit, decide what you want: a cooler cabin, more privacy, or a sporty look. If heat reduction is your goal, look for a film that advertises a high IR (infrared) rejection rating – that’s the layer that stops the sun’s heat. For glare‑free night driving, pick a tint with a lighter VLT and a clear top coat that won’t haze the view. Finally, consider durability. Higher‑quality films use stronger adhesive layers, so they last longer and survive washing.
Installation timing matters, too. After a tint is applied, the adhesive needs to cure – usually about 24‑48 hours before you roll the windows all the way down. Rolling them too soon can pull the film and cause bubbles. Keep the windows slightly cracked during the first day to let any trapped air escape. When the curing period is over, you can roll them fully and enjoy the final look.
Maintenance is simple. Wash the windows with a soft cloth and a mild soap – avoid abrasive cleaners or ammonia, which can eat the top protective layer. If you notice small scratches, a quick polish with a dedicated tint polish can restore clarity. And if a bubble appears, it’s often a sign the film didn’t bond properly; a professional can pop it before it spreads.
Bottom line: a good tint is a stack of smart layers working together. Pick a film that meets legal limits, offers the heat‑blocking or privacy you need, and respects the curing time. With the right care, those layers will keep your car looking sleek and your interior comfortable for years to come.

Layering one tint over another might seem like a quick fix to darken windows more, but it comes with its own set of challenges and considerations. This process can lead to complications such as reduced visibility and potential damage to the existing film. Understanding the legal and safety implications is essential before proceeding with additional tinting layers. Explore various options and expert tips to achieve the desired results without compromising on quality or safety.