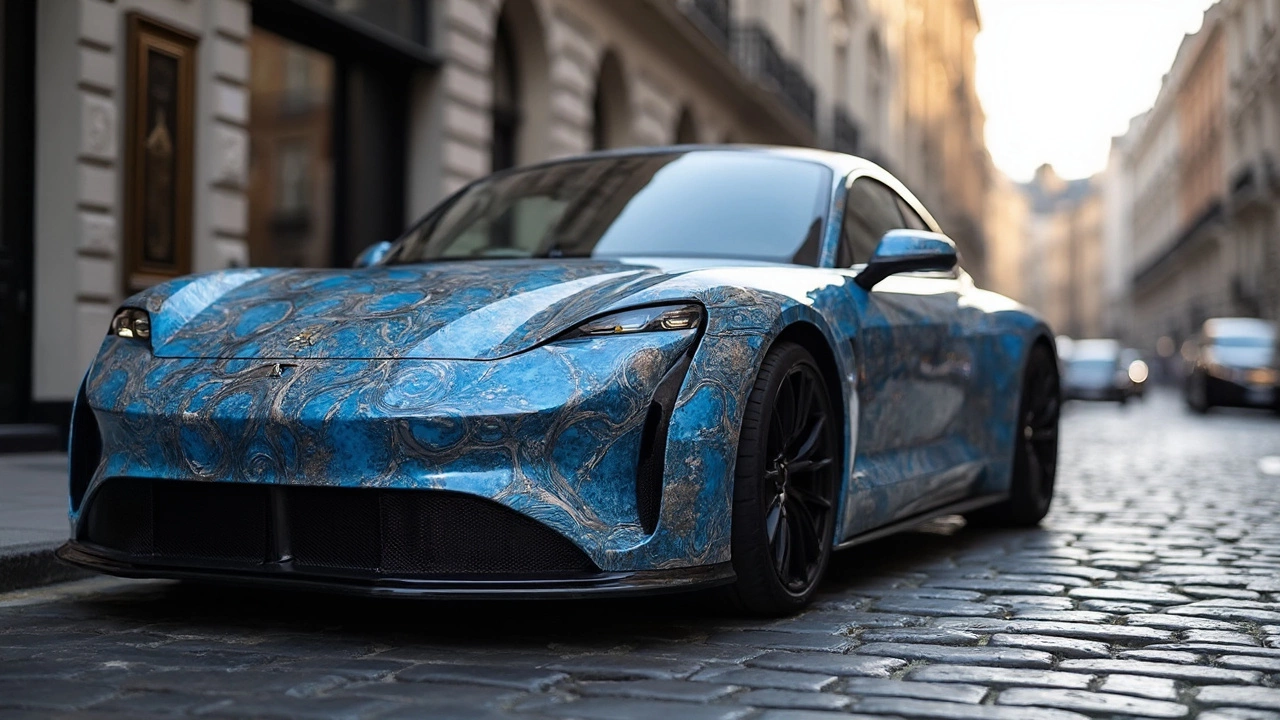
If you’ve ever thought about turning your car into a moving billboard, a fresh paint job without the paint, or just a way to protect the original finish, vehicle wrapping is the answer. Vinyl wraps come in countless colors, finishes, and patterns, letting you express yourself without committing to permanent paint. In this guide we’ll walk through picking the right wrap, getting it installed right, and keeping it looking sharp for years.
First thing’s first – decide what you want the wrap to do. Do you need full‑body coverage, a simple accent strip, or a custom graphic? Matte black, glossy chrome, carbon‑fiber textured, and even color‑changing films are all on the market. Look for a wrap with a UV‑resistant layer if you live in a sunny area; it will help the colors stay vivid. Also, check the warranty – most quality wraps offer 5‑10 years against fading and peeling.
Professional installation is worth the money. A clean, dry surface is non‑negotiable; any dust or oil will cause bubbles later. The installer will heat the vinyl with a low‑temp gun to stretch it over curves and seams, then smooth it out with a squeegee. The whole process for a full‑car wrap can take 1‑2 days, depending on complexity. If you’re DIY‑inclined, start with a small panel, practice heat‑stretch techniques, and use a high‑quality razor blade to trim excess.
Once the wrap is on, the real work begins – caring for it. Wash the vehicle with a pH‑balanced car shampoo, avoiding harsh detergents that can break down the adhesive. Use a soft microfiber mitt and rinse with low pressure; high‑pressure jets can lift edges. For tough grime, let the soap sit a minute before wiping, but never scrub aggressively. After washing, dry with a clean microfiber towel to prevent water spots.
Maintaining a wrap is simpler than maintaining paint. Avoid abrasive cleaners, waxes, or polishes; they can damage the film. If the wrap gets a minor scratch, a gentle polishing compound applied with a soft pad can smooth it out, but only if the manufacturer says it’s safe. For stubborn stains, a little isopropyl alcohol on a cloth works wonders – just test a hidden spot first.
When it’s time to remove the wrap, don’t try to peel it off yourself unless you’re experienced. Professional removal uses heat to soften the adhesive, preventing damage to the underlying paint. If you do it at home, work in a warm garage, apply a heat gun, and pull slowly at a shallow angle. Any leftover adhesive can be cleared with a dedicated remover, followed by a quick wash.
Vehicle wrapping lets you change the look of your car whenever you feel like it, protects the factory finish, and often costs less than a custom paint job. By picking the right material, trusting experienced installers, and following simple cleaning steps, your wrap will stay fresh and vibrant for years. Ready to give your ride a new personality? Start with a design board, talk to a reputable wrap shop, and enjoy the transformation.
Car wraps are a popular trend for personalizing vehicles, but do they affect the car's value? We dive into the pros and cons of wrapping your car, examining whether it can lead to depreciation or add value. Discover tips on maintaining your wrap and how it might influence resale opportunities. This article offers practical insights into the real impact of car wraps on your vehicle’s worth.