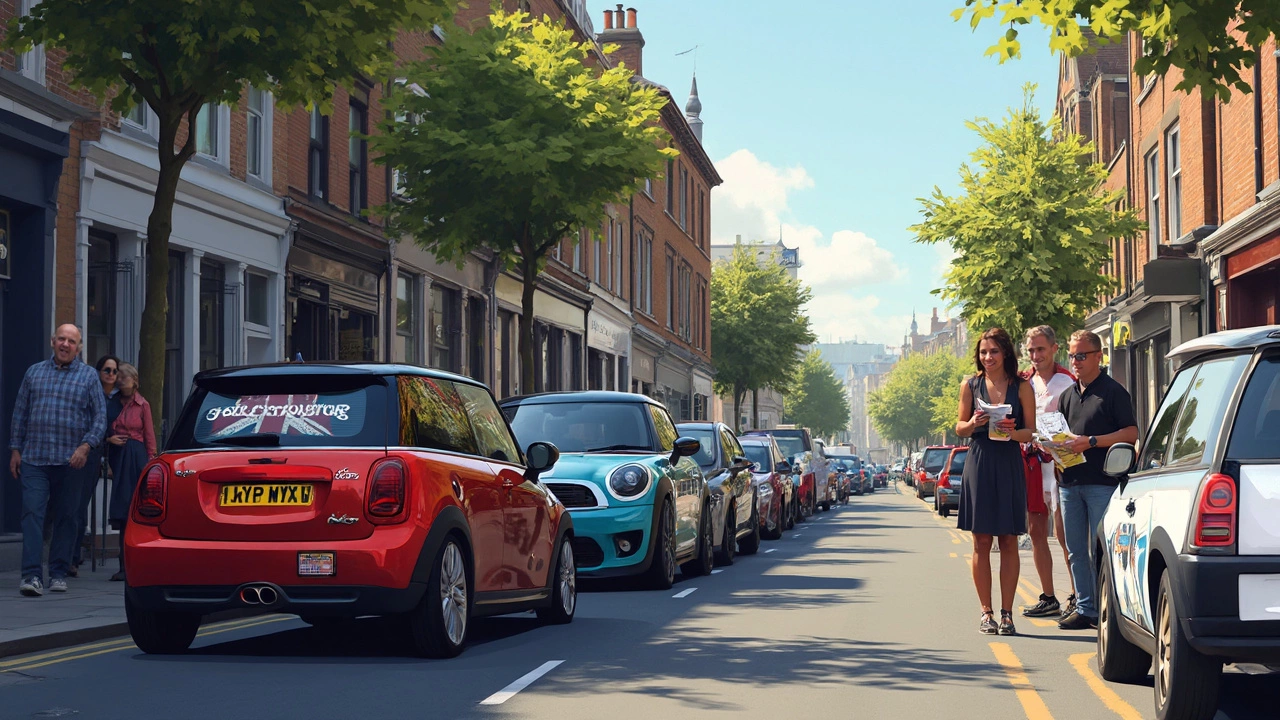
Ever seen a ride that looks like it belongs on a billboard? Most of the time it’s vinyl graphics doing the talking. They’re cheap enough for a weekend project but bold enough to make heads turn. Below you’ll get the basics on picking the perfect look, putting it on without a mess, and keeping it fresh after years on the road.
First thing – decide what you want to say. Do you want a full‑body wrap, a simple stripe, or a custom logo on the hood? Full wraps cover every curve but cost more and need professional help. Partial graphics are easier to DIY and let you refresh the look later.
Look at the vinyl type. Cast vinyl is thin, holds tight on complex shapes, and lasts longer. Calendered vinyl is thicker, cheaper, but can bubble on curves. If you’re after a glossy finish, go for cast with a high‑gloss laminate. Matte or satin looks great on off‑road trucks.
Don’t forget climate. In hot, sunny places the UV‑resistant layer makes a huge difference. In rainy areas a water‑repellent finish stops water spotting. Most reputable brands list these specs right on the roll, so you can match the product to your local weather.
Installation is a mix of patience and good tools. You’ll need a clean room, a squeegee, a heat gun, and a sharp blade. Clean the surface with isopropyl alcohol – no wax, no grease. Any residue will cause bubbles later.
Start from the middle and work outwards. Peel a small section, position it, then use the squeegee to push out air. Warm the vinyl with the heat gun as you go; the heat makes it stretchy and helps it hug the curves. If a bubble forms, lift the edge, re‑heat, and push it out again.
After the wrap is on, give it a final heat‑up pass to seal the edges. This step stops peeling at the door seams and around the headlights. Let the car sit for 24‑48 hours before a full wash – the adhesive needs time to bond.
Maintenance is easy. Hand‑wash with a mild car soap, avoid abrasive sponges, and skip automatic brushes. For stubborn grime, use a wrap‑safe cleaner; it won’t eat the protective laminate. When it’s time for a polish, choose a product labeled safe for vinyl.
If you notice a small edge lifting, re‑heat it gently and press it back down. Bigger tears usually mean a new piece, but a skilled installer can patch it without a full redo.
Finally, keep an eye on the warranty. Most premium vinyl offers 5‑10 years against fading and cracking, but the warranty can become void if you use harsh chemicals or aggressive detailing tools.
With the right design, proper installation, and simple care, vinyl graphics can keep your car looking unique for years. Ready to give your ride a fresh look? Grab a sample, set up a clean space, and start the transformation today.

Ever wondered how much a car decal really costs? This article breaks down the typical price ranges, what affects the final price tag, and hidden extras to expect. Whether you want a tiny sticker or a full side graphic, you’ll see how different sizes, quality, and customization play a part in your bill. Real-world tips help you avoid paying too much. Learn where to shop, what questions to ask, and what trends are bumping up prices in 2025.