Car decals are the easiest way to give your ride a personal touch without a permanent paint job. Whether you want a subtle logo or a full‑body graphic, the right decal can make your car stand out in traffic. Below you’ll find simple steps to choose the best sticker, apply it without bubbles, and keep it looking new for years.
Start by deciding where the decal will live. Large back‑door graphics need a material that can handle flex and sunlight, while a small badge on the bumper can get away with a thinner vinyl. Look for UV‑protected inks if you live in a sunny area – they stop fading faster than standard prints. Check the thickness: 3‑mil vinyl is ideal for curved surfaces, 4‑mil works better on flat panels.
Next, think about the finish. Gloss gives a shiny, showroom look; matte blends in with the paint; and carbon‑fiber textures add a sporty vibe. Most reputable sellers list the finish in the product details, so you can compare before you buy. If you’re unsure, order a small sample to see how the color matches your paint under different lighting.
Preparation is key. Wash the area with soap and water, then dry completely. Use a 70 % isopropyl alcohol wipe to remove any wax, grease or dust – this prevents bubbles later on. Measure the decal with a piece of painter’s tape before you peel the backing; a little extra room makes positioning easier.
When you’re ready, peel the backing slowly and stick the decal to the car while it’s still on the transfer paper. Use a soft squeegee or a credit card wrapped in a microfiber cloth to smooth it out, working from the center outward. If a bubble appears, poke a tiny hole with a pin and press the air out.
After the decal is in place, let it cure for at least 24 hours before washing the car. When you do wash, avoid high‑pressure jets directly on the decal; a gentle hose spray and soft cloth are enough. For stubborn grime, a quick wipe with mild soap and a soft rag works fine. Re‑apply a quick sealant spray every 6‑12 months if you live in a salty‑air coastal area – it adds an extra barrier against corrosion.
Finally, keep an eye on the edges. If you notice lifting, use a specialist automotive adhesive to seal the gap before it spreads. Most lifts happen because the surface wasn’t clean enough or the decal was exposed to extreme heat right after installation.
With the right material, careful placement, and regular care, your car decals will stay vibrant and stuck tight for the life of the vehicle. Have fun mixing colors, finishes and designs – it’s your car, after all, so make it yours.
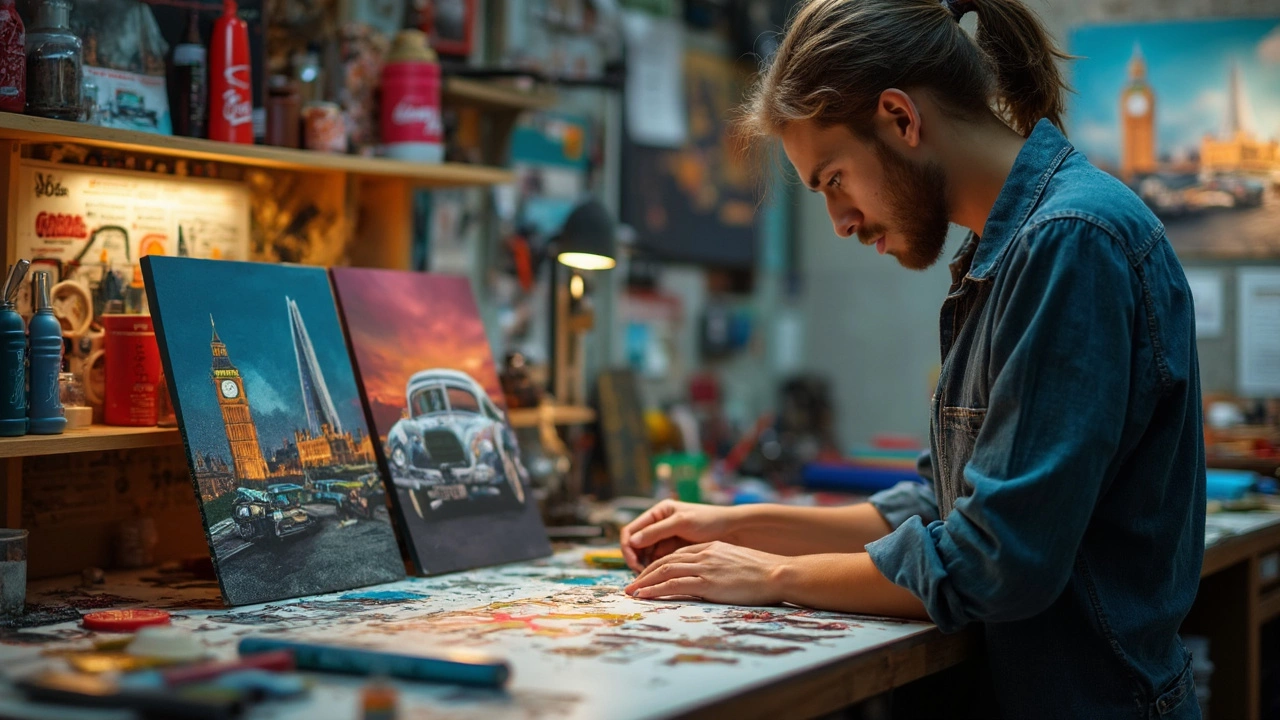
Creating your own car decals is not only possible but also a fun and creative project. Whether you're looking to express your personality or promote a business, making customized decals can be straightforward with the right tools and techniques. Discover the materials, design tips, and application methods to craft and apply your personalized car stickers effortlessly. With a bit of creativity and patience, you can transform your vehicle into a unique masterpiece.