So, you're wondering if you can whip up your own car decals? The good news is, you totally can, and it might be easier than you think. Custom car decals are like tattoos for your car—personal and unique. From showcasing your personality to advertising your business, the reasons to go custom are as varied as your imagination!
First off, let’s talk about what you need. A basic setup includes a computer with design software, a cutting machine like a Cricut, and vinyl sheets. Don’t have a cutting machine? No worries, many local print shops can handle this side of things for you.
When it comes to design, let your creativity fly. But remember, simple designs usually work better on cars. Think bold colors and clear messages. A car moving on the highway doesn't have much time to send a message, after all!
- Why Make Your Own Car Decals?
- Tools and Materials You’ll Need
- Design Essentials
- Printing Options
- Application Techniques
- Maintenance and Removal Tips
Why Make Your Own Car Decals?
Making your own car decals is not just about saving a few bucks, though that's a nice bonus! It offers you the chance to let your personality shine through your vehicle. Whether you’re a die-hard sports fan, running a side hustle, or want to express a quirky sense of humor, custom decals show the world what you're all about. Plus, there’s a certain pride in knowing you've created something yourself.
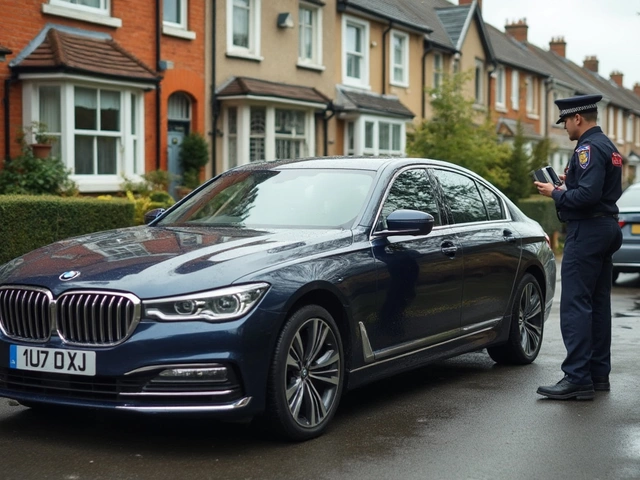
Beyond personal expression, custom decals are a clever marketing tool. Joanne Norman, a small business owner, shares,
"Using custom decals transformed my car into a mobile billboard, reaching countless potential customers right in my neighborhood."Imagine your vehicle as a 24/7 advertisement, promoting your services without monthly fees.
Another stellar reason? Variety! Store-bought decals might not always have what you're looking for. When you DIY, you aren’t confined to the limited designs on the shelf. You get to decide on everything from the size to the color palette.
And guess what? Learning to make these DIY decals can even become a fun hobby—or a side business. With just a bit of practice, you can create designs not just for personal use but also for friends, family, or even clients.
Speaking of stats, the custom decals market is only growing. It's estimated that by 2028 the market size for decals, including car stickers, may nearly double. This points to increasing popularity and potential opportunities for anyone diving into this creative endeavor.
In short, creating your own decals means taking complete control over design, getting creative, and even exploring new business opportunities while cruising in style.
Tools and Materials You’ll Need
Jumping into the world of making your own car decals means it's time to gather some essential gear. Lucky for you, the list isn’t too daunting, and with the right stuff, you’re halfway to pimping your ride just the way you want.
Here's what you'll need to get started:
- Design Software: Programs like Adobe Illustrator or CorelDRAW are top choices for creating your decal's design. If you're looking for something budget-friendly, the free software Inkscape is also great for vector creations.
- Vinyl Cutter: A cutting machine is a must for precision. Models like Cricut or Silhouette's Cameo are popular because of their user-friendly interfaces and compatibility with different design software.
- Vinyl Sheets: This is the main material your decals will be made from. Make sure to buy automotive-grade vinyl. Oracal 651 is a fan favorite because it’s durable and weather-resistant.
- Transfer Tape: To move your design from the backing to your car, you’ll need transfer tape. It acts like a carrier to ensure every part of your design stays in place.
- Weeding Tools: These help you remove the excess vinyl that isn’t part of your design. A simple set of tweezers or a special weeding tool does the job well.
- Squeegee or Credit Card: You’ll use this to ensure your custom car decals stick smoothly without air bubbles.
Once you’ve got all these items at your fingertips, you’ll be all set to unleash your creativity. And hey, don’t forget – the quality of your tools directly impacts the final look of your decals. Invest wisely!
Design Essentials
Diving into the world of car decal design means letting your creativity shine while keeping a few practical considerations in mind. Whether you're crafting for fun or function, the process can be pretty rewarding, especially when you see your personalized creation adorning your ride.
First things first, focus on simplicity. With DIY decals, less is often more, especially since cars are constantly on the move. Opt for bold, easily readable fonts if you’re using text, and keep the text to a minimum. You want something that people can catch a glimpse of and understand instantly.
Colors play a big role too. Bright hues are more visible and stand out, but make sure they complement your car’s paint job. Contrast is key here—it's what makes your design pop.
Another essential part of designing your own car decals is choosing the right vinyl. For outdoor use, you’ll want durable, weather-resistant vinyl to withstand the elements. Consider Oracal 651, a popular choice among crafters, for its longevity and vibrancy.
If you’re not an artist, no sweat! Design software like Adobe Illustrator or free options like Inkscape can help you create your masterpiece. These programs let you play with shapes, text, and images until you land on the perfect design.
For those looking into a more professional approach, vector graphics are ideal. They scale without losing clarity, which is crucial when you decide to enlarge your design.
Here’s a handy tool tip: using grid lines when designing can help maintain proportion—an often overlooked detail that makes a huge difference.
Think about where you’re applying the decal, too. For windows, lighter colors work better against glass. You don't want your hard work lost in a see-through background!
Designing your own custom car decals is a mix of style and smarts. And when done right, it's not just personal—it’s practically a work of art right there on the highway.
Printing Options
Once you've nailed down your design, it's time to get those car decals printed. There's more than one way to get your masterpiece from screen to sticker, so let's dig into your options.
If you're the DIY type, a home setup might just do the trick. Home inkjet or laser printers can work if you've got the right materials. You'll need adhesive vinyl or water slide decal paper. After printing, a cutting machine like a Cricut or Silhouette will trim your design to perfection. Don’t forget to seal the print with a clear laminate to protect it from weather and wash damage.
Not feeling the DIY vibe? That’s cool. Local print shops or online services are your go-to. These pros can handle a wide range of requests, from basic logos to those mega stickers covering a whole car panel. Plus, they generally use high-quality materials that ensure durability and that crisp, professional look.
Most online services make ordering a breeze. Upload your design, choose your size and quantity, and they ship them right to your door. Before committing, check reviews and service quality to ensure you get what you pay for. Some even offer free samples, so you can see their work first-hand.
Whether you're printing at home or outsourcing, remember to factor in the vehicle’s color and the decal’s purpose. Darker colors might require a white base layer underneath lighter designs to pop. And if you’re using them for business, opt for ones with UV protection to ensure longevity under bright sunlight.
Before you hit print, here's a little pro tip: do a test print on regular paper first. This way, you won't waste materials on a cut that's off or a color that's wrong.
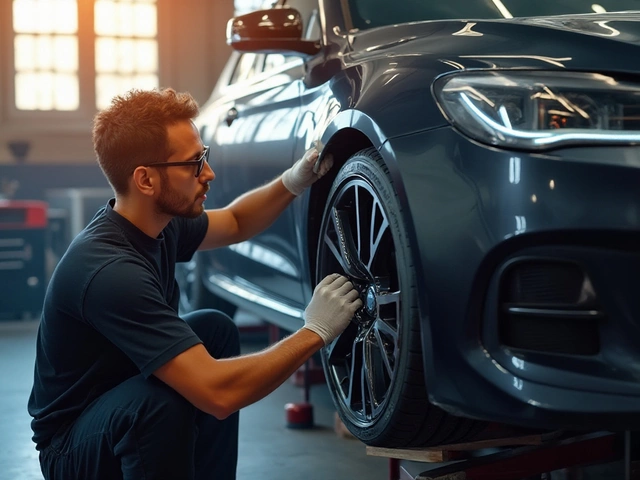
Application Techniques
Putting your custom car decals on your ride isn't just about slapping them on and hoping for the best. There’s a bit of an art to it, making sure they look slick and not like something a preschooler stuck on. Here’s how to do it right.
Start with a clean slate. Give your car’s surface a good wash and dry it thoroughly. Any dirt or grime can prevent your car decals from sticking properly and who wants bubbles or peeling? That's frustrating.
Step-by-step Application:
- Positioning: Before you peel off any backing, get an idea of where you want your decal. Use some masking tape to temporarily hold it in place. Stand back, look at it from different angles, and make sure you’re happy with the placement.
- Peeling and Sticking: Slowly peel off the backing paper from the decal. You want to start at one corner and go slow, ensuring the decal sticks smoothly onto the car. Use a squeegee or a credit card to press it down as you go to remove air bubbles.
- Smoothing: Work from the middle outwards with your squeegee. This helps to push out any air bubbles that could ruin the look.
If you find some pesky bubbles just won’t pop, grab a pin and gently puncture them, then smooth it out with the card.
- Finishing Up: Once you’re done, carefully peel off the transfer paper. Voila! Your decal is now proudly displayed.
For those looking to go the extra mile, consider filming the process. It’s a nifty way to remember your creation and hey, it could help others see how it's done too.
Remember, taking your time with this will save you headaches down the road. Happy sticking!
| Step | Time Required |
|---|---|
| Preparation | 10-15 minutes |
| Application | 15-20 minutes |
| Finish | 5 minutes |
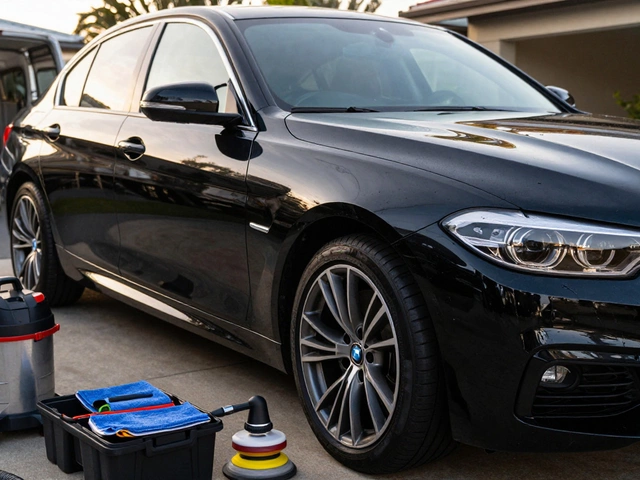
Maintenance and Removal Tips
Keeping your custom car decals looking fresh isn't rocket science, but it does take a little TLC. Here’s how you can maintain and, when the time comes, remove them without a hitch.
First up is maintenance. Regular cleaning is key. A gentle wash with soapy water does the trick. Just avoid harsh chemicals or abrasive tools that might scratch or lift the edges. Handwashing your car is best, although drive-thrus with those crazy brushes are generally okay—they just might shorten the life of your decal a bit.
Want to keep those colors popping? Parking in the shade and applying a UV protector can help prevent fading. Mother Nature isn’t always decal-friendly!
Now, onto removal. Maybe your taste has changed, or you’re prepping your car to sell it without any personal flair left behind. Whatever the case, removing a decal can be simple if done right.
- Heat it up a bit: Grab a hair dryer or heat gun and warm up the decal. This softens the adhesive, making it easier to peel.
- Peel slowly: Start at a corner and gently pull it away. Slow and steady wins the race to avoid tearing.
- Tackle any sticky leftovers: If the adhesive hangs around, a bit of rubbing alcohol or commercial adhesive remover should do the trick. Just a bit on a cloth, not directly on the paint, to be safe.
Done right, these DIY decals can be swapped out or removed cleanly without leaving your ride looking like a sticker graveyard. Keep these tips in mind, and your car can stay as stylish and sleek as you are!