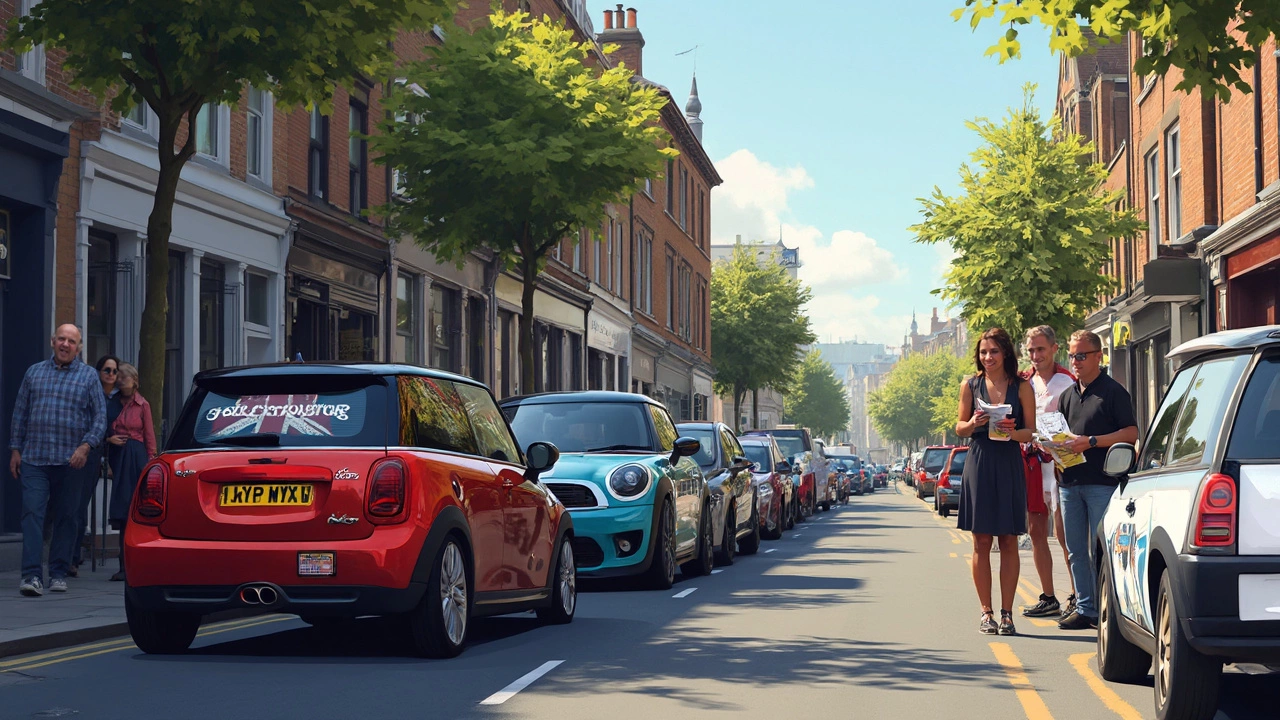
If you want your car to stand out without a full paint job, a custom decal is the fastest way. Vinyl sticks to metal, plastic, and glass, and you can change the look whenever you like. The right decal adds personality, hides scratches, and can even boost resale value.
First, think about the style you want. Do you prefer a bold graphic, a subtle logo, or a full‑body wrap? Look at pictures online and save the ones that catch your eye. Next, check the material. High‑quality vinyl has a clear protective layer that resists UV fading and water damage. Cheaper sheets may lift after a few weeks.
Size matters, too. Measure the area you plan to cover and add a centimeter for trimming. If you’re covering a curved surface, choose a flexible decal that can conform without creasing. Finally, read reviews. Other buyers will tell you if the adhesive holds up in rain, heat, or winter snow.
Preparation is half the job. Wash the surface with soap and water, then dry it completely. Use a lint‑free cloth and a little isopropyl alcohol to remove wax or grease. Any residue will cause bubbles later.
Lay the decal face down on the clean area. Peel off a small section of the backing film and use a squeegee or a credit card to stick the exposed part. Work from the center outward, peeling more backing as you go. This method pushes air out and keeps the film flat.
If bubbles appear, poke a tiny hole with a pin and smooth the air out with the squeegee. For large bubbles, lift the decal gently, re‑wet the area with a spray bottle of soapy water, and re‑position it. The water gives you a slip sheet that makes adjustments easier.
When the decal sits correctly, let it dry for at least 24 hours before washing the car. This gives the adhesive time to bond fully. Avoid harsh chemicals for the first week; just rinse with plain water.
Maintenance is simple. Hand wash the car with mild soap and a soft sponge. Do not use abrasive scrubbers or pressure washers on the decal. If the edge starts to lift, apply a thin line of automotive-grade adhesive sealant to seal it back.
When you eventually want to remove the decal, heat the surface with a hair dryer or heat gun. The heat softens the glue, making it easy to peel off without tearing the paint. Clean any leftover adhesive with a dedicated remover or more alcohol.
Custom car decals give you a cheap, reversible way to express yourself on the road. By choosing a good vinyl, prepping the surface properly, and following a careful installation routine, you’ll get a finish that looks professional and lasts for years. Ready to give your ride a fresh look? Grab a design, prep your car, and have fun with the process.

Ever wondered how much a car decal really costs? This article breaks down the typical price ranges, what affects the final price tag, and hidden extras to expect. Whether you want a tiny sticker or a full side graphic, you’ll see how different sizes, quality, and customization play a part in your bill. Real-world tips help you avoid paying too much. Learn where to shop, what questions to ask, and what trends are bumping up prices in 2025.

Creating your own car decals is not only possible but also a fun and creative project. Whether you're looking to express your personality or promote a business, making customized decals can be straightforward with the right tools and techniques. Discover the materials, design tips, and application methods to craft and apply your personalized car stickers effortlessly. With a bit of creativity and patience, you can transform your vehicle into a unique masterpiece.