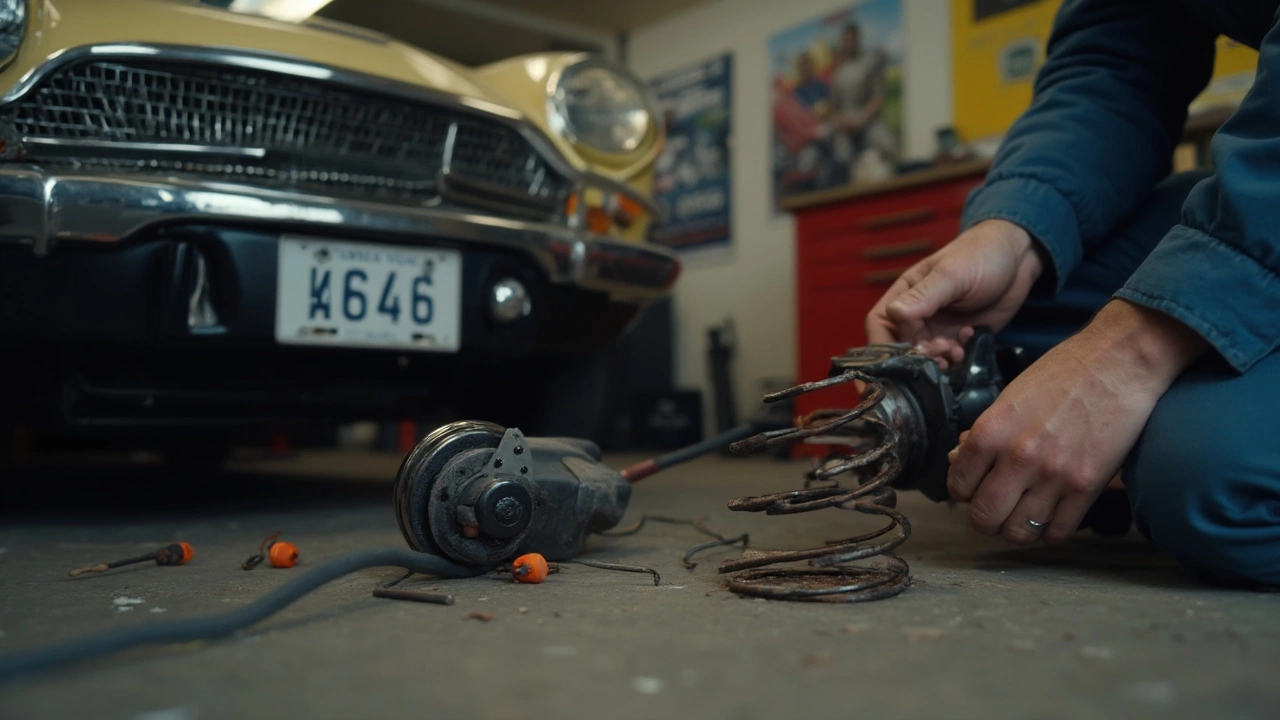
If you want a lower stance but don't want to spend a fortune on new springs, cutting stock springs is a common shortcut. It’s not magic, just a simple way to drop the ride height by a few millimetres. You’ll need a few tools, a solid plan, and a clear idea of the risks.
Most car lovers cut springs to get a sportier look, improve handling, or match a set of wheels that sit deeper in the arches. Cutting removes material from the spring’s coils, shortening its overall length and making the car sit lower. The trade‑off is a stiffer ride and a higher chance of bottoming out on bumps. It’s also permanent – once you cut, you can’t put the spring back to its original height.
Another reason is cost. A new set of lowering springs can run hundreds of pounds, while a hand saw or angle grinder costs a fraction. For a weekend project, many owners accept the reduced comfort for the visual payoff. Just remember that street‑legal limits on ride height vary, so double‑check local regulations.
1. Gather tools. You’ll need a sturdy bench vise, a metal cutting saw or angle grinder with a thin cut‑off wheel, a file, safety glasses, gloves, and a measuring tape. A spring compressor is optional but helps keep the spring stable while you work.
2. Measure the target drop. Decide how much lower you want to go – usually 10‑15 mm per spring for a noticeable stance. Mark the spring at the new length using a marker and a straight edge.
3. Secure the spring. Clamp the spring in the vise so the coils stay aligned. If the spring is stiff, you might need to compress it a bit with a spring compressor to avoid wobble.
4. Cut carefully. Use the saw or grinder to trim the spring at the marked line. Keep the cut straight; an uneven cut can cause the spring to bind or break later. Take short bursts, let the wheel do the work, and avoid overheating the metal.
5. File the edges. After the cut, file the ends smooth. Sharp metal can cut brake lines or damage the chassis when you reinstall the spring.
6. Re‑install and test. Put the spring back on, tighten the bolts, and lower the car onto the springs. Check for any odd noises, uneven heights, or the car rubbing on the bump stops. A test drive over a few bumps will reveal if the ride is too harsh.
If you notice excessive stiffness or the car bottoms out, you may have cut too much. Some owners add a short coil‑over spacer or switch to a softer spring to regain comfort. Remember, once you cut, you’re stuck with that length unless you buy a new spring.
Cutting springs is a quick way to drop a car, but it’s not for everyone. If you drive on rough roads, carry heavy loads, or need a smooth daily commute, a proper set of lowering springs or coilovers is a safer bet. Always weigh the visual gain against the loss of ride quality and potential wear on other suspension parts.
In short, cutting springs can give you that aggressive look without breaking the bank, as long as you follow the steps, stay safe, and accept the trade‑offs. Happy lowering!

Thinking about cutting your lowering springs to get your car sitting lower? This article breaks down whether it's safe, what actually happens when you cut springs, and the problems you might run into. You'll also see what alternatives exist and hear a few real-world stories from the garage. Get the lowdown before grabbing the angle grinder.