When working with dashboard makeover, the process of revamping a vehicle’s dashboard with new materials, lighting, and accessories to improve style and functionality. Also known as dashboard upgrade, it lets owners refresh a worn‑out interior without a full redesign.
A solid car interior personalization, custom tweaks that reflect a driver’s taste sets the tone for any makeover. ambient lighting, LED strips or pods that add color and visibility not only looks cool but also improves night‑time ergonomics. Choosing the right seat covers, fabric or leather wraps that match the new dash style ties the whole cabin together. Finally, dashboard trim, decorative inserts or carbon‑fiber panels that turn a bland board into a focal point can elevate the look instantly.
Dashboard makeover encompasses three core attributes: materials, lighting, and trim design. For materials, owners often pick carbon fiber for its lightweight feel, brushed aluminum for a modern edge, or high‑grade polyurethane for budget‑friendly durability. Lighting choices range from soft white LEDs that enhance visibility to color‑changing strips that sync with music. Trim design includes options like carbon‑fiber panels, wood veneer inserts, or matte‑black finishes that complement the vehicle’s overall theme. When you match these values—carbon fiber panels, 12‑V LED strips, and brushed‑aluminum bezels—you create a cohesive look that feels intentional rather than slapped together.
Planning ahead saves headaches. First, remove the existing dash components carefully; label connectors to avoid rewiring errors. Next, prep the surface with a fine‑grit cleaner—any residue will show through new trim. Install the chosen trim using automotive‑grade adhesives, then route the LED wiring behind the steering column to keep it hidden. Finally, test all lights before sealing everything back up. Most DIYers finish a basic makeover in two to three days, while a full‑blown carbon‑fiber revamp can stretch to a week, especially if you’re custom‑fabricating parts.
DIY is rewarding, but it comes with risks. Improperly secured trim can rattle, loose wiring may trigger warning lights, and certain lighting colors could violate local regulations. If you’re unsure about electrical work, a professional install ensures safety and compliance. Also, keep receipts for aftermarket parts—you’ll need them if you ever sell the car or need warranty support. By understanding the trade‑offs between cost, time, and skill level, you can decide whether to tackle the project yourself or hand it off to a specialist.
Below you’ll find a curated collection of articles that walk you through every step of a dashboard makeover—from choosing the right seat covers and lighting kits to avoiding common pitfalls and ensuring a legal, long‑lasting finish. Dive in to get practical tips, real‑world examples, and the confidence to give your car’s interior the upgrade it deserves.
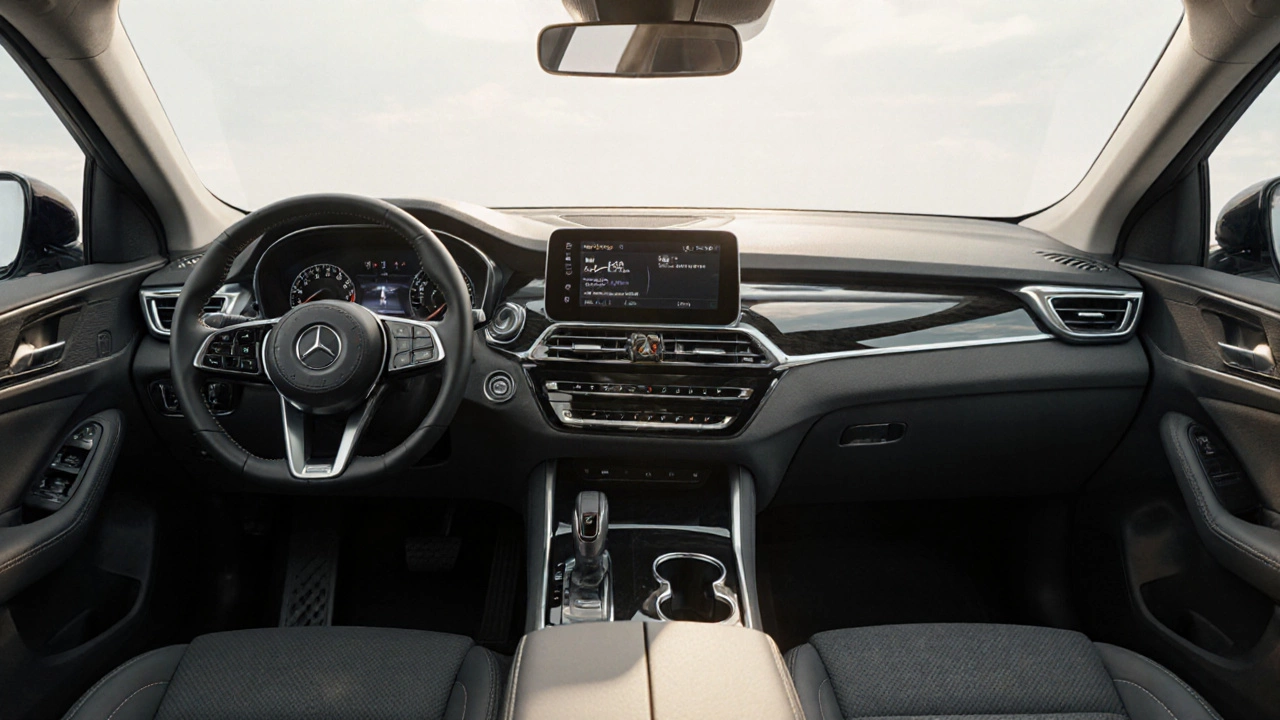
Transform a dull car dashboard into a stylish centerpiece with material upgrades, ambient lighting, and DIY tips. Follow a clear theme, choose the right trims, and keep it looking fresh.