When working with wrap installation, the process of applying a vinyl skin to a vehicle's panels to change its look or protect the paint. Also known as vehicle wrapping, it blends art and engineering, letting you swap colors, finishes, or graphics without a permanent paint job. Wrap installation encompasses surface prep, precise cutting, and careful adhering, while requiring a clean workspace and steady hands. The result? A customized ride that turns heads and stays protected.
One of the core elements behind any successful job is the Vinyl Wrap, a flexible, durable polymer film designed to conform to complex car shapes. Vinyl Wraps come in matte, gloss, carbon‑fiber, and color‑shift finishes, each with its own thickness and stretch rating. Choosing the right type influences how the wrap hugs curves, how it reacts to temperature, and how long it lasts. A high‑quality vinyl also resists UV fading, keeping your vehicle looking fresh for years.
Before the film meets the body, Car Detailing, the thorough cleaning and surface preparation of a vehicle before any modification becomes essential. Detailing removes wax, grease, and debris that could cause bubbles or premature lifting. A good prep includes washing, clay‑bar treatment, and a light polish to smooth out imperfections. This step not only ensures a flawless bond but also protects the paint underneath, making future wrap removal easier and safer.
Wrap installation doesn’t exist in a vacuum; it’s a key part of broader Vehicle Customization, any modification that enhances a car’s appearance or performance. Whether you’re adding a body kit, lowering springs, or swapping wheels, each change affects how the wrap drapes over panels and edges. A lowered stance, for example, creates tighter bends that demand more skillful cutting and heating. Understanding how these tweaks interact helps you plan the wrap layout and avoid costly re‑work.
After the film is in place, wrap maintenance keeps the finish looking showroom‑ready. Regular washing with a pH‑neutral shampoo, avoiding abrasive sponges, and using a dedicated wrap protectant spray are must‑dos. Spot cleaning of bird droppings, sap, or road salt prevents staining, while a gentle hand‑dry prevents water spots. If you ever need to remove the wrap, a professional heat gun can soften the adhesive, allowing a clean peel‑off without harming the paint.
Many DIY installers stumble over a few common pitfalls: skipping the clay‑bar step, using the wrong pressure during the squeegee pass, or neglecting to pre‑heat the vinyl in cold weather. The right tools—high‑quality squeegees, a heat gun with adjustable temperature, and a precision knife—can make the difference between a seamless finish and a patchy job. Remember, the adhesive bonds best at 20‑30 °C, so plan your workday accordingly.
Expect a mix of preparation, patience, and precision. First, inventory your car’s panels and decide which parts you’ll wrap—doors, hood, roof, or a full‑body job. Next, order a vinyl that matches your vision and budget; premium films cost more but often last longer. Then, set up a clean, well‑lit workspace, gather your detailing supplies, and allocate ample time—most full wraps take a full day for pros and multiple days for newcomers.
By the time you finish reading the articles below, you’ll have a solid grasp of each step, from selecting the right film to cleaning up after the job. You’ll see real‑world tips on avoiding bubbles, handling tricky corners, and keeping the finish pristine for years. Ready to dive into the details? Let’s explore the full collection and turn your car into a moving masterpiece.
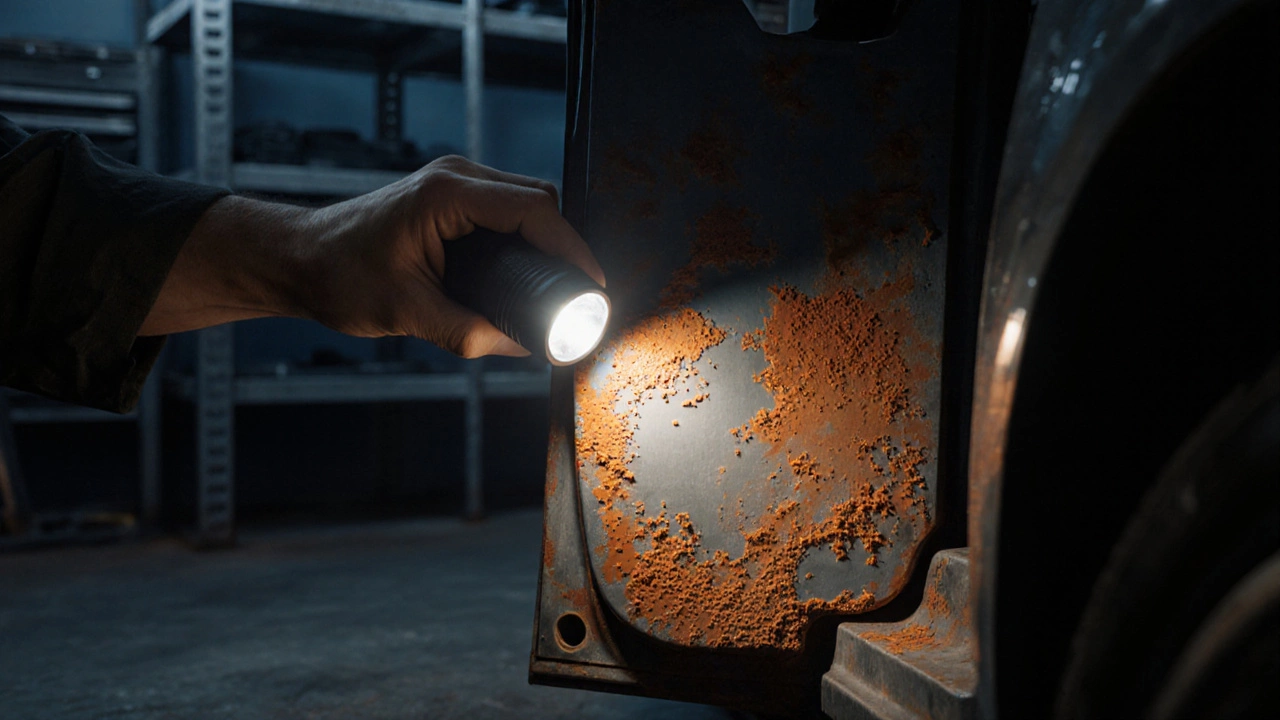
Learn if a car wrap can cover rust, the prep steps needed, cost, DIY vs professional options, and common pitfalls for a lasting finish.