Rusty Car Wrap Cost Estimator
Enter your details and click "Estimate Total Cost & Time" to see your estimate.
Ever wondered if a car wrap can hide those ugly rust spots? The short answer is yes-if you prep the surface correctly. This guide walks you through the whole process, from assessing rust to choosing the right film and deciding whether a DIY job or a professional installer is smarter.
Quick Takeaways
- Wraps can cover surface rust, but deep corrosion must be treated first.
- Proper surface preparation (cleaning, rust conversion, primer) is the most critical step.
- High‑quality vinyl film with strong adhesive works best on well‑prepped panels.
- DIY wraps are possible on small rust patches; larger jobs usually need a professional.
- Expect a 2‑4 week timeline and $1,500‑$3,500 cost depending on size and prep depth.
Understanding What a Car Wrap Actually Is
Car wrap is a large sheet of vinyl film applied to a vehicle’s exterior to change its colour, finish or branding. It differs from paint because the material can be removed later without damaging the factory finish. Wraps come in matte, gloss, metallic, carbon‑fiber and even colour‑changing finishes.
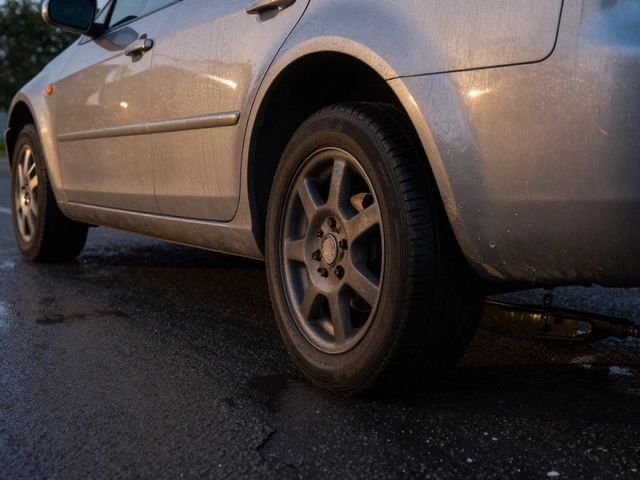
Why Rust Changes the Game
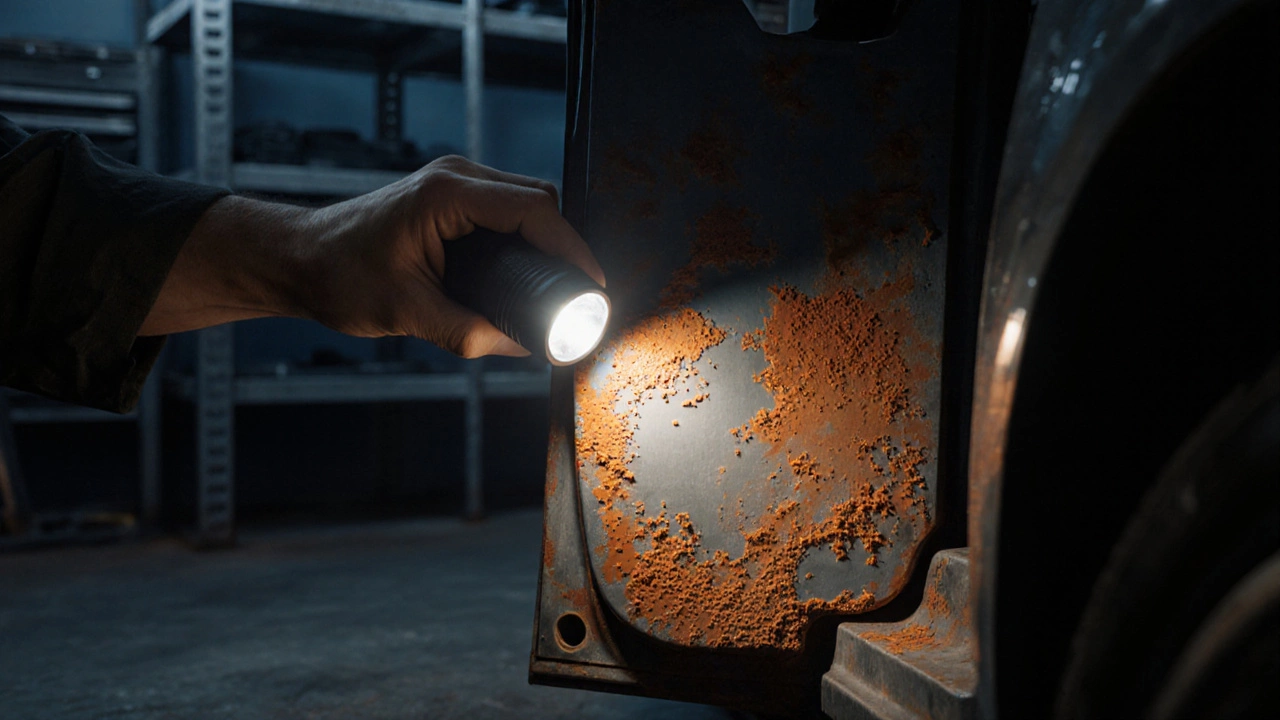
Rust is oxidised iron that forms when metal is exposed to moisture and oxygen. Surface rust looks like a flaky orange layer, while deeper rust eats into the metal, causing bubbling paint and structural weakness. A wrap adheres to the surface; if the film lands on flaking rust, it will lift, bubble, or peel.
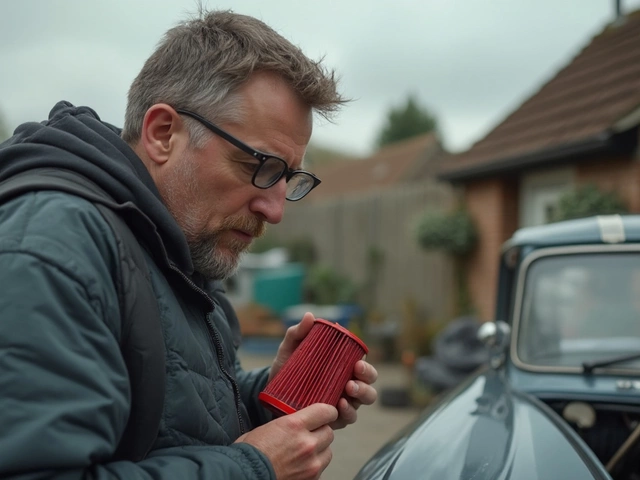
Key Prep Steps Before You Wrap
Skipping preparation is the fastest way to waste money. Follow these stages:
- Inspect the panels. Use a flashlight to locate all rust spots, even hidden ones behind trim.
- Clean the area. Wash with a pH‑balanced car shampoo, then wipe with isopropyl alcohol to remove residues.
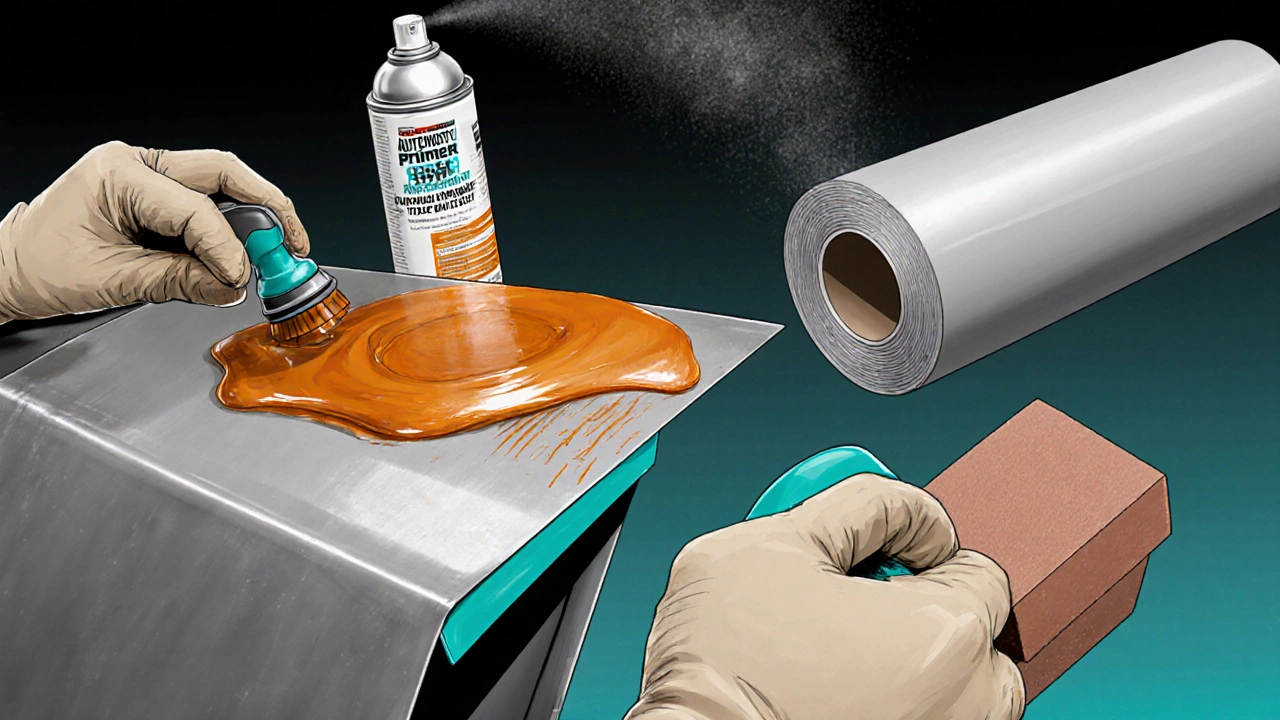
- Treat rust. For surface rust, apply a rust converter that chemically turns iron oxide into a stable polymer. For deeper rust, sand down to bare metal, apply a rust‑inhibiting primer, and let it cure.
- Prime the surface. Use a automotive primer formulated for metal. Primer creates a uniform, slightly tacky base that improves vinyl adhesion.
- Polish and dust‑free. Lightly sand the primed area with 400‑600 grit paper, then wipe with a tack‑free cloth.
Only after these steps does the wrap have a solid foundation to cling to.
Choosing the Right Vinyl Film
Not all vinyl is created equal. Look for these attributes:
- Adhesive strength: A 3‑year warranty film usually has a balanced adhesive that resists lift‑off but can be removed cleanly.
- Thickness: 4‑6 mil (0.1‑0.15mm) offers durability without making the surface feel bulky.
- Finish: Matte hides imperfections better than high‑gloss, which can highlight uneven prep.
Popular brands include 3M™ Scotchcal, AveryDenim, and Oracal 970RA. These products have proven performance on rough surfaces when correctly primed.
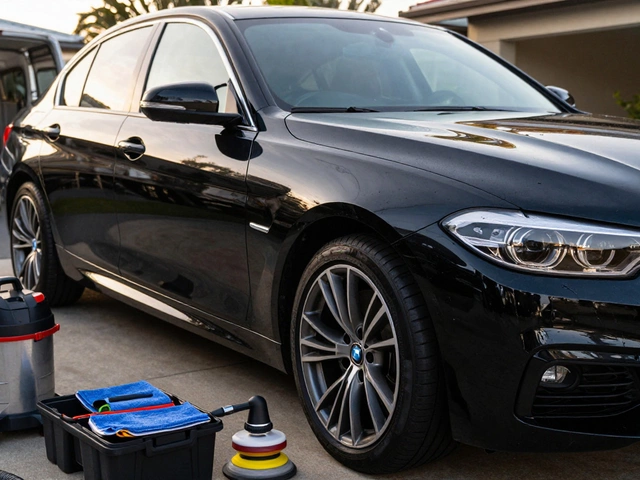
DIY vs. Professional Installer
Deciding whether to tackle the job yourself depends on three factors:
| Aspect | Vinyl Wrap | Paint | Clear Coat Only |
|---|---|---|---|
| Prep Needed | Extensive (rust converter, primer) | Extensive (sand, primer, basecoat) | Minimal, but surface must be clean |
| Cost (per car) | $1,500‑$3,500 | $2,500‑$5,000 | $500‑$1,000 |
| Durability | 5‑7years (if prep is good) | 8‑10years | 2‑3years (no protection against rust) |
| Removal | Clean, no damage | Requires sanding & repaint | None (paint still exposed) |
If you’re comfortable with sanding, applying primer, and handling large sheets of vinyl, a DIY wrap can save $500‑$1,000. Otherwise, a professional installer brings climate‑controlled facilities, specialised tools and warranty backing.

Common Pitfalls and How to Avoid Them
- Skipping rust conversion. The film will lift as the rust continues to expand.
- Using low‑adhesion vinyl. Cheap films look good but fall off in hot weather.
- Wrapping over dust. Even tiny particles create air bubbles that become visible.
- Rushing the cure time. Primer and converter need full drying (usually 24hrs) before the film is laid.
Cost, Timeline, and What to Expect
Here’s a realistic breakdown for a typical midsize sedan with moderate rust:
- Inspection & rust assessment - 1hour, $100.
- Surface prep (cleaning, conversion, primer) - 4‑6hours, $400‑$700.
- Wrap material - $800‑$1,200 depending on finish.
- Installation (professional) - 6‑8hours, $600‑$1,000.
Total: $1,900‑$3,000, finishing in 2‑4weeks (allowing for drying time). DIY can shave $300‑$500 off material cost but adds labor hours.
Is It Worth It?
If the rust is purely cosmetic and you love the look of a fresh colour, a wrap is a great, reversible solution. When rust threatens structural integrity, you should address the corrosion first-sometimes that means panel replacement before any finishing work.
Frequently Asked Questions
Can a vinyl wrap hide deep rust?
No. Deep rust needs to be cut out, sanded and primed. A wrap can only mask surface imperfections.
How long does a wrap last on a rust‑treated car?
Around 5‑7years if the prep was thorough and the vinyl quality is high. Poor prep can reduce life to 2‑3years.
Do I need a special cleaner before applying the film?
Use an alcohol‑based surface prep cleaner. Avoid household detergents that leave residues.
Is professional installation worth the extra cost?
Generally, yes. Professionals have climate‑controlled bays, proper tools, and warranty coverage that DIY shops lack.
Can I remove the wrap later without damaging the paint?
If the original paint is intact and the wrap was applied correctly, removal is clean and leaves the factory finish untouched.