You clicked because you don’t want buyer’s remorse. Fair. The short truth: kits can save cash and time-or saddle you with half-used bottles and scratchy towels. I’ll show you when a kit beats buying piece-by-piece, what to look for, and how to use one without marring your paint. I live in Brisbane, so I’ll factor in heat, UV, summer storms, and the odd water restriction. If you want a clean, protected car without blowing weekends or your budget, this will help you decide, then act.
car detailing kits can be a smart buy if they match your goals, your car’s condition, and how you actually wash. That’s the catch most product pages gloss over.
- TL;DR
- Kits are worth it if you’re starting from scratch, want matched products, and the per-wash cost undercuts a la carte or pro services.
- They’re not worth it if you already own decent towels/tools, your car needs machine polishing, or the kit pads/towels are junk.
- Look for: pH‑neutral shampoo, a real drying towel (500+ GSM), a safe sealant (SiO2 spray works), and clear dilution ratios. Skip 2‑in‑1 “wash and wax.”
- Rule of thumb: If you’ll wash 10-12 times a year, a good kit often lands under AUD $6-$12 per wash after the first month.
- Brisbane tip: UV is brutal. Prioritise protection that lasts 2-4 months in the sun; reapply quarterly.
Are kits worth it? The decision in plain English
If you want the quick answer: yes, when they’re curated to your jobs-to-be-done. Here are the jobs most people actually have after clicking this question:
- Get a clean, glossy car fast without scratching it.
- Protect paint from sun, rain, and fallout so it stays cleaner longer.
- Spend less than paying a pro for every wash.
- Keep interiors fresh without leaving shiny, greasy residue.
- Make simple maintenance easy enough to stick with.
Now map those jobs to kit reality.
Starter/maintenance kits (wash, quick detailer/sealant, glass, interior cleaner, a few towels) are worth it for new or well-kept cars. You’re paying for convenience and product harmony. The best kits bundle chemicals sized to run out at roughly the same time.
Correction kits (compound, polish, pads, possibly a small dual-action polisher) are a maybe. If your paint is swirled, DIY correction works-but there’s a learning curve and risk. If you’ve never machine polished, consider a single professional correction once, then maintain with a kit. Most daily drivers in Brisbane don’t need heavy compounding more than every few years.
Coating kits (ceramic/graphene) are situational. You need clean, decontaminated, polished paint and a dust‑free space for application. They’re great for people who love process and can let the car cure indoors. Not great for apartment car parks or if you’re impatient.
How I personally weigh it in Brisbane:
- If your car is less than 3 years old, garage‑kept, and you wash monthly, a quality maintenance kit will pay for itself in 2-3 washes.
- If your paint has visible swirl marks in the sun, do one professional correction, then maintain with a kit. It’s cheaper than buying a machine, pads, and risking holograms.
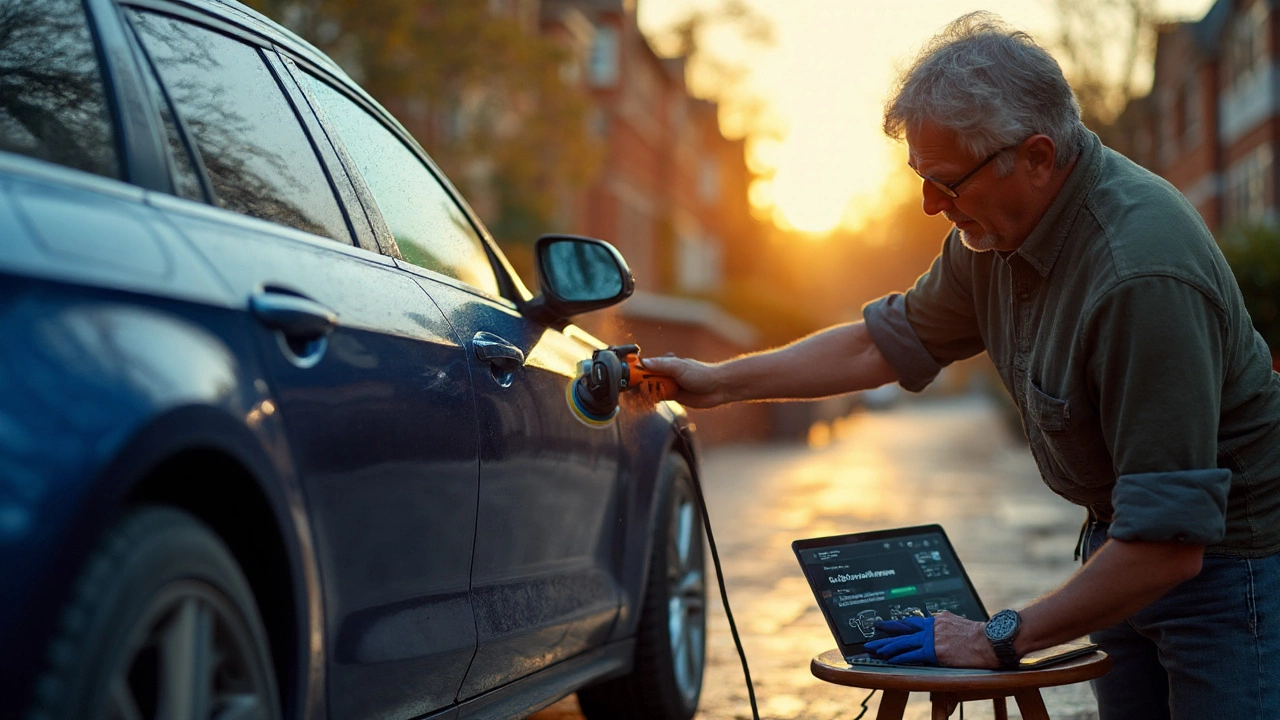
- If you live in an apartment with no hose, choose a rinseless/quick-wash kit and a battery sprayer. You’ll actually use it.
Here’s a simple cost check you can run:
- Per-wash cost = (Kit price - reusable tools value) ÷ expected washes + replenishments per wash.
Example: AUD $199 kit with $80 of reusable towels/mitt/buckets. Chemicals last ~12 washes. Per-wash = ($119 ÷ 12) ≈ $9.90. If a hand wash costs $25-$45 locally, the kit pays off fast-assuming you do the work and don’t mar the paint.
“Most wash‑induced defects are created during the wash and dry process, not by harsh chemicals.” - International Detailing Association training materials
That’s why the quality of the wash mitt and drying towel matters more than flashy bottle claims. A mediocre shampoo with a great mitt and safe technique beats a premium shampoo with a crusty sponge every day.
How to choose the right kit and use it without scratching
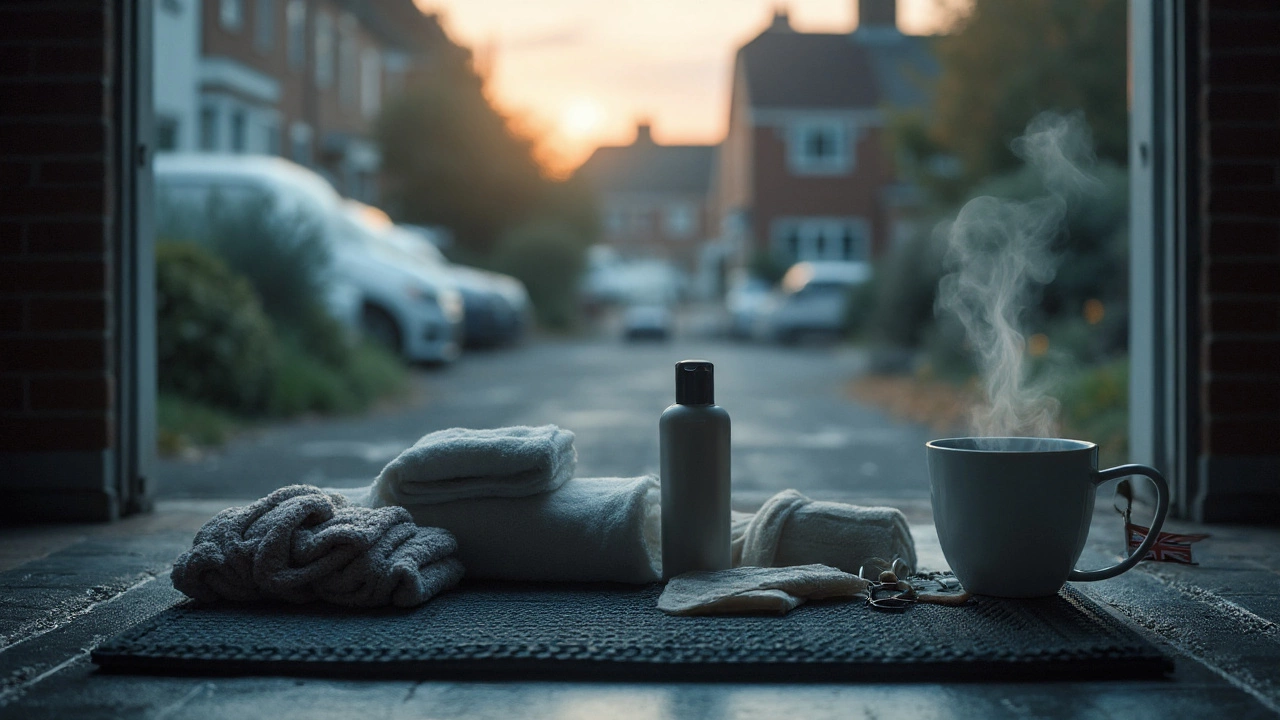
Start with your use case, not the brand.
Pick by job
- Weekly/fortnightly wash: pH‑neutral shampoo, foam or rinseless option, decent wash mitt, 2 buckets or a bucket + grit guard, 1 big drying towel, quick detailer/sealant.
- Quarterly deep clean: iron remover, tar remover if you do highway runs, clay bar/clay towel + lubricant, light polish (hand or DA), longer‑lasting sealant.
- Interior refresh: dedicated interior cleaner (non‑greasy), soft brush, glass cleaner, 2-4 low‑lint microfibres.
What to look for on the label
- Shampoo: “pH neutral”, “lubricity”, “wax/ceramic safe”. Skip “wash + wax” combos-you want control over protection.
- All-Purpose Cleaner: clear dilution ratios (e.g., 1:10 interior, 1:4 tyres). No mystery “one product for all surfaces.”
- Iron remover: Thiol/mercaptan smell is normal. Look for colour change indicator and safe-for-clearcoat notes.
- Sealant: SiO2 spray that claims 2-4 months real‑world; UV resistance matters in Queensland sun.
- Microfibre: 300-500 GSM for general towels, 500-1200 GSM drying towel. Edgeless or silk‑edged to reduce marring.
Red flags
- Scratchy “free” towels/pads, no listed GSM or blend (70/30 or 80/20 poly ratio is common).
- Greasy interior “shine” dressings that streak on hot days.
- No dilution guidance on cleaners-easy to misuse.
- Kits that swap in fillers/gloss enhancers instead of real protection.
Prices in Australia (2025 snapshot)
- Basic wash kit: AUD $60-$120
- Maintenance kit with sealant + towels: AUD $150-$250
- Correction bundle (hand polish + pads): AUD $180-$350
- DA polisher combo: AUD $350-$600+
Pro exterior details in Brisbane commonly sit between AUD $180 and $400 for a wash/decontam/protection, higher for machine polishing. If you maintain monthly, a kit often beats paying a pro every time.
Brisbane context that changes the math
- High UV: Products degrade faster. Expect 2-3 months from a spray sealant parked outside, not the “6 months” on the label.
- Storms and humidity: Water spotting is common. A hydrophobic sealant helps drying and reduces spotting.
- Water restrictions pop up: Keep a rinseless wash or pump sprayer in your kit as a backup.
- Near the coast: Iron and salt fallout stick. Use an iron remover quarterly if you park outdoors.
Step-by-step: your first wash with a new kit
- Work in shade on cool paint. Morning or late arvo is your friend.
- Pre-rinse or pre-foam to knock off grit. No hose? Use a pump sprayer with rinseless mix to pre‑soak.
- Two-bucket wash: One soap, one rinse. Glide the mitt in straight lines; don’t scrub circles. Flip the mitt often.
- Rinse top to bottom. If rinseless, use multiple soaked towels and a light touch.
- Dry with a clean drying towel. Lay it on and drag; don’t rub. Blot remaining drops.
- Protection: Mist a light SiO2 sealant onto a towel, wipe a half‑panel, then another towel to buff. Thin is in.
- Glass: Dedicated glass cleaner, two towels-one to clean, one to buff. Do the inside last.
- Interior: Gentle cleaner, light agitation, wipe off. Keep it matte. Greasy dashboards attract dust and glare.
Quarterly decontam add‑ons (30-45 minutes extra)
- After the wash, spray iron remover on lower panels and wheels. Let it react; don’t let it dry. Rinse.
- Spot tar remover behind wheels if needed. Rinse.
- Clay with a proper lube until the surface feels glassy. Rinse/wipe.
- Spot‑polish test area by hand or DA. If improvement is good, do the car lightly; if not, stop and reassess.
- Apply a longer‑lasting sealant or topper.
Heuristics that save time and paint
- Budget split: roughly 50% on towels/mitt/buckets (reusable), 40% on chemicals, 10% on brushes/applicators.
- Sticker test: If a new towel snags on a clean plastic badge, it’s too grabby for paint.
- One panel, one towel face: Fold your microfibre in quarters; flip to a clean face each panel.
- Don’t chase perfect. A 90% wash you repeat monthly beats a rare, exhausting “full detail.”
| Option | Upfront Cost (AUD) | Reusables Value | Est. Washes (12 months) | Per-Wash Cost (Chemicals) | Time/Session | Skill | Best For |
|---|---|---|---|---|---|---|---|
| Starter kit (wash + sealant) | $150 | $70 (towels/mitt) | 12 | ~$6.70 | 45-60 min | Beginner | New car, quick maintenance |
| Mid maintenance kit (adds iron remover + clay) | $220 | $90 | 12 | ~$10.80 | 60-90 min | Beginner-intermediate | Outdoor‑parked car |
| A la carte (pick each item) | $260 | $110 | 12 | ~$12.50 | 60-90 min | Any | Specific brand preferences |
| Pro exterior detail (per visit) | $180-$400 | - | 1 | $180-$400 | 2-4 hours (you wait) | Pro | One‑off reset, resale prep |
Note: Costs are typical for 2025 in Australia and vary by brand and retailer. Your actual per‑wash cost drops as you reuse towels and buckets for multiple years.
Comparisons, scenarios, checklist, and your next moves
Best for / Not for
- Basic kit: Best for time-poor owners who want fast, safe maintenance. Not for heavy correction.
- Mid kit (with decon): Best for outdoor parking and highway use. Not for neglected paint with etching.
- Correction kit: Best for enthusiasts ready to learn. Not for rental/apartment users with no workspace.
- Coating kit: Best for garage access and careful prep. Not for rushed weekend warriors.
Real‑world scenarios
- Apartment dweller (no hose): Get a rinseless wash kit, multiple plush towels, a pump sprayer, and a spray sealant. Wash in the car park without flooding the place.
- Tradie ute: Focus on strong APC (clear dilutions), wheel/tyre cleaner, durable spray sealant. Expect more frequent washes due to dust and site grime.
- Family SUV: You need interior cleaners that are safe on baby-seat plastics and fabric, plus a big drying towel. A quarterly decon keeps white paint from looking speckled.
- Weekend sports car: A gentler routine with a plush mitt and a boutique sealant. Consider a cover if parked outside.
Kit checklist: what should be inside
- Wash: pH‑neutral shampoo, quality wash mitt, grit guard or second bucket workaround.
- Dry: 1-2 high‑GSM drying towels, plus 2-4 edgeless microfibres.
- Protect: SiO2 spray sealant (2-4 months realistic), applicator or towel.
- Decon (optional): Iron remover, clay media + lube.
- Interior: Non‑greasy cleaner, soft brush, glass cleaner.
- Basics: Clear dilution bottle, labels, a few zip bags to separate clean/dirty towels.
What to skip in a kit
- Shiny tyre gel that slings or browns in the sun-choose a water‑based dressing.
- “All-in-one miracle” products for every surface. Control matters.
- Ultra‑cheap microfibre bundles that feel like felt. They mar paint.
Pitfalls that kill value
- Cross‑contamination: Wheel towels touching paint. Keep wheel gear separate forever.
- Direct sun use: Products dry and streak, forcing rewashes.
- Wrong dilutions: Over‑strong APC can stain or dry out plastics.
- Heavy compounding on thin clear: Modern clear coat is often ~40-60 microns. Don’t chase perfection with aggressive pads.
Mini‑FAQ
- Are ceramic coating kits worth it? If you have indoor space and patience, yes. Expect 2-3 years in real outdoor Brisbane conditions if prepped and maintained. If not, a spray sealant every 6-8 weeks is simpler and nearly as glossy.
- Can I use these kits on matte paint? Skip anything that adds gloss (waxes, many sealants). Use matte‑safe cleaners and sealants labeled for satin finishes.
- Is rinseless washing safe? With plenty of clean towels, proper dilution, and gentle technique, yes. Great during water restrictions.
- How many towels do I really need? For one car: 1 drying towel, 2 wash mitts (one for lower panels), 6-8 edgeless microfibres for paint, 2 for glass, 2 for interior. Wash them separately from household laundry.
- How long does a 500 ml sealant last? Typically 8-12 full applications on a midsize SUV when applied thin. Store cool; heat kills shelf life.
Next steps
- Decide your kit type: maintenance vs. maintenance + decon. If your paint looks fine in sunlight, skip correction kits for now.
- Check the towel quality first. If they feel scratchy or shed lint, replace them and keep the chemicals.
- Plan a 60-90 minute window in shade. Wash, protect, glass, interior touch‑up. Done.
- Set a simple cadence: wash monthly, decon quarterly, reapply sealant every 6-8 weeks if parked outside.
- Keep a small “booster” bag in the boot: quick detailer, glass towel, one plush towel. Handy after storms or bird drops.
Troubleshooting
- Streaky sealant: You used too much or the panel was hot. Lightly mist a towel with the same product and rebuff panel‑by‑panel.
- Water spots after drying: Use distilled water for the final rinse or add a drying aid. Top up protection-hydrophobics help sheets roll off.
- Hazing after hand polish: Product dried on. Rework with a tiny amount, smaller sections, and immediate wipe‑off.
- Linty towels: Prewash new towels, low heat dry, no fabric softener. If lint persists, relegate those towels to interiors or tyres.
- APC too strong: If plastics look chalky, dilute more and follow with a dressing made for interiors (matte).
One last sanity check: A kit earns its place if it makes you wash more often with less hassle and fewer defects. If it doesn’t do that, it’s not the right kit-swap the towels, adjust the products, and try again. Clean, glossy, protected, and repeatable. That’s your win.

