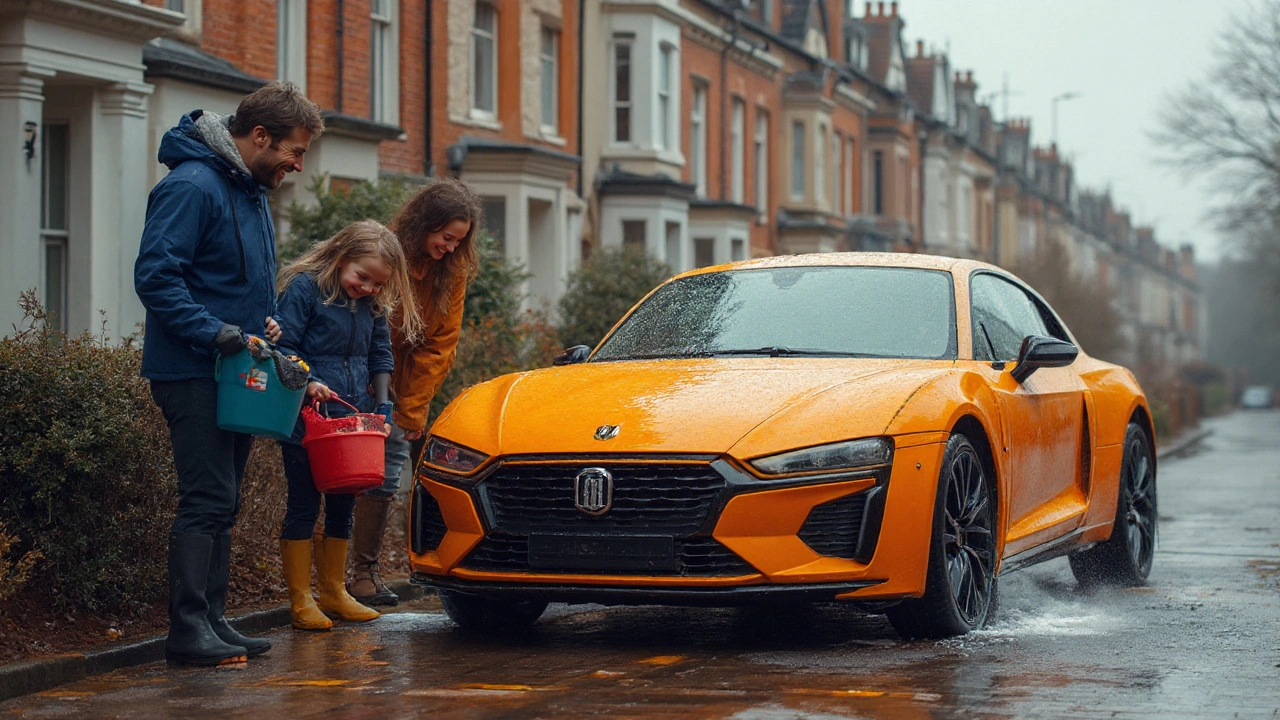
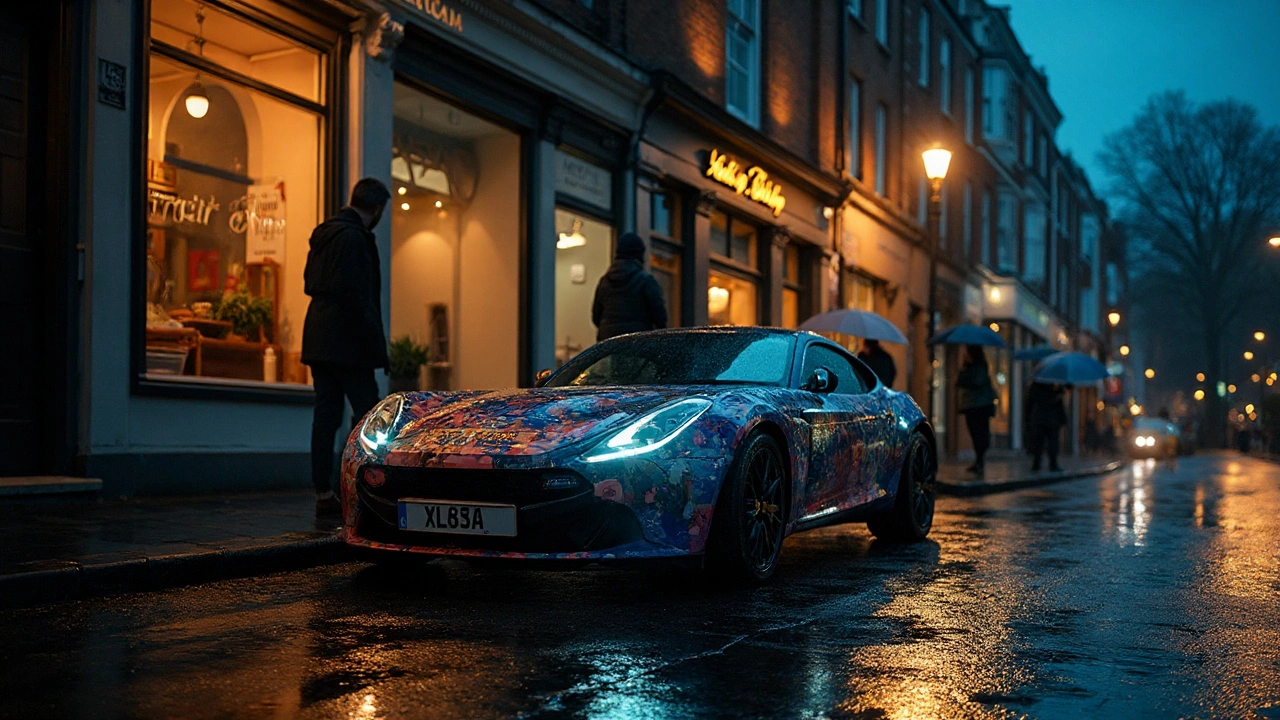
You can spot a wrapped car from a mile away—they’ve got this head-turning glow that regular paint just can’t touch. But here’s the thing most people don’t talk about: keeping a wrapped car looking sharp isn’t as simple as it sounds. Start blasting it with harsh chemicals or scrubbing like you’re cleaning a barbecue grill, and you’re gonna turn that wrap matte, streaky, or even peel it right off. Think keeping a wrap clean is just about soap and water? Try again. These things are pickier than you expect, and one bad wash can wreck months of that “brand new” shine. Vinyl wraps are durable, sure, but they play by totally different rules than painted surfaces do. Keeping your wrap fresh comes down to what you use, how you use it, and straight-up patience. Ready to keep your ride looking fresh for years without stress? Here’s the lowdown from someone who’s made every mistake in the book—and doesn’t mind saving you from the same headaches.
The Truth About Car Wraps: What Makes Cleaning Them Different?
If you’ve ever run your hand over a vinyl-wrapped car, you’ll know what a game changer it is. The texture’s just different. But what some folks miss is that this isn’t just about looks—vinyl wraps don’t really breathe like paint does. Most car wraps are made from chunks of polyvinyl chloride (PVC) with a sticky side that clings to your clear coat. They flex, they absorb a little heat, but most importantly, they’re thinner and a lot more sensitive than a thick coat of paint and clear. That means the stuff you might use on a classic paint job—acidic cleaners, bug removers, stiff brushes—are way too aggressive for a vinyl wrap. Try using those, and you’ll see fading, cracking, or brown edges within a few washes. Not only that, but since wraps aren’t bonded chemically to the car body, they can actually lift and peel from just the wrong splash of high-pressure water.
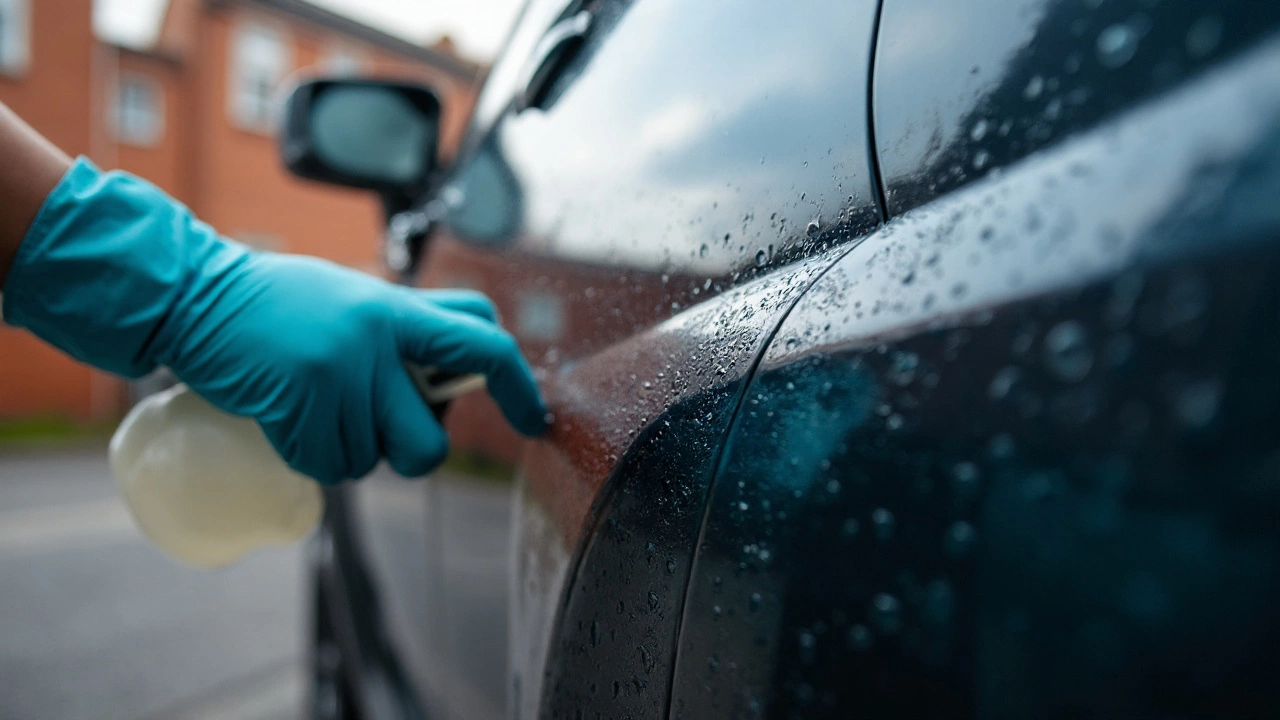
The other thing most people get wrong about cleaning wraps? They think "water is water," but the minerals in tap water can absolutely wreck a matte or satin wrap if you don’t dry it right. Those white chalky spots are almost impossible to get out later, especially on dark wraps. Some wraps even soak up weird odors or discolor with regular dish soap. That’s why pro shops always use pH-neutral soaps—nothing too alkaline or acidic, just a gentle cleanser that cuts grime without stripping or staining the wrap materials. Paint-safe soap works, but specialty vinyl wrap shampoos go the extra mile with additives designed to protect and nourish the vinyl.
When it comes to tools, vinyl wraps are allergic to anything remotely abrasive. Stiff brushes, course sponges, and even rough towels can leave tiny scratches called micro-marring. Over a few months, these add up, turning your sick satin finish into a blotchy mess. Microfiber wash mitts—high quality, plush, and clean—are the only way to go. Forget “old T-shirts” or “retired bath towels,” unless you want swirl marks that catch the sunlight and make you cringe every time you see them. And don’t get me started on car washes—the full-contact roller type? That’s a straight ticket to peeling, bubbling, or even color fade along the body lines. Ask any vinyl installer, and they’ll tell you the same: if you love your wrap, keep it away from brush automatic car washes.
Step-By-Step: How to Wash a Wrapped Car Without Ruining It
So, what’s the foolproof way to keep your car wrap clean and looking high-dollar? Here’s the routine that actually works without stress. First, park your car in the shade. Washing wraps in direct sunlight is just asking for spots and streaks, since the soap or water dries before you can rinse. Next, get your supplies ready:
- Two buckets: One for soapy water, one for rinsing.
- Car wrap-specific or pH-neutral car shampoo (no dish soap, no hand soap, zero harsh stuff).
- A plush microfiber wash mitt (not a sponge, definitely not a brush).
- Soft microfiber drying towels (clean, no fabric softener residue).
- A gentle hose nozzle (avoid pressure washers if you can—if you have to, keep the pressure below 1300 psi and hold the nozzle at least a foot away from the vinyl, at a 30-degree angle).
Start by rinsing the car thoroughly. Dust and loose grit are the enemy—rub those into the wrap and you’ll grind scratches right in. After the rinse comes the two-bucket method: Dunk your mitt in the suds, wash one panel at a time, then dunk it in the rinse bucket and reload with new soap before moving on. Always wash from the top down—roofs first, rockers last. The lower panels are dirtier, and starting there will drag grit everywhere else.
If you find a stubborn bug or bird mess, don’t go scrubbing. Let a microfiber towel soaked in soapy water sit on the spot for a few minutes, then wipe gently. Most wraps have a dirt-repelling clear top layer, so you just need time for the soap to work—not elbow grease. Wash each section methodically, rinsing every few minutes to keep soap from drying on. Skip any wax or cleaner labeled "petroleum,” “abrasive,” or “polish”—those eat away at vinyl. Yes, even those labeled “natural” can be nasty if you look at the small print, so check those ingredients or stick to trusted wrap-safe products.
When you’re ready to rinse, do it thoroughly. Leftover soap can actually fade colors or even cause bubbling, especially with lower quality wraps. Then comes drying. Air drying is risky—dust will stick, and those mineral spots will haunt you for months. Grab a clean microfiber towel (or two) and gently pat the surface dry. Don’t drag the towels—just lay them on the panel, then lift. This “blot” method won’t scratch the wrap and helps mop up more water. If you’ve got access to a big air blower (without a heat function), that’s even better—just don’t blast too close or you’ll risk lifting edges.
Last step: walk around your car and check for streaks, marks, or leftover residue. On matte and satin wraps especially, missed fingerprints or streaks turn shiny in the right light. If you spot any, hit them again with a tad more diluted soap and a fresh towel, polishing in one direction only. Don’t swirl—you’ll see the marks later.
- Pro tip: never use turtle wax or traditional wax meant for painted cars. Some synthetic sealants are made for wraps, but if you’re not 100% sure, skip them—sometimes, these leave white residue that’s stubborn or even eats into the vinyl.
Want a rapid summary for those in a rush? Here’s the order:
- Rinse car gently to remove loose grime.
- Wash with a soft mitt, pH-neutral soap, and two buckets.
- Tackle tough spots by soaking, not scrubbing.
- Rinse fully—don’t let soap dry on.
- Pat dry with microfiber towels, never rub.
- Avoid wax unless it’s certified for wraps.
Real-World Tips: Keep That Vinyl Wrap Pristine for Years
There’s more to how to wash a wrapped car than just cleanliness. It’s about preservation. Do it the wrong way, and you’re setting yourself up for vinyl failure in a year, maybe two. With the right attention, a quality wrap—with a solid install—should last up to 5-7 years before fading, peeling, or cracking. But sunlight, bad washing routines, and city grime can cut that short fast.
Here are some hard-earned tips most car wrap owners swear by. First, always hand wash—period. Automatic car washes with brushes love to rip up the edges or leave faint swirl marks you’ll only regret when the sun hits right. Touchless car washes are safer, but only if the pressure isn’t cranked to max and the detergents aren’t harsh enough to strip away wrap laminates. If you must use a pressure washer, keep the jet under 1300 psi, spray at a shallow angle, and NEVER aim straight into seams or edges—blasting those areas can cause instant lifting or bubbling.
Next, don’t forget about the climate. If you live somewhere with brutal sun, those UV rays can turn gloss vinyl wraps into faded, chalky versions of their former selves. Think about parking in the shade or tossing on a car cover if you’re not driving every day. There are actually UV-protectant sprays formulated just for vinyl wraps—these help block out harmful rays, especially if you’re in places like Arizona or SoCal where sunshine is relentless. Apply these sprays every couple of washes or at least seasonally. It’s an easy extra step for long-term protection.
Mud, bird droppings, fuel spills, and tree sap are your enemies. Vinyl wrap films get damaged quickly by stuff that sits and bakes on in the summer heat. The acid in bird crap or the chemicals in bug guts will permanently etch into the vinyl if you leave them more than a couple hours, especially on matte and satin finishes. Clean that junk immediately, even if it’s just a quick spritz of water bottle and towel until you can do a full wash later.
If you spot dull or faded areas, don’t reach for colored wax or polish. Many car wraps (especially printed or color-shift vinyls) actually fade unevenly if you try to "touch up" with paint or tinted products. If the wrap looks seriously worn, it’s usually best to live with it or consult a pro for a partial replacement. Trying to “mask” faded vinyl with polishes or waxes almost always makes it worse.
One more thing—don’t neglect the seams, door jambs, and the edges around badges. Water and grime can kick up there, get trapped, and lead to bubbling or failed adhesive over time. Run a soft towel, just barely damp, around those tricky spots after every wash. It takes an extra minute, but keeps the wrap edges sharp for years longer.
Biggest mistake I see people make? Using their daily driver wash tools—meaning, a mitt and towel that’s lived through dozens of washes and picked up thousands of tiny sand particles. Even microscopic grit trapped in wash mitts or towels will gouge a wrap’s soft surface on the very first swipe. Solution: wash those towels and mitts separately, with gentle detergent (no bleach or fabric softener ever), and retire any that feel rough or look grayish or dirty.
Still thinking about those wrap-specific cleaners and sprays on the market? Some are awesome. Brands like 3M, Avery Dennison, and Gyeon have products made exclusively for maintaining vinyl wraps without damaging the finish. A little research goes a long way, and for a car that costs thousands to wrap, it’s a no-brainer. Just make sure to always test any new product on a hidden corner—different wraps react differently, especially color-shifting or chrome wraps, which are notoriously fussy.
It’s worth repeating: avoiding trouble with wraps isn’t rocket science. Skip harsh chemicals, never scrub hard, dry promptly, and check for trouble spots after every wash. Most wrap failures come from rough washing—not aging or the product itself. Be gentle, keep it clean, and your ride will turn heads just as much five years from now as it does today. Thinking about cutting corners? Ask yourself how much you want to pay for another wrap job in a year or two. Easy call, right?