Body Kit Cost Calculator
Calculate Your Body Kit Installation Cost
Estimate total costs including parts, installation, and additional requirements.
Estimated Total Cost
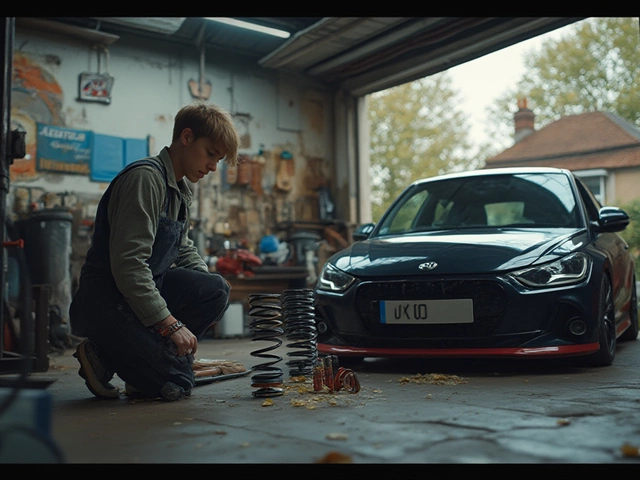
Thinking about adding a body kit installation to your ride? Before you order that sleek set of side skirts and a rear spoiler, you need to know whether it will actually fit, what the law says, how much it will cost, and whether you can bolt it on yourself or should hand it over to a pro.
What Exactly Is a Body Kit?
Body kit is a collection of exterior components-usually a front bumper, side skirts, rear bumper, and spoiler-that replace or augment a vehicle's factory panels. These parts are made from materials such as fiberglass, a lightweight composite used for its ease of shaping and low price, polyurethane (flexible, resistant to dents) , or premium carbon fiber (ultra‑light, high‑cost). The goal is to change the car’s look, improve aerodynamics, or both.
Is Your Car Model Compatible?
The first job is to confirm fitment. Not every kit is universal; most are engineered for specific makes, model years, and even trim levels. Here’s how to check:
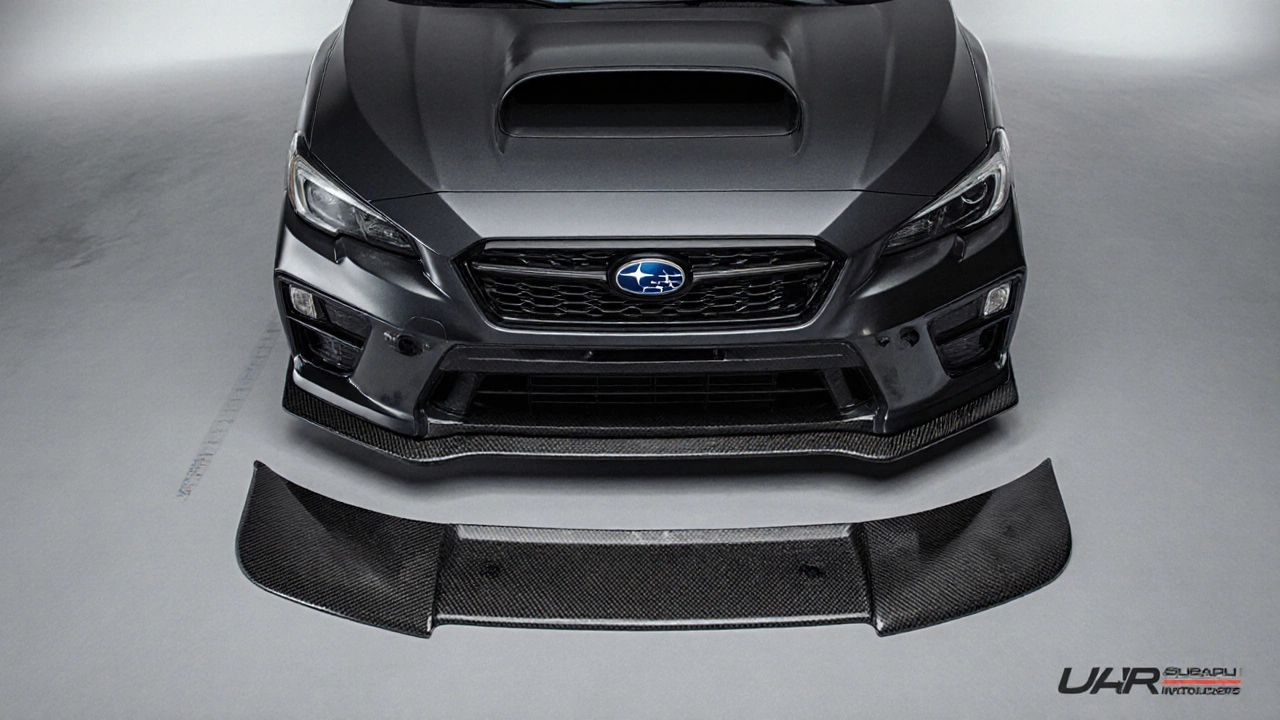
- Identify your exact car model (make, model, year, and engine code). For example, a 2022 Subaru WRX Sport differs from a WRX Limited in bumper mounting points.
- Visit the kit manufacturer’s website and use their fitment guide. Look for a dropdown that matches your VIN or model details.
- Read the installation notes for any required modifications-sometimes you’ll need new mounting brackets or reinforcement plates.
If you can’t find a perfect match, consider a universal kit, but be prepared for extra drilling, custom welding, or buying adapter brackets.
Legal Landscape Down Under
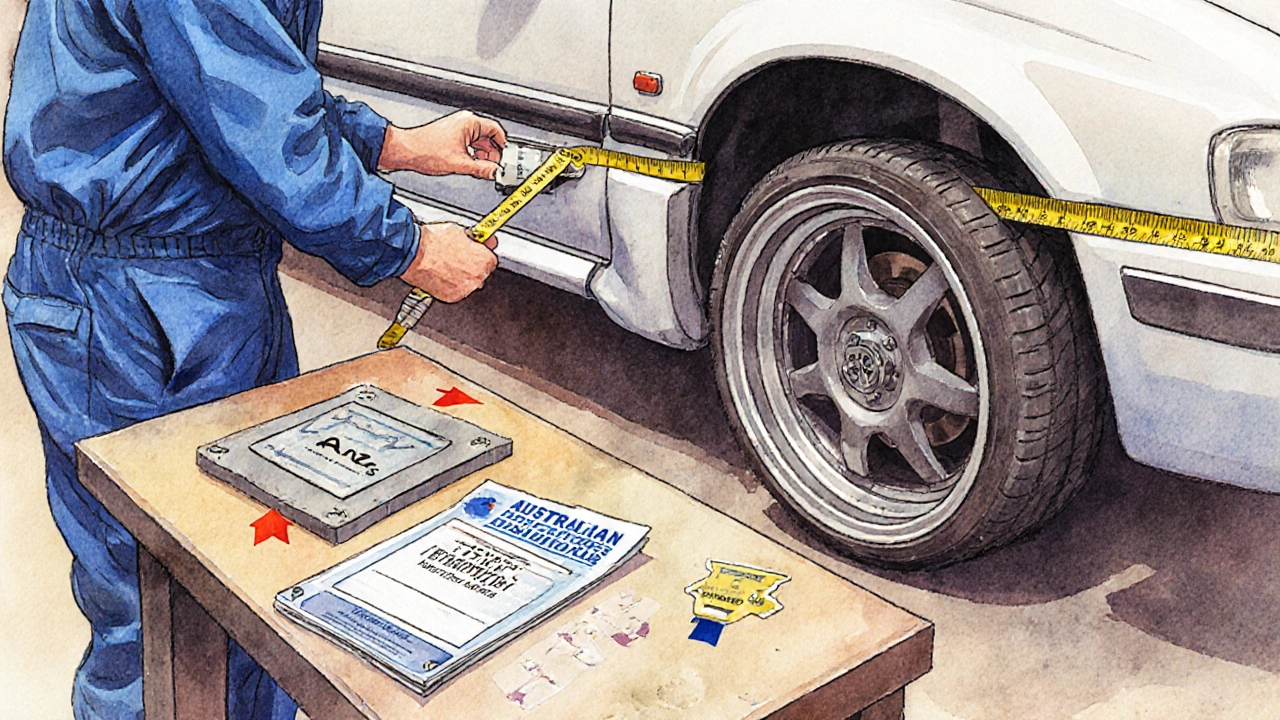
In Australia, a body kit is more than a visual upgrade; it must obey the Australian Design Rules (ADRs). These standards cover vehicle dimensions, lighting, and crash safety. Here’s what to watch out for:
- Width and overhang: Adding wide side skirts can push the vehicle’s track beyond the legal limit (usually 20mm beyond the factory width). Exceeding this may require a compliance plate.
- Rear visibility: A spoiler that obstructs the rear window can breach ADR 13/01, affecting the car’s registration.
- Mounting integrity: Modifications must not weaken crash structures. If you replace a bumper with a lightweight version, ensure it still meets impact‑absorption criteria.
- Insurance implications: Some insurers treat non‑approved kits as a higher risk, potentially raising premiums.
To stay on the right side of the law, either choose a kit that’s already VCA (Vehicle Certificate of Authority) approved, or arrange a compliance inspection after installation.
Cost Breakdown: From Purchase to Finish
Understanding the total spend helps you avoid sticker shock. Prices vary widely based on material, brand, and installation method.
| Material | Typical Price (AUD) | Weight Impact | Durability |
|---|---|---|---|
| Fiberglass | $800‑$1,200 | ‑5kg vs stock | Prone to cracking on impact |
| Polyurethane | $1,200‑$1,800 | ‑3kg vs stock | Flexible, resists dents |
| Carbon Fiber | $2,500‑$4,500 | ‑10kg vs stock | High strength, expensive to repair |
Installation costs add another $300‑$800 if you go to a professional shop. DIY enthusiasts can save that money but should factor in tools-torque wrench, drill, masking tape, and a proper jack system-plus the time investment (often 6‑12hours for a full kit).
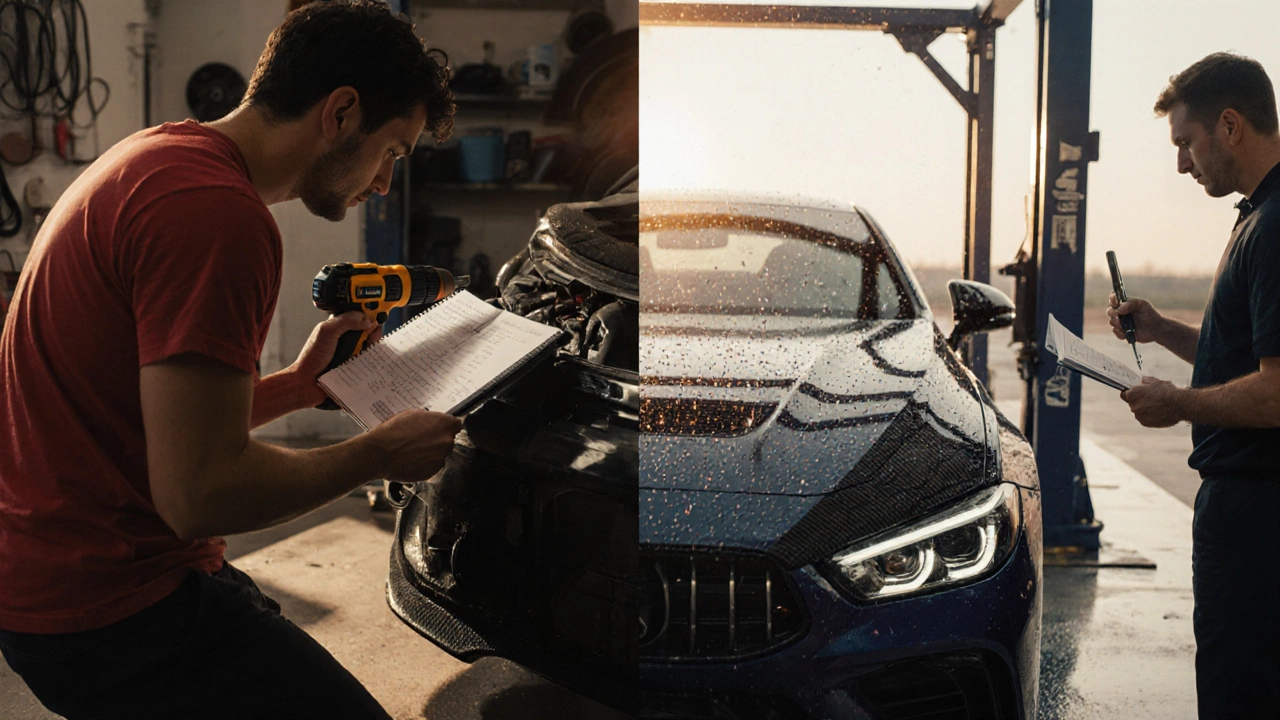
DIY vs Professional Installation
Deciding who should do the work hinges on skill, tools, and risk tolerance.
- DIY pros: Lower labor cost, complete control over fit, satisfaction of a hands‑on project.
- DIY cons: Mistakes can damage paint, misalign panels, or compromise safety. You’ll need a torque wrench to tighten bolts to spec, especially on the front bumper.
- Professional pros: Shops have alignment rigs, expertise in dealing with hidden fasteners, and can certify compliance with ADRs.
- Professional cons: Higher cost, need to schedule time, and you relinquish some control over the final finish.
If you’re comfortable with basic mechanical work and have a clean workspace, a DIY install can be rewarding. Otherwise, a reputable professional installer-preferably one experienced in aerodynamic upgrades-will give you a smoother result.
Step‑by‑Step Overview of a Typical Installation
- Prep the vehicle: Park on a level surface, engage the parking brake, and lift the car with a hydraulic jack. Secure with jack stands.
- Remove factory panels: Unbolt the existing bumper, side skirts, and rear bumper. Keep all hardware organized for reference.
- Test‑fit the new pieces: Align the body kit components without fastening. Check for interference with headlights, fog lamps, and the rear license plate. \n
- Modify as needed: If the kit requires cut‑outs for cooling ducts or new mounting points, use a D‑remodel saw or a rotary tool. Apply a light coat of primer to any exposed metal.
- Attach mounting brackets: Install any supplied brackets or reinforcement plates. Tighten bolts to the manufacturer’s torque specification (often 10‑15Nm for polyurethane clips).
- Fit the kit: Secure the front bumper, then side skirts, and finally the rear bumper and spoiler. Double‑check alignment with a straight edge or tape measure.
- Reconnect electrical components: If the bumper houses fog lights or sensors, re‑plug the connectors and test for proper operation.
- Finishing touches: Mask the edges, spray‑coat the kit to match your paint (or apply a wrap), then remove masking and polish the seams.
- Compliance check: Have the vehicle inspected by an authorized engineer or a VCA‑approved station to confirm ADR compliance.
Throughout the process, keep a notebook of torque values, part numbers, and any deviations. This record helps if you need to undo the kit later or sell the car.
Common Pitfalls and How to Avoid Them
- Incorrect fitment: Skipping the fit‑check step leads to forced panels, which can crack. Always dry‑fit before drilling.
- Missing reinforcement: Light kits may flex under load, causing rattles. Use supplied brackets or aftermarket reinforcement plates.
- Poor paint match: A mismatched coat stands out. Take a small paint chip to a body shop for a correct colour code.
- Ignoring legal limits: Over‑wide kits can be fined at registration. Verify dimensions against ADR specifications.
- Neglecting aerodynamics: A rear spoiler that’s too large adds drag, hurting fuel economy. Choose a design tested for your vehicle’s speed range.
Maintenance Tips to Keep Your Kit Looking Fresh
Once the kit is on, treat it like any other exterior surface.
- Wash with a pH‑balanced car shampoo to avoid degrading polyurethane surfaces.
- Apply a UV‑protectant wax every 2‑3 months, especially for fiberglass, which yellows under sun exposure.
- Inspect mounting bolts quarterly; tighten if any have loosened due to road vibration.
- Check for stone chips after long highway trips and repair promptly to prevent corrosion.
Regular care extends the kit’s life and keeps your car’s styling sharp.
Frequently Asked Questions
Will a body kit affect my car's warranty?
Most manufacturers won’t void the entire warranty, but any damage caused by the kit’s installation (e.g., bumper cracks) won’t be covered. It’s wise to keep the original panels in case you need to revert.
Do I need a compliance plate for a new rear spoiler?
If the spoiler changes the vehicle’s overall length or height beyond the limits set in the ADRs, a compliance plate is required. Many reputable kits come with a VCA certification that eliminates the need for an extra plate.
Can I install a body kit on a leased car?
Leasing contracts usually forbid permanent modifications. You would need written permission from the leasing company, and you must restore the car to its original state before the lease ends.
How much weight can I actually save with a carbon‑fiber kit?
A full carbon‑fiber kit typically shaves 8‑12kg off a car that originally weighs 1,300kg. The real world impact shows modest improvements in acceleration and handling, especially on track days.
Is it safe to drive with a body kit on rough roads?
Yes, provided the kit is properly mounted with reinforced brackets and the bolts are torqued to spec. Weakly attached panels can detach on severe impacts, so regular checks are essential.