Lowering springs carry an allure for car enthusiasts, driven by their ability to enhance both the style and performance of a vehicle. But the question on many minds remains: are these springs hard to install? With the right guidance and insights, this task can be accessible even to those who are relatively new to car modifications.
The world of lowering springs is fascinating, offering a blend of aesthetic appeal and tangible improvements in handling. Before diving into the nuts and bolts, it’s important to grasp what these components truly offer. They sit at the heart of your vehicle's suspension, lowering the ride height for a sportier look and improved cornering capabilities.
For those eager to embark on this journey, knowing what tools are essential and getting a feel for the project at hand will prepare you for success. While the task isn’t devoid of its headaches - like stubborn bolts or stiff struts - having a roadmap through the process will greatly ease any potential tension.
- Understanding Lowering Springs
- Tools Needed for Installation
- Step-by-Step Installation Process
- Common Challenges and Solutions
- Maintenance After Installation
Understanding Lowering Springs
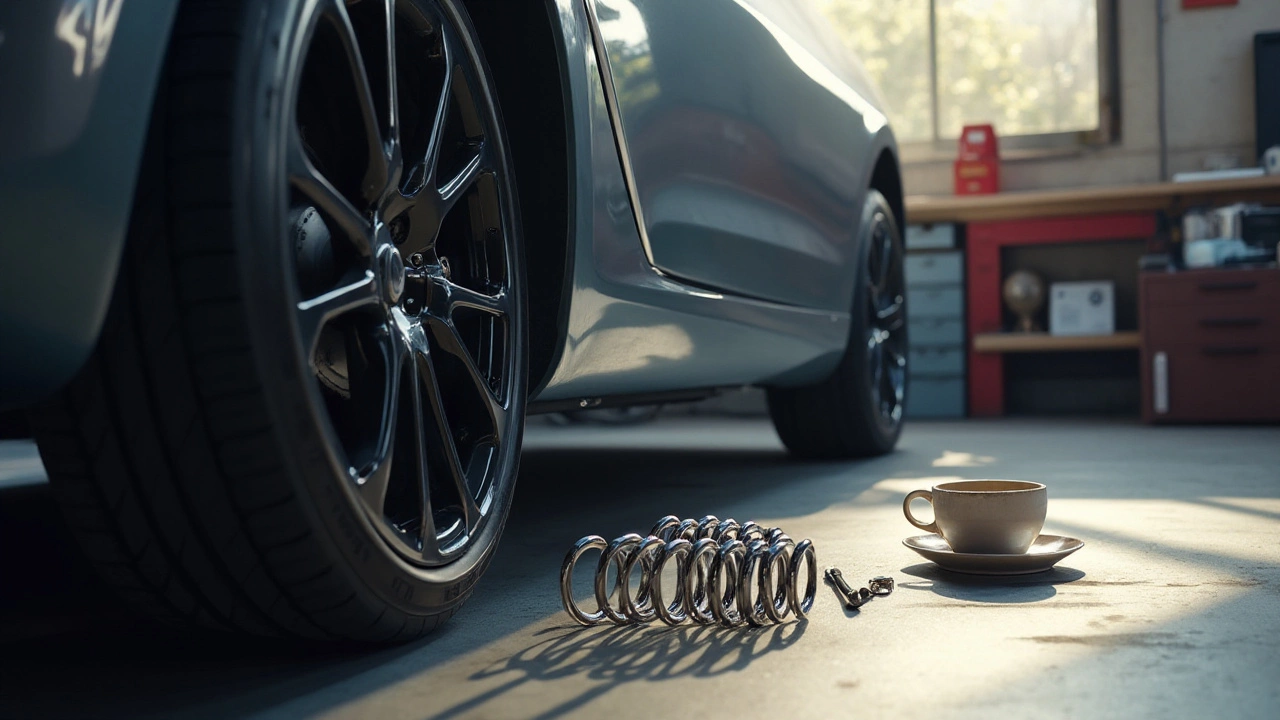
The appeal of lowering springs goes beyond their sleek look. These ingenious devices are designed for those who crave an improved driving experience and wish to add a touch of aesthetics to their vehicle. Lowering springs reduce the distance between the car body and the ground, resulting in a lowered center of gravity. This adjustment leads to less body roll when cornering, which enhances handling and stability, both highly desired traits in any sporty vehicle.
When diving into the mechanics, it's essential to understand that springs are an integral part of your car's suspension system, which comprises various components like shocks, struts, and linkages. While springs support the vehicle’s weight and determine its ride height, they also work in tandem with damping components to absorb shocks from road surfaces. Installing lowering springs typically stiffens the ride, meaning you'll feel more from the road – an experience many driving enthusiasts relish, while providing a performance edge by increasing tire contact when navigating tight corners.
The Science Behind the Drop
Why exactly do lowering springs offer better performance? The magic lies in physics. By lowering the center of gravity, these springs significantly reduce weight transfer during sudden maneuvers. This reduction translates to improved grip on the road, which can be a game-changer on a winding road or racetrack. As an added benefit, the streamlined posture of a car with a lowered suspension reduces wind resistance at higher speeds. So, not only does your car look stunningly aggressive, but it also slides through the air with greater ease.
"Form follows function—that has been misunderstood. Form and function should be one, joined in a spiritual union." - Frank Lloyd Wright
Though lowering springs provide these perks, it's important to note they are not a one-size-fits-all solution. Some cars might be better suited for coilovers, which offer adjustable ride heights and damping settings. Enthusiasts should weigh the benefits and drawbacks carefully, considering the unique demands of their driving habits and environmental conditions. Also, keep in mind the legal regulations in your area regarding vehicle ride height to avoid hassle.
Ultimately, the journey to understand and successfully install lowering springs is a mix of science, art, and personal preference. The transformation they bring can be profound, altering how you connect with your vehicle and the road beneath you.
Tools Needed for Installation
When it comes to embarking on the quest to enhance your vehicle with lowering springs, having the right set of tools can make or break the experience. Imagine making a soufflé without the right whisk or baking dish; the same principle applies here. To ensure a seamless installation, preparation is your best ally. Let’s dive into the arsenal required to successfully undertake this project. Think of it as the action movie of car modifications, where your only opponent is perhaps a stubborn bolt or two.
The first indispensable tool in this endeavor is a reliable jack and jack stands. These are non-negotiable, as they ensure your safety and provide the necessary lift to remove the wheels. A hydraulic floor jack is often recommended for its ease of use, providing a stable platform while granting ample access to your vehicle's undercarriage. Don’t skimp on quality here; this tool is your foundation, literally lifting the weight off your shoulders.
Next, you will need a set of wrenches and sockets. Invest in both metric and imperial sizes to cover the gamut of possible nut and bolt variations. Typically, a socket set ranging from 8mm to 22mm will adequately arm you for most vehicles. A compact cordless impact wrench can also save you time and arm fatigue, especially when tackling those more stubborn components. Keep an organized approach; know which sizes correspond to which parts of your vehicle, making the process as smooth as a Sunday morning drive.
"The right tools for the job make any task surmountable," says automotive expert and author of 'Road Ready: Car Modification Simplified', Jon Wright. "Preparation is about minimizing the unexpected, allowing for a more enjoyable project."
Springs compressors are imperative for safely removing and installing the new springs. This essential tool keeps the coil springs compressed during removal from the strut, preventing potentially dangerous scenarios from unfolding in your garage. Renting a spring compressor is often a cost-effective choice if you're not diving into spring installations regularly. Robust tools for DIY car enthusiasts, such as these, emphasize safety and functionality, providing peace of mind as you compress those energetic coils.
For those fine-tuned adjustments and to ensure alignment stays true, a torque wrench is another necessary addition. This tool will help you apply the precise force needed when reattaching key components, ensuring nothing is loose but also not overtightened. Accurate torque specifications are vital; consult your vehicle’s manual to verify settings, maintaining factory specifications or any noted adjustments for geometry changes post-installation. This attention to detail is where professionalism shines brightest, where the end of the day provides a car transformed, ready to hit the open road with improved stance and feel.

Step-by-Step Installation Process
When you're gearing up to install lowering springs, it's not just about getting the car looking sleek in the driveway; it's a journey of understanding and executing an upgrade that can transform driving dynamics. Let's simmer down the excitement for a moment and focus on the essential steps to get started. Prepare yourself for a rewarding experience, starting with gathering every tool you'll need to make the installation as smooth as possible. This step cannot be overstated enough; the right tools mean the difference between a day project and a weekend of frustration.
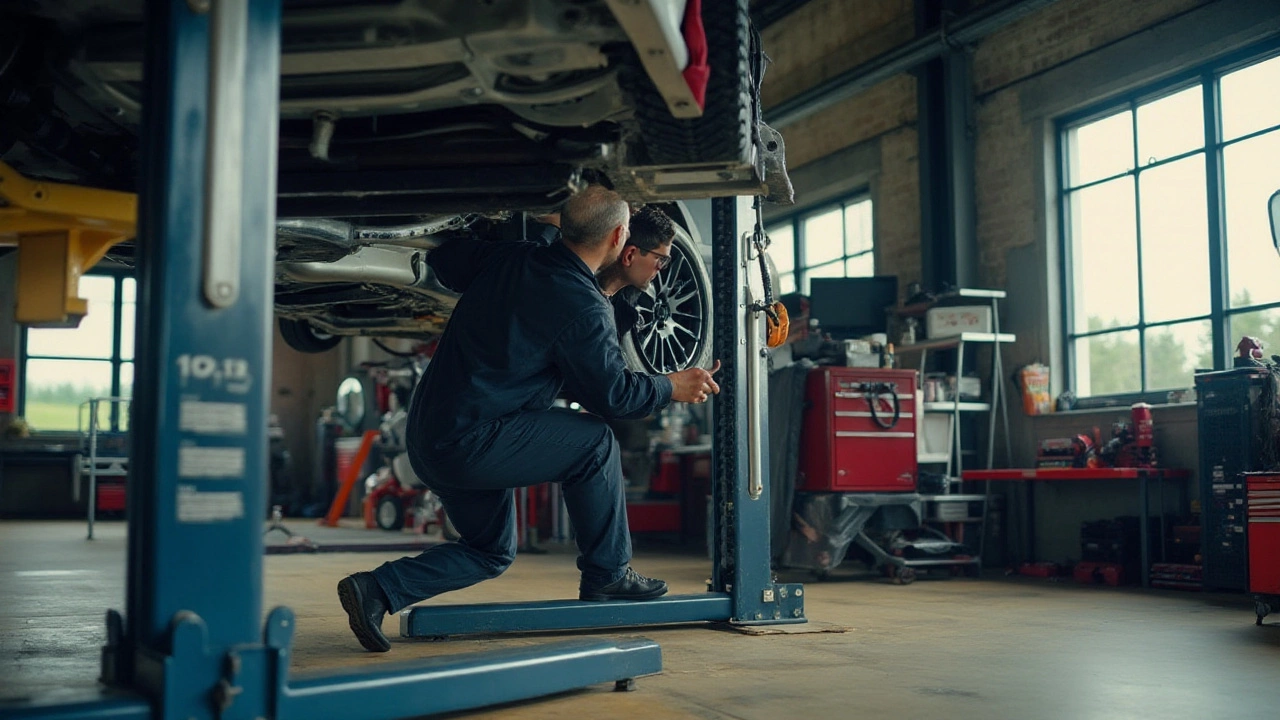
Diving into the initial stages, you'll want to get your car up on jacks. This step sets the stage for the entire operation, providing the necessary clearance to work safely and effectively. It's best practice to use jack stands here, offering stability that even the top-of-the-line hydraulic jacks can't guarantee. Once you are set, then comes the wheel removal. Sound intimidating? Fear not, it's simply unbolting the wheels to gain access to the suspension. A seasoned enthusiast might advise laying out each piece in order of removal—it can help tremendously when it's time to put it all back together.
With wheels off, your focus shifts to the suspension. Here, you'll be navigating strut assemblies or shock absorbers, depending on your vehicle's design. Unscrewing these requires some elbow grease, and possibly a helping hand if a bolt refuses to loosen. Removing the old springs can surprise you; did you know they are often under significant tension? That's why a spring compressor is not just a tool but a necessity. This device controls the release of tension and ensures safety during removal.
"Safety isn't just about protecting yourself, it's also about ensuring the best results for your efforts," stresses renowned mechanic Alex Shearer, highlighting the importance of taking precautions in such tasks.
With the old springs free, it's time to slot in the lowering springs. Here, precision is your ally. Ensuring the new springs fit snugly in their designated seats is crucial, as misalignment could lead to uneven wear or downright dangerous handling. Once everything's aligned, reverse the disassembly steps—securing the strut assembly or shock absorber, reattaching the wheels, and making sure every bolt is tightened to the manufacturer's specifications. Some might think we're almost done here, but a keen enthusiast knows the last critical step involves taking the car for a test drive. Why? To allow everything to settle into place and check for any unusual sounds or behaviours on the road.
Common Challenges and Solutions
Installing lowering springs can be a thrilling experience, yet it’s not without its share of challenges. One of the primary hurdles people encounter is dealing with rusted or seized components. Over time, bolts and struts might corrode, making it incredibly tough to loosen them without a fight. To combat this, penetrative oil is your best friend. Applying it generously and allowing it to sit can work wonders in loosening these stubborn parts. The patience here will pay off, saving components from potential damage.
The challenge doesn’t just end there. Another common issue is ensuring that the new springs fit perfectly. While springs are generally designed to be a direct fit, even slight deviations can lead to frustrating experiences. An error here can affect handling, making the car feel unsteady. Therefore, it's crucial to double-check the fit and ensure that everything aligns perfectly. A tip is to keep your car’s manual handy and even consult experts online or in forums for insights on specific car models. As Henry Ford famously noted,
"Coming together is a beginning, staying together is progress, and working together is success." This collective wisdom from fellow car enthusiasts often leads to brilliant solutions that textbooks might miss.
Another aspect that can trip up even seasoned car tinkerers is the compression of springs during installation. Many people underestimate the force that springs hold. It’s vital to use a proper spring compressor; attempting to bypass this with makeshift methods is not only ineffective but downright dangerous. Stay safe and ensure you have the right tools before you begin. A handy reminder is to always work on one corner at a time, reducing the risk of having your vehicle out of commission in case something goes awry.
Once the springs are in place, realigning the car is necessary, and this process sometimes brings its own set of challenges. Without a proper alignment, the benefit of having the springs won’t shine through, and the car might pull or drift. It’s important to have alignment checked by a professional unless you have access to advanced tools at home. An alignment incorrectly done can quickly eat into the joy of driving, causing uneven tire wear and performance issues.
To keep spirits high and mishaps low, remember that each challenge has been faced and overcome by countless individuals before you. Utilize available resources - whether it’s digital guides, videos, or local garages willing to share tips. Embrace the values of precaution and preparedness. Proper preparation and an understanding of potential pitfalls make the journey of installing lowering springs a more enjoyable one.

Maintenance After Installation
Once you have your lowering springs neatly in place, the real journey begins. Maintenance works like magic to ensure that your springs, and indeed your entire suspension system, stay in top form, helping you enjoy that nimble drive and sleek look. Initially, it's crucial to pay extra attention to how your car adjusts to its new setup. The first few weeks are telling. Listen closely—any strange noises or handling quirks might signal issues that need addressing. Testing these modifications on various road conditions can also give you a good idea of whether everything is functioning as expected.
Regular inspection is key. Over time, car modification enthusiasts find that even small checks can prevent larger, more costly problems. Make it a routine to examine the springs and their connections. Look for signs of wear such as cracks, corrosion, or sagging. It’s wise to measure the ride height periodically to ensure it remains consistent. This step doesn't only preserve the aesthetics but also maintains optimal performance.
"Proper maintenance after installing lowering springs is as important as the initial installation itself. By dedicating time to regular checks, you invest in the longevity and safety of your vehicle." - AutoCar Journal
Regular cleaning also plays an instrumental role. Dirt and debris can accumulate around the suspension system, especially if you frequently travel on gravel or muddy terrains. A simple cleaning routine, possibly once a month or after particularly messy drives, goes a long way. This helps maintain not just the springs but the vehicle’s entire underbody, ensuring everything stays rust-free and functioning correctly.
Consider alignment—it should not be overlooked post-installation. Lowering springs change the geometry of your suspension, which can affect tire alignment. Misaligned tires lead to uneven tire wear and can strain your vehicle’s steering components. To avoid these pitfalls, schedule a professional alignment service shortly after the installation and then check it every six months. Alignments aren’t just about safety; they maximize your car’s efficiency and extend tire lifespan.
Lastly, don’t underestimate the role of thorough maintenance documentation. Keep a detailed log of all inspections, alignments, and any repairs. This practice isn’t only useful for your own records but also adds value should you decide to sell the car in the future. Buyers appreciate a meticulously maintained history—it spells assurance that the modifications were done correctly and cared for post-installation.


