K&N Filter Maintenance & Re-Oiling Calculator
Enter Your Details
Next Inspection Due
Assumes average daily driving of 40km. If you drive less frequently, inspect sooner.
Recommended Actions
Enter your vehicle details to generate a personalized maintenance schedule and cleaning guide.
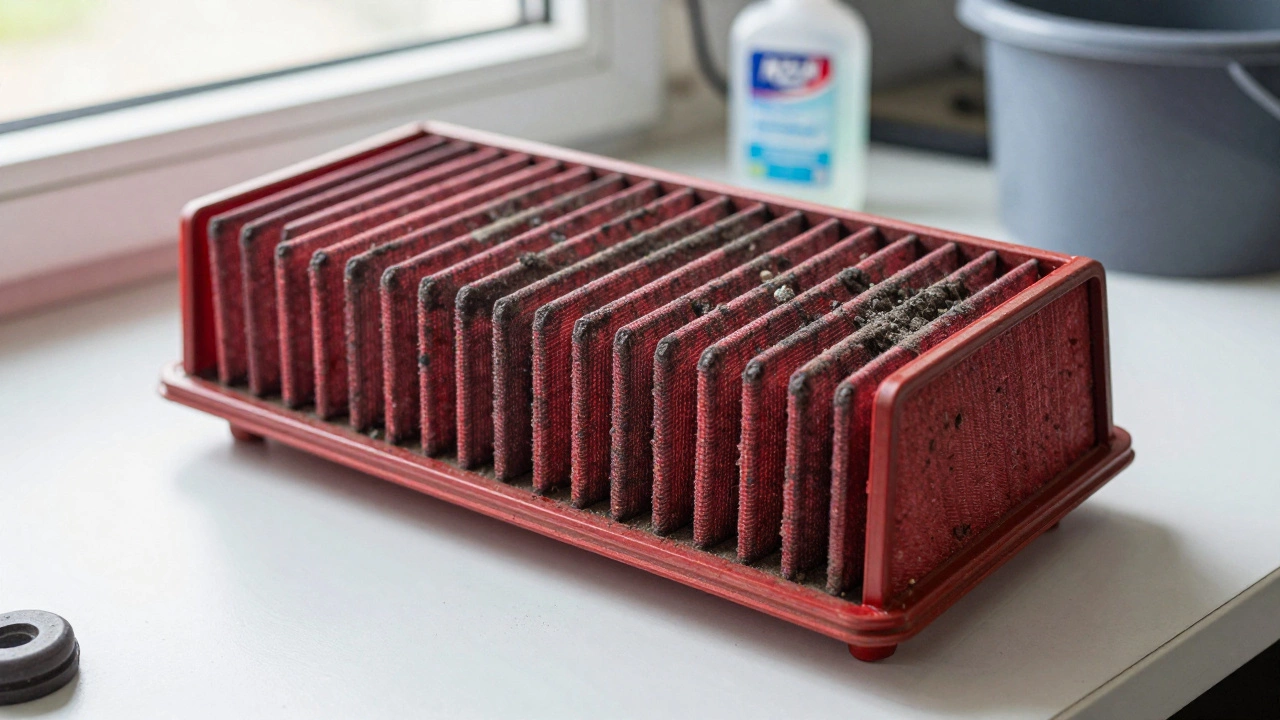
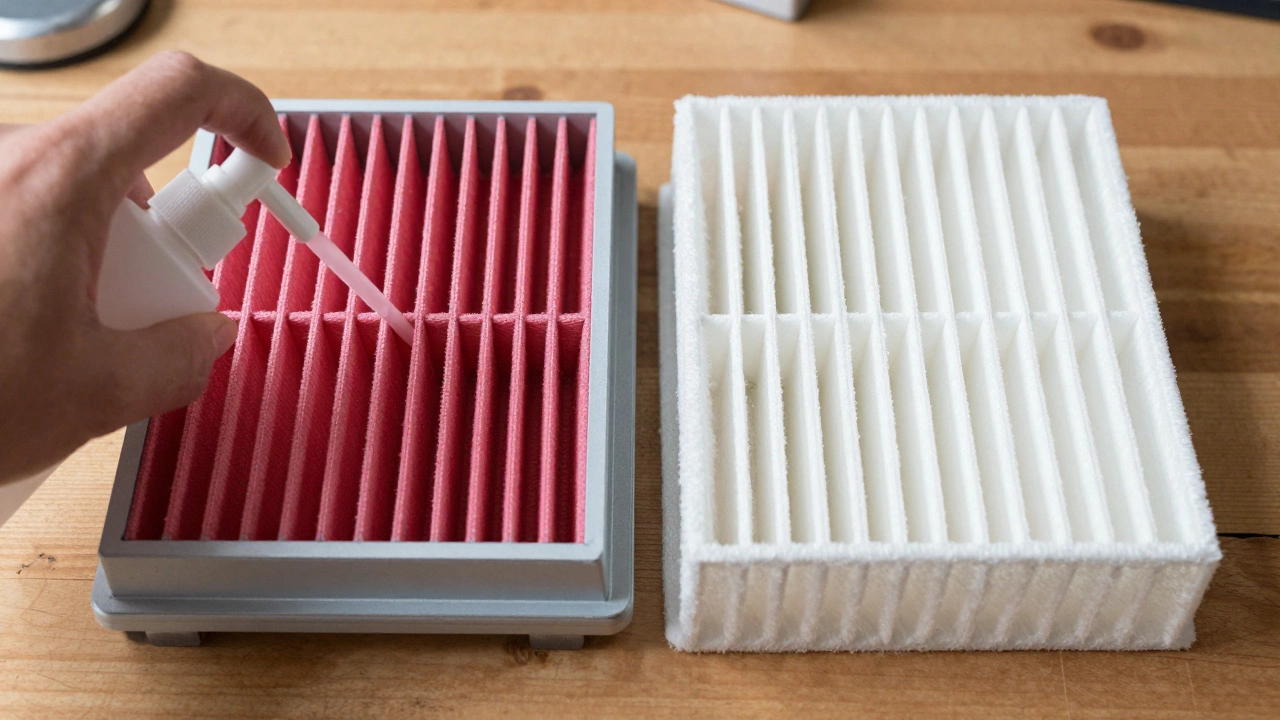
You’ve got that red oiled filter under the hood, and it’s looking grimy. You’re wondering if you can just hose it down with some dish soap and water like you’d wash a dirty plate. The short answer? Yes, but only if you do it exactly right. Mess this up, and you aren’t just wasting time; you could be starving your engine of air or letting dust into places it doesn’t belong.
Cleaning a K&N air filter is a routine maintenance task for high-performance reusable engine filters isn’t as simple as scrubbing and rinsing. These filters are designed to trap microscopic particles while allowing maximum airflow. When they get clogged, your car feels sluggish. But the cleaning process involves specific chemistry and physics that most people overlook. If you use the wrong soap, skip the drying step, or re-oil an oil-free model, you’ll ruin the filter faster than leaving it dirty.
The Truth About Soap and Water on Performance Filters
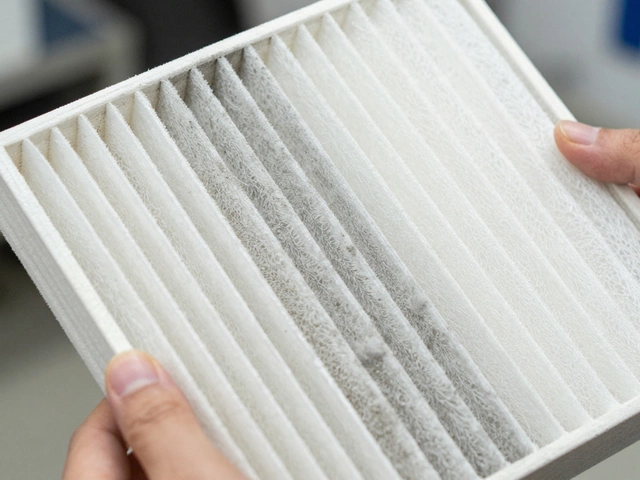
Most car owners assume all air filters are created equal. They aren’t. A standard paper filter from your local auto parts store is disposable. Once it’s black, it’s trash. But a performance air filter is a reusable component made from cotton gauze or synthetic media designed for multiple cleaning cycles is built differently. It uses pleated cotton gauze impregnated with a special oil. This oil acts as a sticky trap for dirt.
When you ask if you can use soap and water, you’re really asking if you can remove that oil and the grime trapped in it. The answer is yes, but regular household detergent can be too harsh. Standard dish soaps often contain degreasers meant to strip kitchen grease, which can break down the cotton fibers over time. K&N specifically recommends their own cleaning kit because the pH balance is calibrated to clean without damaging the media. However, in a pinch, a mild, non-detergent soap (like baby shampoo) works better than aggressive degreasers. Avoid anything labeled "industrial strength" or "heavy duty degreaser." Those chemicals eat away at the filter’s structural integrity.
Step-by-Step: How to Clean Your Filter Without Ruining It
If you’re ready to tackle this job yourself, here is the safest way to do it using soap and water. I’ve seen too many guys in Brisbane garages blast these filters with pressure washers, thinking more power means cleaner. That’s a myth. High pressure forces dirt deeper into the fabric and tears the delicate pleats. Stick to this gentle method.
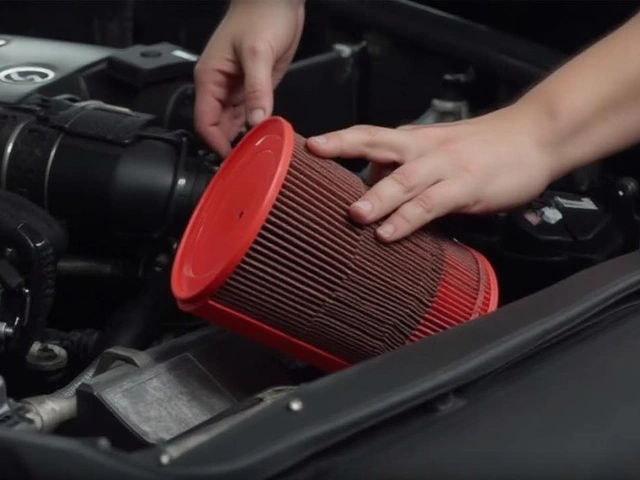
- Remove the filter carefully. Don’t yank it out. Gently lift it from the housing. Inspect it for physical damage first. If there are holes or tears in the rubber seals, stop. No amount of cleaning will fix a leaky seal.
- Tap out loose debris. Take the filter outside and gently tap it against a hard surface. This knocks off the big chunks of leaves and dirt before they turn into mud during washing.
- Pre-soak in cold water. Use a bucket or sink filled with cold water. Hot water can set certain types of grime and damage the adhesive holding the filter together. Let it soak for 10-15 minutes until the water runs relatively clear.
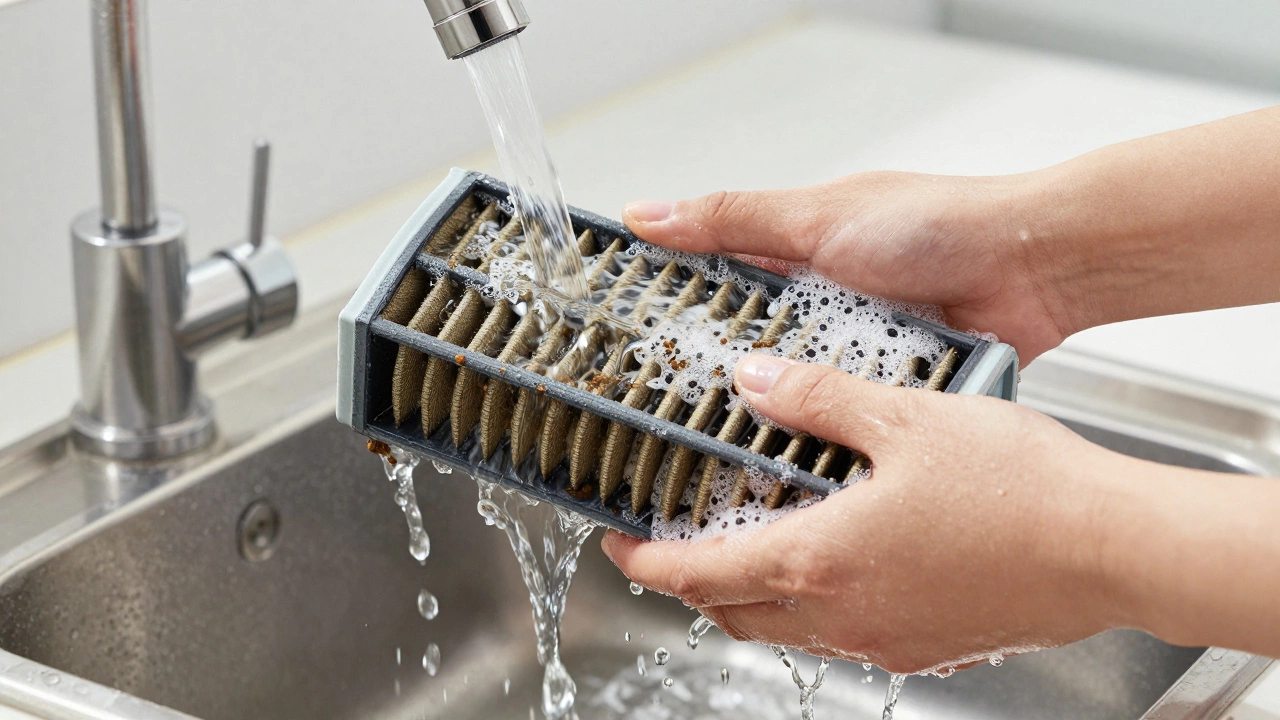
- Apply the cleaning solution. Mix your mild soap with water. Spray or pour it onto the dirty side of the filter (the side facing the engine intake). Work it in gently with your hands. Do not scrub with a brush. Brushing frays the cotton fibers, creating gaps where unfiltered air can enter.
- Rinse from clean to dirty. This is the most critical step. Hold the filter under a low-pressure garden hose. Start rinsing from the clean side (the inside) pushing the dirt out through the dirty side (the outside). If you rinse from the dirty side, you force the grit back into the pores of the filter, permanently clogging it.
- Dry completely. This cannot be stressed enough. Air dry the filter in a shaded area for at least 12 hours. Do not use compressed air to speed up drying-the moisture trapped inside can freeze later or promote mold growth. Do not put it in the oven. Heat damages the rubber gaskets.
To Oil or Not to Oil? Knowing Your Filter Type
Here is where most people make a costly mistake. Not all K&N filters require oil. In recent years, K&N has introduced oil-free air filters are high-flow filters made from synthetic materials that do not require lubrication for filtration. These are often marked with a specific label or lack the red oiled appearance. If you have an oil-free filter, applying oil after cleaning will actually clog the filter. The oil fills the pores that are supposed to let air through, restricting flow and hurting performance.
How do you know which one you have? Check the part number on the sticker. If it says "Oil-Free" or ends in certain codes indicating synthetic media, skip the oiling step entirely. For traditional oiled filters, you must re-oil after cleaning. Apply the oil evenly across the entire surface, focusing on the pleats. You want a uniform pink/red color. If you see white spots, add more oil. If oil is dripping off, you’ve used too much. Excess oil can contaminate your Mass Air Flow (MAF) sensor, leading to check engine lights and poor fuel economy.
| Feature | Oiled Cotton Filters | Oil-Free Synthetic Filters |
|---|---|---|
| Filtration Method | Sticky oil traps particles | Electrostatic charge & fiber density |
| Cleaning Frequency | Every 50,000-100,000 km | Every 30,000-60,000 km |
| Re-Oiling Required? | Yes, mandatory after cleaning | No, never apply oil |
| Cost Over Time | Higher initial cost, lower long-term | Lower initial cost, moderate replacement |
| Performance Impact | High airflow, consistent | Good airflow, may degrade slightly faster |
Common Mistakes That Destroy Filters
I see the same errors every time I walk into a workshop in Queensland. People treat these filters like sponges. Here is what you need to avoid:
- Using Pressure Washers: The force rips the cotton mesh apart. Even on the lowest setting, it’s risky. Hand washing is safer.
- Skipping the Dry Time: Installing a damp filter creates a humid environment inside the intake manifold. This leads to corrosion and potential hydro-lock issues in extreme cases. More commonly, it causes the oil to mix with water, creating a sludge that blocks airflow.
- Over-Oiling: A common misconception is that more oil equals better filtration. False. Too much oil saturates the MAF sensor, causing your car’s computer to misread air intake. This results in rough idling and poor acceleration.
- Ignoring the Seal: The rubber rim around the filter must sit perfectly flat in the housing. If it’s cracked or deformed, unfiltered air bypasses the filter entirely. Cleaning won’t fix this.
When to Replace Instead of Clean
Even with perfect care, filters don’t last forever. K&N claims their filters can last up to 100,000 miles (approx. 160,000 km), but that’s under ideal conditions. In dusty environments like rural Australia or construction zones, the lifespan drops significantly. If the cotton media feels stiff, brittle, or shows signs of permanent discoloration that won’t wash out, it’s time to replace it. Also, if the filter has been exposed to extreme heat events or chemical spills, cleaning won’t restore its safety standards.
Maintenance Schedule for Australian Drivers
Living in Brisbane means dealing with humidity, salt air, and occasional dust storms. These factors accelerate filter clogging. I recommend inspecting your filter every 10,000 kilometers. If you drive on unpaved roads, check it every 5,000 kilometers. Look for visible debris and test the airflow by holding a light behind the filter. If you can’t see light through the pleats, it’s time to clean or replace.
Don’t wait for your car to feel slow. By then, the filter is already severely restricted. Regular maintenance keeps your engine breathing easy, improves fuel efficiency, and protects expensive internal components from abrasive dust.
Can I use dish soap to clean my K&N air filter?
Yes, but only mild, non-detergent dish soap. Avoid heavy-duty degreasers or industrial cleaners as they can damage the cotton fibers and reduce the filter's lifespan. Baby shampoo is a safe alternative if you don't have the official K&N cleaning kit.
Do I need to re-oil my K&N filter after washing?
Only if you have a traditional oiled cotton filter. Check your filter's label or part number. If it is an oil-free synthetic model, never apply oil. For oiled filters, apply a thin, even layer of K&N air filter oil until the material appears uniformly pink/red.
How long should I let my air filter dry before reinstalling?
Allow at least 12-24 hours for complete air drying in a shaded, well-ventilated area. Do not use heat sources like ovens or hair dryers, as excessive heat can damage the rubber seals and cotton media. Never install a damp filter.
Can I use a pressure washer to clean my air filter?
No. Pressure washers can tear the delicate cotton gauze and force dirt deeper into the filter media. Always use low-pressure water from a garden hose and rinse from the clean side to the dirty side to push debris out.
How often should I clean my K&N air filter in Australia?
Inspect your filter every 10,000 kilometers. In dusty conditions or off-road driving, check every 5,000 kilometers. Clean when visible debris accumulates or airflow is restricted. Most drivers clean their filters once or twice a year depending on usage.