Body Kit Installation Planner
Select your kit type and complexity level to generate a customized installation plan with tools, timeline, and checklists.
Fiberglass
Lighter, cheaper, brittle
Polyurethane (PU)
Heavier, durable, impact-resistant
Simple
Front lip, side skirts, or rear diffuser only
Moderate
Full bumper set (front + rear) with minor trimming
Complex
Wide-body kit, fender flares, full transformation
There is nothing quite like the transformation of a stock vehicle into a custom machine. You see the potential in that wide-body stance or aggressive front splitter, but staring at a pile of fiberglass panels in your garage can be intimidating. The gap between buying the kit and seeing it bolted on is where most projects stall. It isn't just about drilling holes; it is about patience, precision, and understanding how composite materials behave.
Fitting a car body kit is a process of modifying a vehicle's exterior with aftermarket panels to change its appearance and aerodynamics requires more than just muscle. If you rush, you end up with gaps that scream "cheap job" or worse, panels that crack under stress. This guide breaks down the entire workflow, from dry-fitting to final painting, ensuring your project looks professional rather than like a science fair experiment gone wrong.
Gathering the Right Tools for the Job
Before you touch a single panel, you need to ensure your workspace is equipped for composite work. You cannot install a body kit with basic household tools. The material-usually polyurethane (PU) or fiberglass-is unforgiving if mishandled. PU is durable but heavy and difficult to cut without the right blades. Fiberglass is lighter but brittle and prone to cracking if forced.
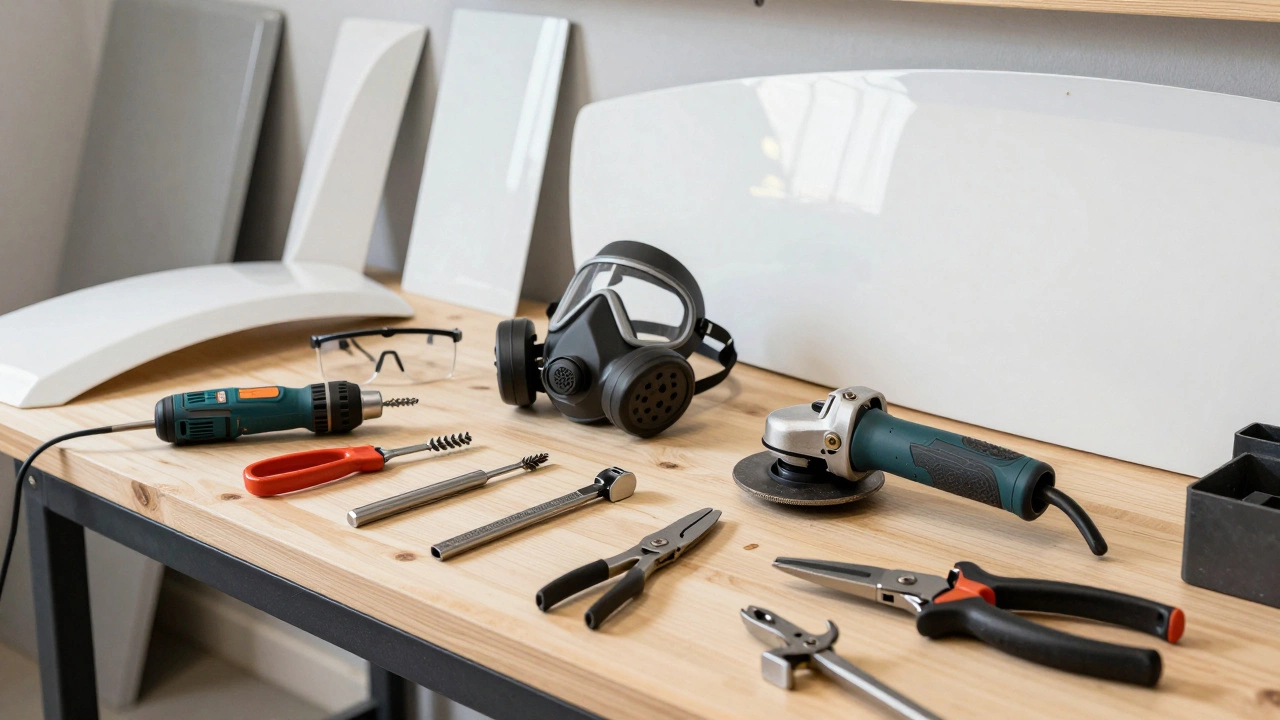
Here is the essential toolkit you will need:
- Dremel or Rotary Tool: With diamond bits for cutting plastic and carbide burrs for grinding metal. This is your primary tool for trimming excess material.
- Angle Grinder: For roughing out large sections of metal or thick plastic. Use a flap disc for smoother finishes.
- Sheet Metal Shears: Essential for trimming fenders or bumpers made of stamped steel.
- Drill Press or Cordless Drill: You will be drilling dozens of mounting holes. Accuracy here saves headaches later.
- Clamps and Masking Tape: Heavy-duty clamps hold panels in place while you mark drill points. High-quality masking tape protects your paint during test fits.
- Safety Gear: Respirator mask (for fiberglass dust), safety glasses, and gloves are non-negotiable. Composite dust is hazardous to inhale.
Don't skimp on the cutting blades. Standard wood or metal blades often chip fiberglass or melt through polyurethane. Invest in high-tooth-count carbide-tipped blades designed specifically for composites. They cost a bit more upfront but save hours of frustration when they don't shatter mid-cut.
The Critical Dry-Fit Phase
Never skip the dry-fit. This is the most important step in the entire installation process. Manufacturers design kits based on average production vehicles, but tolerances vary. One car might have a slightly wider track width due to suspension adjustments; another might have minor dents from parking lot incidents. Assuming the kit will fit perfectly is a recipe for disaster.
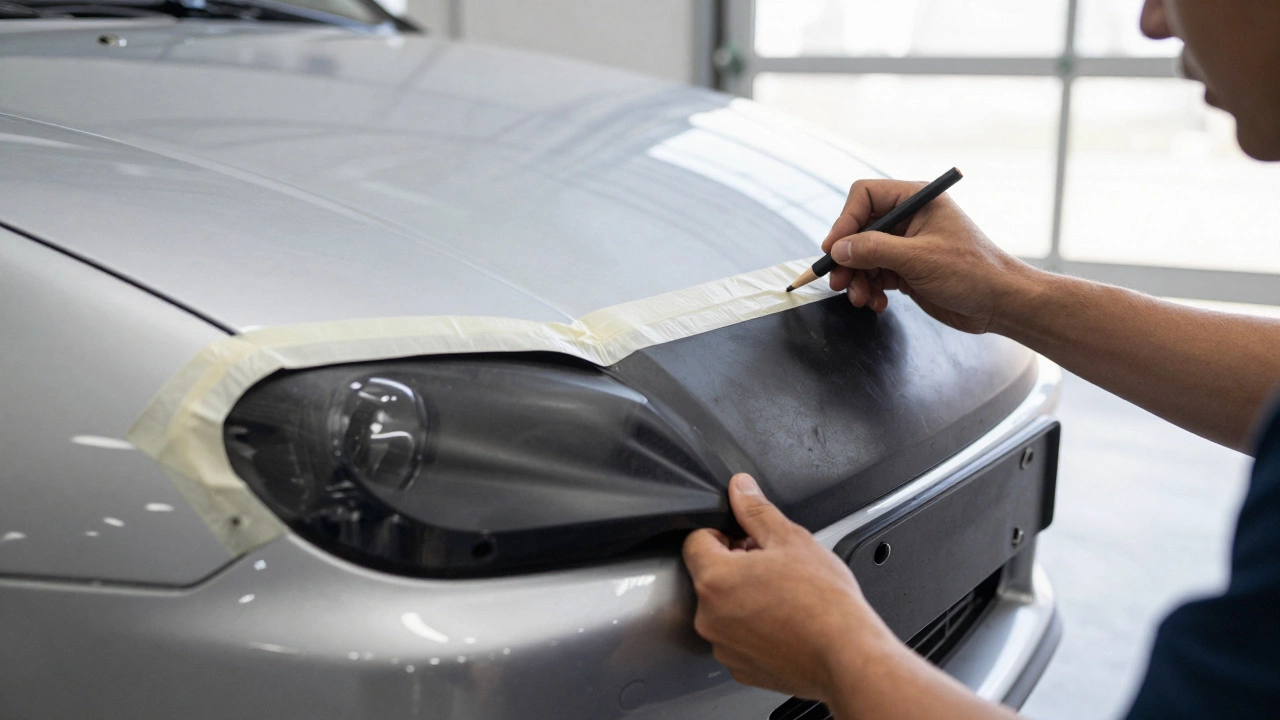
Start by placing each panel onto the vehicle without any adhesives or fasteners. Use strong double-sided tape or specialized panel clamps to hold them temporarily. Check the alignment against existing body lines. Does the front bumper sit flush with the hood? Do the side skirts align with the door sills?
Mark every discrepancy with a grease pencil or painter's tape. If a fender flare rubs against the wheel arch, you need to trim both the kit and potentially the original fender. This stage often reveals that the manufacturer’s instructions are generic at best. You might find that a mounting bracket interferes with a factory sensor or wiring harness. Identifying these conflicts now prevents having to remove the panel after you’ve already glued it down.
Cutting and Trimming the Panels
Once you’ve identified what needs to move, it’s time to cut. Always start with less removal than you think you need. You can always take more off, but you can’t add material back easily. Work in small increments, checking the fit frequently.
For polyurethane kits, use a Dremel with a cutting wheel. Keep the tool moving steadily to avoid melting the plastic. Pause occasionally to let the material cool. For fiberglass, use a coarse grit sandpaper or a rotary tool with a grinding stone. Fiberglass creates fine, irritating dust, so wear your respirator and work in a well-ventilated area.
When trimming around curves, such as wheel arches or bumper corners, use a flexible file or sanding block to smooth the edges. Sharp edges not only look unprofessional but also create stress points where cracks can form over time. Blend the new panel’s edge into the existing body line using progressively finer grits of sandpaper, starting from 80-grit for shaping and moving up to 180-grit for smoothing.
Drilling Mounting Holes
With the panels trimmed to size, it’s time to secure them. Most kits come with pre-drilled holes, but these rarely align perfectly with your vehicle’s factory mounting points. You will likely need to drill new holes in both the kit and the car.
Use a center punch to mark your drill points accurately. Start with a small pilot hole (3mm or 1/8 inch) before widening to the final size. This prevents the drill bit from wandering and damaging the surrounding area. When drilling through fiberglass, use a slow speed and steady pressure to prevent delamination-the separation of layers within the composite material.
Reinforce weak areas with backing plates. Many body kit manufacturers provide metal brackets for this purpose. Attach these brackets to the inside of the panel using epoxy or rivets before bolting the assembly to the car. This distributes the load and prevents the bolts from pulling through the soft composite material over time.
Adhesives and Fasteners: What to Use
Bolts alone aren’t enough. Vibrations from the road will loosen them eventually. You need a combination of mechanical fasteners and chemical bonding. Epoxy resin is the gold standard for attaching body kits. Two-part epoxies offer superior strength and flexibility compared to superglues or hot glue.
Apply a thin bead of epoxy along the contact surfaces before bolting the panel in place. Wipe away any excess immediately with a cloth dampened with acetone. Once cured, the epoxy acts as a shock absorber, reducing stress on the bolts and preventing rattles.
For areas where drilling isn’t possible, such as near lights or sensors, use automotive-grade adhesive tape. These tapes are designed to withstand extreme temperatures and moisture. Clean the surface thoroughly with alcohol before applying to ensure maximum adhesion.
| Adhesive Type | Best For | Pros | Cons |
|---|---|---|---|
| Two-Part Epoxy | Structural bonding, high-stress areas | Strongest bond, flexible, waterproof | Long cure time, messy application |
| Automotive Adhesive Tape | Non-drillable areas, trim pieces | Clean application, removable | Lower holding power, temperature sensitive |
| Polyurethane Glue | Gap filling, bonding dissimilar materials | Expands to fill voids, strong | Difficult to clean, expands too much if overused |
Painting and Finishing Touches
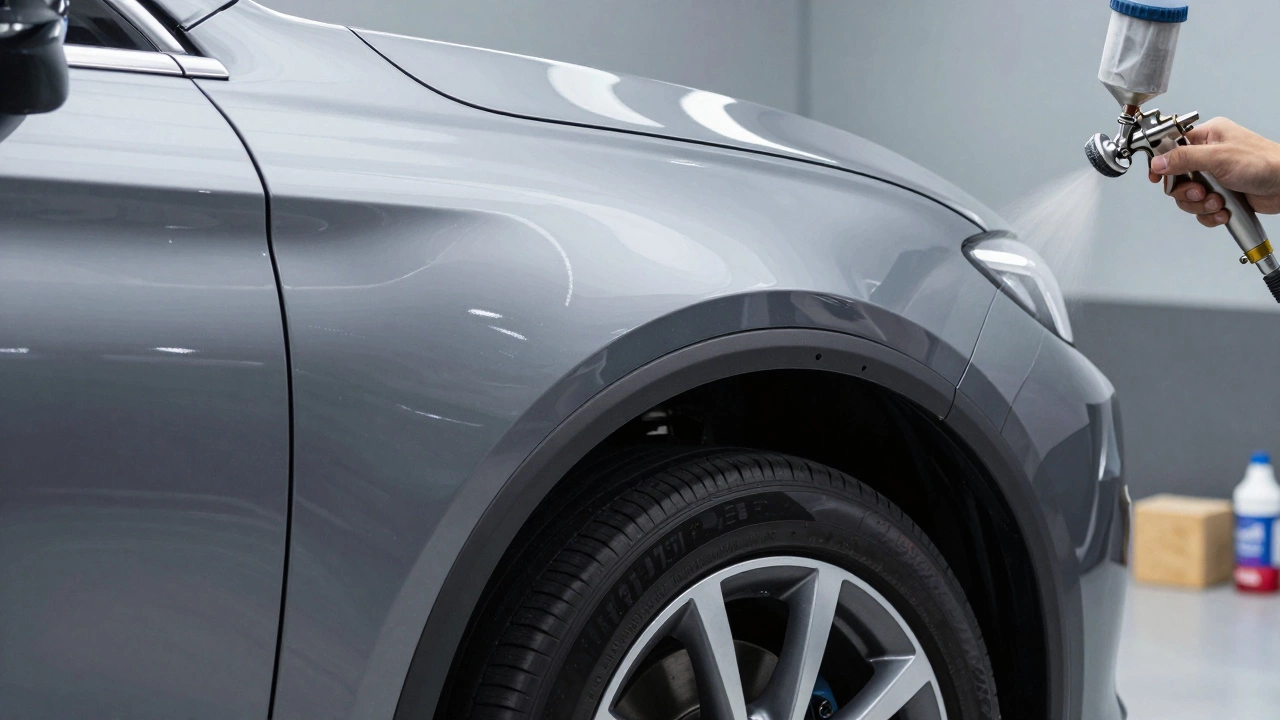
A body kit is only as good as its finish. Raw fiberglass or polyurethane looks cheap and unfinished. Painting the kit to match your car’s color requires preparation. Sand the entire surface with 400-grit sandpaper to remove any gloss and create a key for the primer.
Apply a filler primer to seal the porous surface and hide imperfections. Sand again with 600-grit paper until smooth. Then, apply your base coat and clear coat according to the paint manufacturer’s instructions. Allow adequate drying time between coats to prevent runs and orange peel texture.
Finally, inspect all seams and gaps. Use body filler (Bondo) to smooth out any uneven transitions between the kit and the original bodywork. Sand carefully to blend the lines seamlessly. A professional-looking installation hides the fact that modifications were made at all.
Can I install a body kit myself?
Yes, if you have basic mechanical skills and access to the right tools. Simple bolt-on kits like splitters or side skirts are beginner-friendly. Complex wide-body kits require advanced fabrication skills and should be left to professionals if you lack experience with composite materials.
What is the difference between fiberglass and polyurethane body kits?
Fiberglass is lighter and cheaper but brittle and prone to cracking. Polyurethane (PU) is heavier, more expensive, and highly durable, making it resistant to impacts and weather. PU is generally recommended for street cars, while fiberglass is popular for show cars or race builds where weight savings matter.
Do I need to paint my body kit?
Unless you bought a pre-painted kit, yes. Unpainted kits usually have a glossy gelcoat finish that does not match your car. Painting ensures color consistency and protects the material from UV damage and oxidation, extending the life of the kit.
Will a body kit affect my car's insurance?
It depends on your policy. Minor aesthetic changes may not require notification, but significant modifications like wide-body kits can increase premiums or void coverage if not declared. Always check with your insurer before installing major body modifications to avoid claim denials.
How long does it take to install a body kit?
A simple front lip might take an afternoon. A full four-piece kit can take several weekends, especially if extensive trimming, fitting, and painting are required. Factor in curing time for adhesives and paint to avoid rushing the process and compromising quality.