Car Interior Detailing Checklist & Tracker
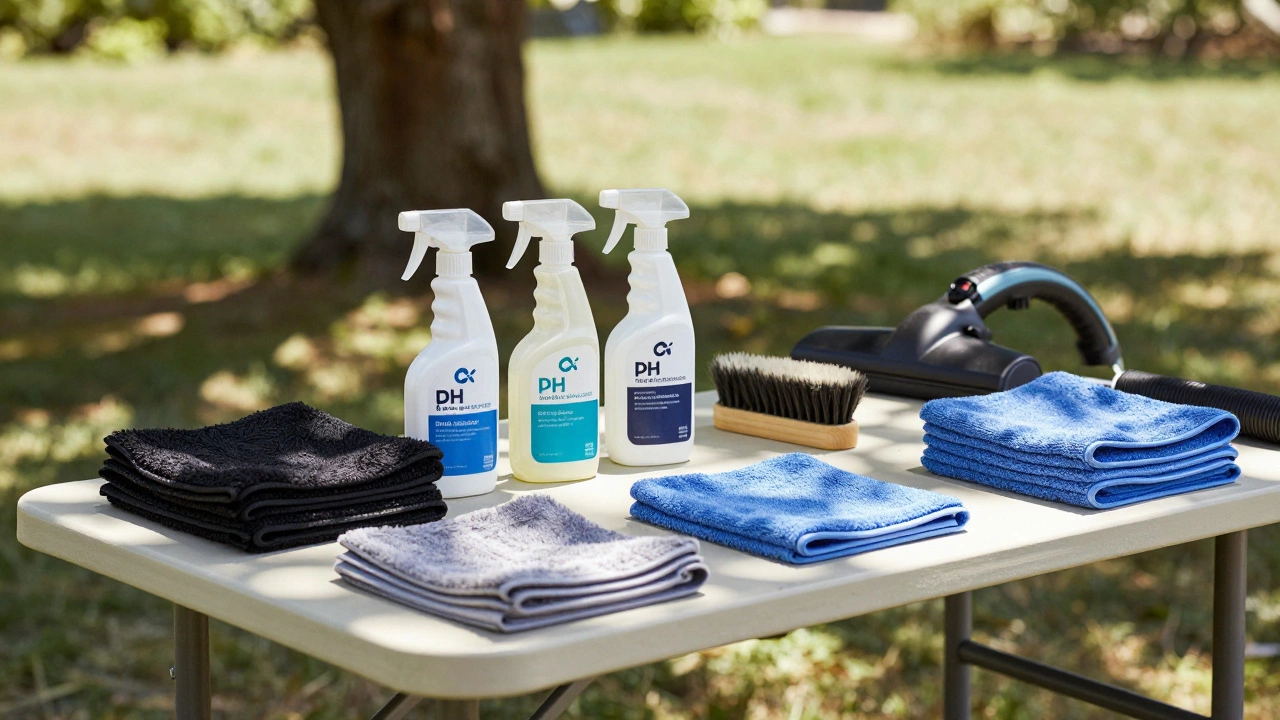
Don't start without these specific tools mentioned in the guide:
- Vacuum with Crevice Tool: For deep grit removal.
- Microfiber Towels (5+): Color-coded for different tasks.
- pH-Balanced Cleaner: Safe for vinyl and plastic.
- Soft Bristle Brushes: For vents and stitching.
- Leather Conditioner: If applicable.
- Fabric Protectant: To repel future stains.
There is nothing quite like the smell and feel of a brand-new car. That crisp dashboard, the pristine seats, and that faint scent of fresh plastic. But once you’ve had your vehicle for more than six months, reality sets in. Coffee spills happen. Sunlight fades the vinyl. Dust settles into every crack. If you are looking to bring back that showroom shine without spending thousands on a professional retrim, you are in the right place.
You do not need to be a professional detailer to make your car interior look new. You just need the right tools, a bit of patience, and a systematic approach. Most people make the mistake of just vacuuming the floor mats and calling it a day. Real transformation comes from tackling every surface, from the headliner down to the pedal rubber. Let’s walk through exactly how to strip away the grime and restore your cabin.
Gather the Right Tools Before You Start
Before you touch your steering wheel, you need to set up your workspace. Using household cleaners like Windex or all-purpose sprays on car interiors is a recipe for disaster. These products often contain ammonia or harsh solvents that can strip protective coatings, cause cracking in leather, and leave a sticky residue that attracts more dust.
Here is what you actually need:
- Vacuum Cleaner with crevice tools and brush attachments: A shop vac works best because it has stronger suction than standard home vacuums.
- Microfiber Towels: Get at least five or six. Use different colors for different tasks (e.g., black for glass, grey for plastics) so you don’t spread grease onto clean surfaces.
- Interior All-Purpose Cleaner: A pH-balanced spray designed for automotive plastics and vinyl.
- Soft Bristle Brushes: Old toothbrushes work great for vents and stitching, but dedicated detailing brushes are better for larger areas.
- Leather Conditioner: Only if you have leather seats. This prevents drying and cracking.
- Fabric Protectant: Like Scotchgard, to repel future stains on cloth seats.
Work in a shaded area. Direct sunlight heats up your dashboard and doors, causing cleaners to evaporate too quickly. This leads to streaks and missed spots. If you can, park in a garage or under a tree.
Declutter and Remove Loose Debris
The first step is brutal honesty. Take everything out of the car. I mean everything. Floor mats, trash bags, old receipts, charging cables, and that mystery item stuck behind the driver’s seat. Empty the glove box and center console completely.
Once the car is empty, shake out the floor mats outside. If they are rubber, hose them off and let them dry. If they are carpeted, beat them against a wall to dislodge deep dirt before vacuuming.
Now, grab your vacuum. Start from the top down. Vacuum the rear deck, the trunk, and then move to the cabin. Don’t just glide the nozzle over the carpet; use the crevice tool to get between the seats and the center console. Lift the edge of the carpet near the pedals to suck up the sand and crumbs that accumulate there. It sounds obsessive, but this is where most of the grit hides.
Clean the Upper Surfaces: Headliner and Glass
Most people skip the headliner (the fabric ceiling), but it collects dust and smoke residue over time. Do not soak it. Wet headliner fabric can sag permanently as it dries. Instead, use a microfiber towel slightly dampened with water or a very mild cleaner. Gently wipe the surface. If there are stains, spot treat them carefully without rubbing too hard.
Next, tackle the windows. Use a dedicated glass cleaner and a separate microfiber towel. Clean both the inside and outside of the windshield and side windows. Clear glass makes the whole interior feel brighter and more open. Pay attention to the edges where the glass meets the rubber seal; dirt builds up there and looks terrible when viewed from the outside.
Treat the Dashboard and Plastic Trim
This is the heart of the "new car" look. Dashboards fade and become dull due to UV exposure. To fix this, you need to clean first, then protect.
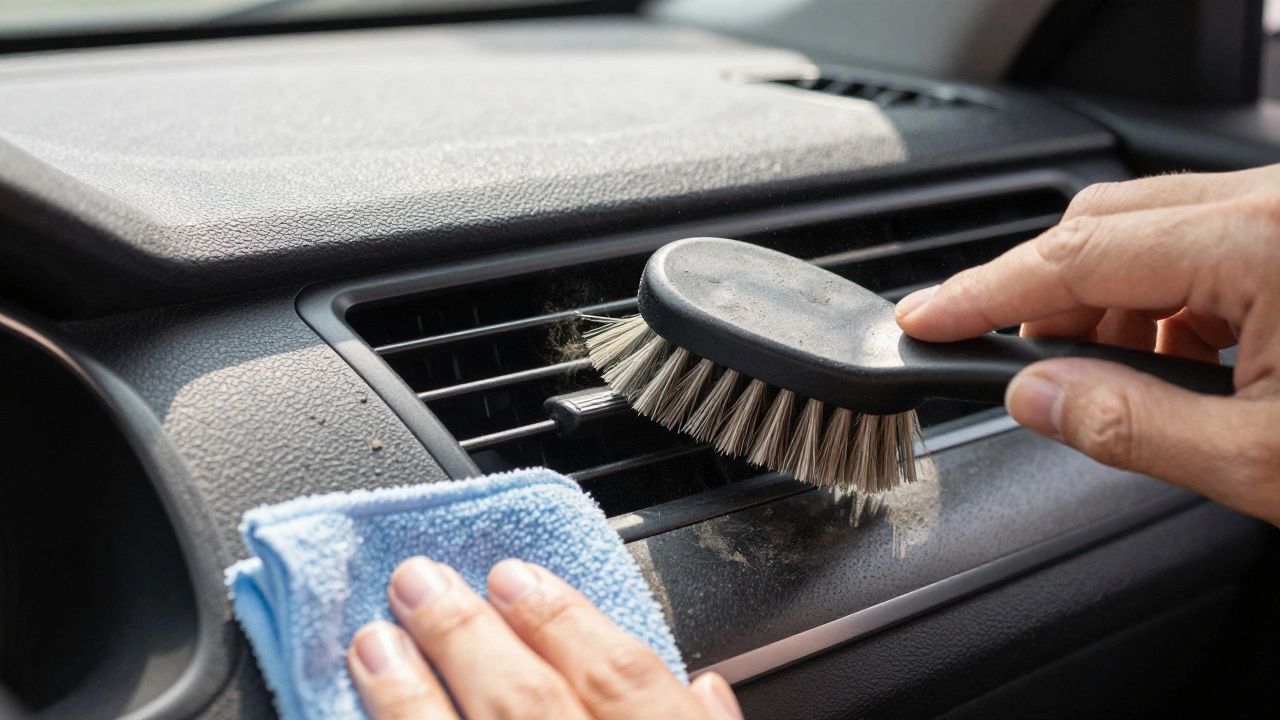
Spray your interior cleaner onto a microfiber towel, not directly onto the dash. Spraying directly can lead to overspray on the windshield, which causes glare while driving. Wipe down the dashboard, door cards, and center console. Use a soft brush to agitate the textured plastic and the air vent slats. The brush lifts the dirt out of the nooks and crannies that a cloth can’t reach.
After cleaning, apply an interior dressing. Look for a product that offers a satin or matte finish. Avoid high-gloss dressings unless you want your dash to look like a wet bar. High gloss reflects light onto the windshield, creating a safety hazard. A satin finish restores the original factory appearance by filling in micro-scratches and restoring depth to the plastic.
Revitalize Leather Seats
If you have leather seats, they are living materials. They breathe, dry out, and crack if neglected. Never use household soap on leather. It strips the natural oils.
Start by vacuuming the seams. Dirt gets trapped in the stitching and acts like sandpaper, wearing down the leather every time you sit down. Once vacuumed, use a dedicated leather cleaner. Apply it with a soft brush or towel, working in circular motions. Let it sit for a minute to break down body oils and sweat, then wipe it away with a clean, dry towel.
Finally, condition the leather. Apply a small amount of conditioner to a towel and rub it into the seats. Focus on high-contact areas like the bolsters and the seat bottom. Let it absorb for 15 minutes, then buff off any excess. This step restores suppleness and adds a layer of protection against future stains.
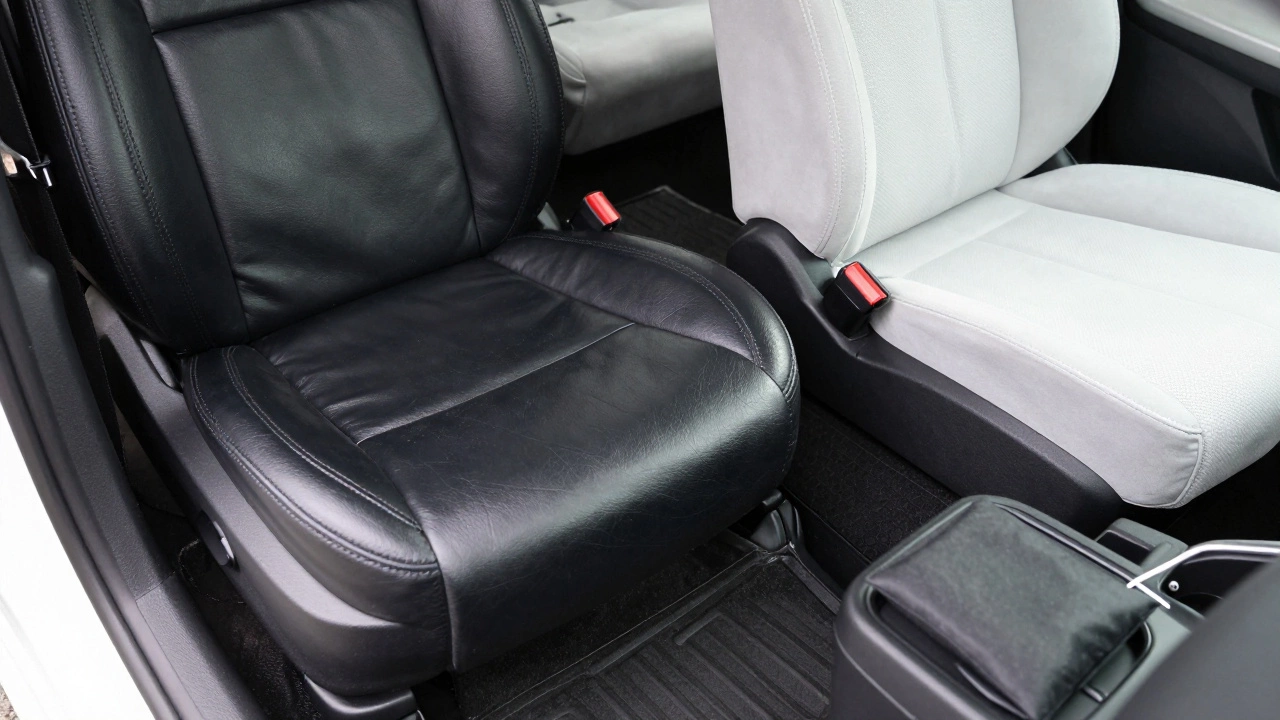
Deep Clean Fabric Upholstery
Cloth seats are tougher because they absorb liquids. For general maintenance, a good vacuum job is usually enough. But if you have stains, you need a foam cleaner or an extractor.
For spot cleaning, mix a little dish soap with warm water. Dip a brush in the solution, wring it out almost completely, and scrub the stain gently. Blot with a dry towel. Repeat until the stain lifts. Avoid soaking the fabric, as moisture can seep into the foam padding underneath, leading to mold and mildew smells.
For a deeper clean, consider renting a portable carpet extractor. These machines inject hot water and detergent into the fabric and suck it back out. It’s incredibly effective for removing ingrained dirt and odors. After extraction, roll down the windows and let the seats dry completely before using the car again.
Don't Forget the Forgotten Areas
A truly new-looking interior accounts for the details others miss. Here are three areas that instantly upgrade the perception of cleanliness:
- The Pedals: Brake and accelerator pedals collect shoe rubber and grime. Spray them with all-purpose cleaner and scrub with a stiff brush. They will look surprisingly bright.
- The Door Jamb Seals: Run a damp microfiber towel along the rubber weather stripping around the doors. It removes salt, mud, and road film.
- The Gear Shifter and Handbrake: These are high-touch points. Clean them thoroughly with a disinfectant-safe interior cleaner. A shiny, clean gear knob makes the whole cockpit feel premium.
Add the Final Touch: Scent and Protection
Smell is a powerful trigger for memory. A clean car should smell neutral or faintly pleasant, not like a chemical factory. Avoid hanging air fresheners that drip or overwhelm the senses. Instead, use a subtle interior mist or a charcoal bag to absorb odors.
To keep your hard work lasting longer, apply a fabric guard to your cloth seats and carpets. This creates an invisible barrier that repels liquids and dirt. Reapply this every few months depending on usage.
How often should I deep clean my car interior?
For most drivers, a thorough deep clean every 3 to 6 months is sufficient. However, if you have pets, young children, or commute in dusty conditions, you may need to vacuum and wipe down surfaces monthly to prevent buildup.
Can I use Windex on my car dashboard?
No, you should avoid using Windex or other glass cleaners containing ammonia on your dashboard. Ammonia breaks down the protective coating on plastics and vinyl, leading to premature fading, cracking, and a chalky appearance.
What is the best way to remove cigarette smoke smell from a car?
Smoke odor penetrates fabric deeply. First, steam clean all fabrics including seats, carpets, and headliner. Then, use an ozone generator treatment. Ozone molecules break down the smoke particles at a molecular level. Leave the ozone machine running for 30-60 minutes, then ventilate the car thoroughly before entering.
Is it safe to put car floor mats in the washing machine?
It depends on the material. Rubber mats can be hosed off and dried. Carpeted mats can go in the washing machine if they are labeled as machine washable. Use cold water and air dry them completely to prevent shrinkage and mold. Heavy-duty all-weather mats should never go in the washer.
Why does my car interior still look dirty after vacuuming?
Vacuuming only removes loose debris. Over time, oils from skin, sunscreen, and clothing transfer to plastics and fabrics, creating a greasy film that traps dust. You must use a dedicated interior cleaner to dissolve these oils and restore the surface's ability to repel dirt.