If you love tweaking your ride, the biggest barrier is often the install. Whether you’re fitting wheel spacers, dropping springs, or applying a new tint, the right steps save time and keep things safe. Below you’ll get clear, no‑fluff instructions that work on most cars, plus the tools you’ll need and the common pitfalls to avoid.
Before you open any box, make sure you have a solid set of basics:
Having these on hand means you won’t need to stop halfway and run to the shop.
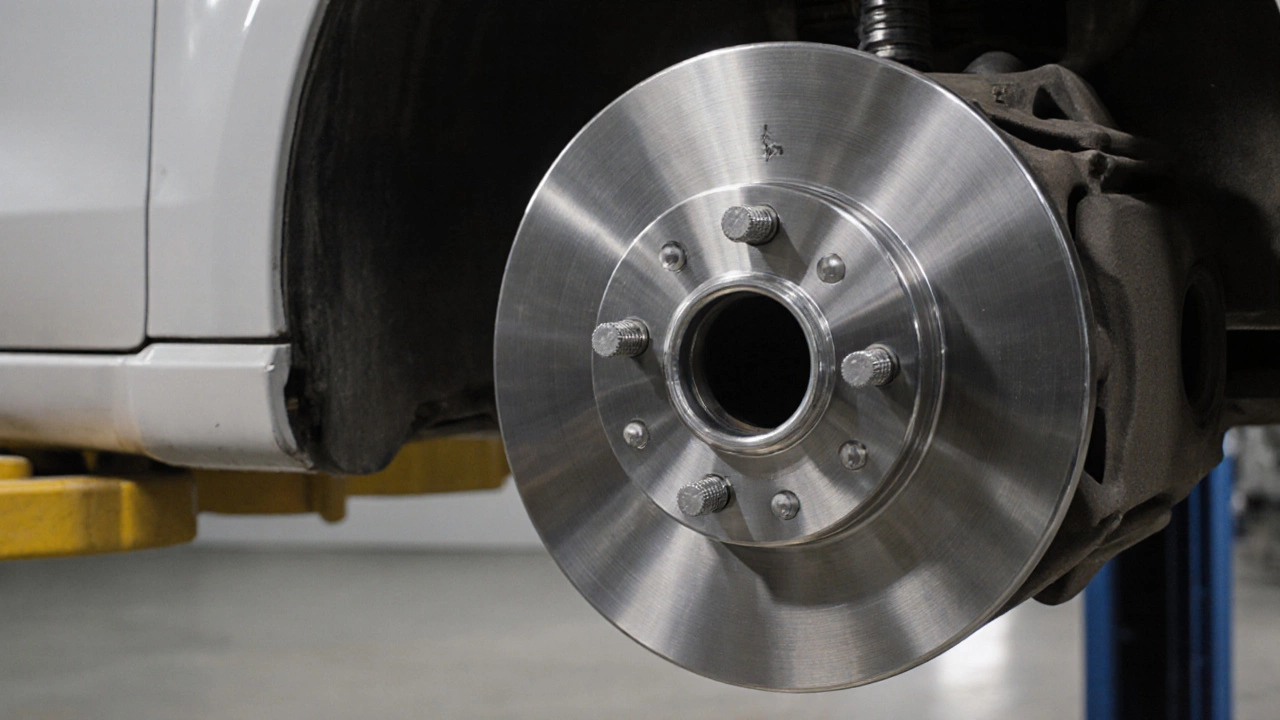
Wheel spacers are a quick way to widen the track and give your car a more aggressive stance. Follow these steps to install them correctly:
Most installers wonder whether an alignment is needed after spacers. In practice, you’ll notice a change in steering feel, so a professional alignment within 100 km is advised to keep tire wear even.
Lowering Springs: Swap the stock springs with the new set, making sure the car is level. Use a spring compressor if the springs are under tension. Tighten all suspension bolts to spec, then check ride height with a tape measure. A quick bounce test will reveal if the springs are seated properly.
Body Kit Components: Start with the front bumper. Clip the new bumper onto the existing brackets, then secure with the supplied screws. Align the side skirts by sliding them into the lower rocker panels; use a pry tool to avoid scratching the paint. Finish with the rear spoiler, making sure the mounting holes line up with the factory bolts.
Window Tint: Clean the glass inside and out, then spray a thin coat of soapy water. Peel the tint from its backing, apply it to the glass, and use a squeegee to push out bubbles. Let it cure for at least 24 hours before rolling the windows down. Patience here avoids peeling later.
Every install shares a common theme: take your time, double‑check torque settings, and test the result before calling it done. Skipping a step can lead to uneven wear, unsafe handling, or costly re‑work.
Ready to start? Grab your tools, pick a project, and follow the steps above. With a little care, you’ll have your car looking and feeling exactly how you want – without a trip to the garage.
A practical guide answering whether wheel spacers are safe for daily driving, covering types, installation, safety, legal issues and real‑world tips.

Thinking about putting spacers on all four wheels? This article lays out the nuts and bolts of whether or not you really need spacers on every wheel. Know the reasons why someone might make this call and the practical effects it has on handling and looks. You'll also find out what can go wrong if things aren’t set up right. Get clear tips, no jargon or industry hype.