Ever slid into your car thinking, “Why can’t it feel brand new inside?” That showroom-fresh vibe isn’t magic—it’s pro know-how and the right gear. Professional car detailers? They don’t mess around with random wipes and air fresheners. Their secret sauce is a killer mix of expert tools, special chemicals, and bulletproof routines. It’s their job to make even the grimiest ride look (and smell) like it came straight off the dealer’s lot. The inside of your car isn’t just seats and floor mats. Modern interiors are a tricky blend of plastics, leather, glass, touchscreens, crumbs, mystery stains, and that faint scent of last week’s lunch. If you want to know what tools and products separate the pros from the amateurs—and how you can borrow a few moves—keep reading.
The Must-Have Tools Pros Swear By
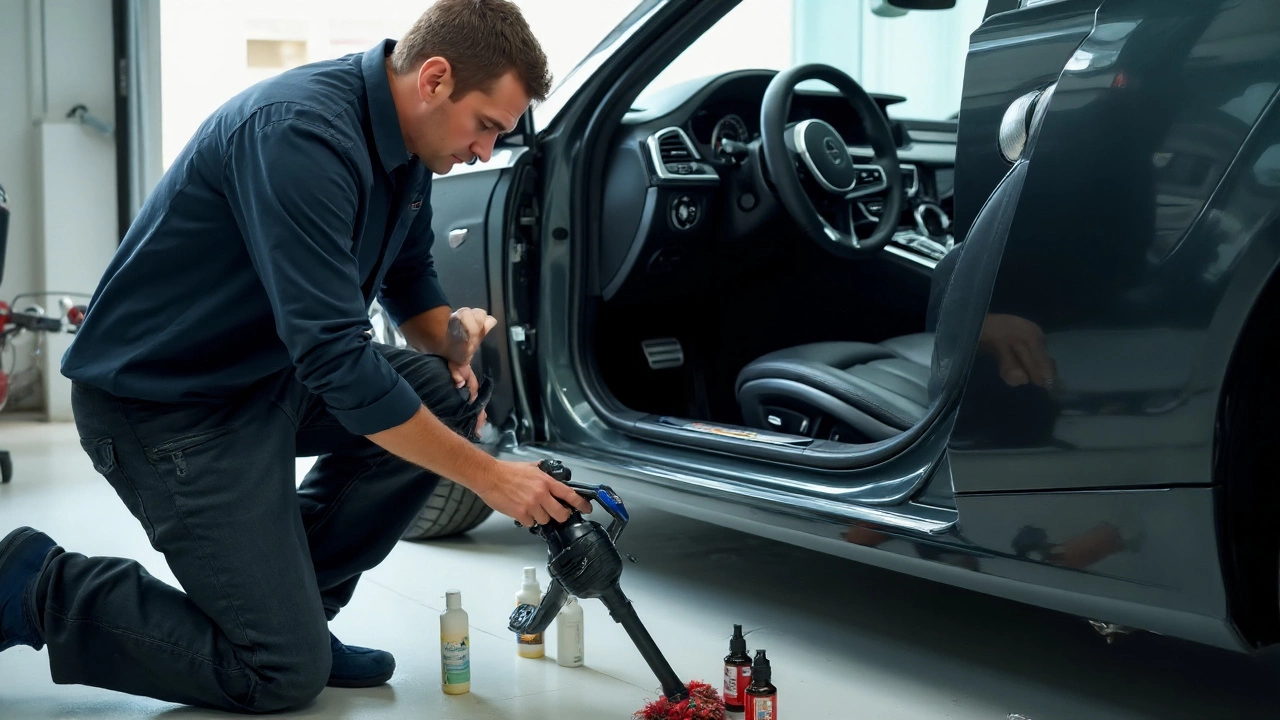
You won’t find pro detailers shoving a kitchen vacuum under your front seat. They rely on tough gear made to pull out grit you didn’t know existed. First up is the extractor vacuum—picture a regular household vac but turbocharged and fit with narrow nozzles, crevice tools, and brush heads for every crack. These suck up sand, pet hair, and even micro bits out of carpet fibers. Next, they use steamer machines. Steam detailing isn’t just hype. High-pressure steam loosens up sticky gunk, kills bacteria, and leaves hard surfaces streak-free. It's like giving your inside surfaces a deep cleanse without drowning the electronics.
Brushes come in all shapes, bristles, and sizes. Mother’s carpet and upholstery brushes dig deep into fabric, while soft boar hair brushes clean air vents, buttons, and infotainment screens. Old-school toothbrushes work on seams and stitching, but detailers level up with sets like Detail Factory’s swappable heads. Got pet hair? Rubber pet hair removers or pumice stones glide over carpets and snag every last hairy culprit. Everywhere you find a tight spot, you’ll see picks, panel poppers, and special plastic tools to lift dirt without scratching up the trim.
Then there are microfiber towels—a pro’s best friend. Not all are equal: some are plush for buffing, others tight-woven for glass, and cheap ones usually just push dust around. Pros go for 70/30 or 80/20 polyester/polyamide blends which grab grime and don’t leave lint. Color coding is huge—yellow for interiors, blue for glass, green for leather, red for wheels, and so on. It keeps dirt from one area ruining another. And finally, the light. Pros carry LED inspection flashlights because sunlight misses plenty. These little spotlights reveal smudges and streaks the casual eye skips.
Specialty Cleaners and Chemicals for All Surfaces
Let’s bust a myth: dish soap and water aren’t doing your car’s interior any favors. Pro detailers invest in a whole closet of surface-targeted cleaners because every inside material is picky. For dashboards and plastic trim, they use pH-neutral interior cleaners like Meguiar’s Quik Interior Detailer or Koch-Chemie’s MultiInteriorCleaner. These lift away dust, fingermarks, and shiny residue without leaving a greasy film. Juggling screens and controls? Specific products like CarPro Inside are safe for the touch-sensitive stuff.
Your seats tell half the story. For cloth seats and carpets, detailers get foaming upholstery shampoos and enzyme spot removers designed for automotive fabrics—think Chemical Guys Lightning Fast or Griot’s Garage Carpet Cleaner. For truly stubborn stains (red soda, melted candy, that ketchup packet you forgot exploded), they whip out hot water extractors with upholstery-safe detergents. These machines inject, agitate, and immediately pull dirty solution out, leaving material damp—not soaking.
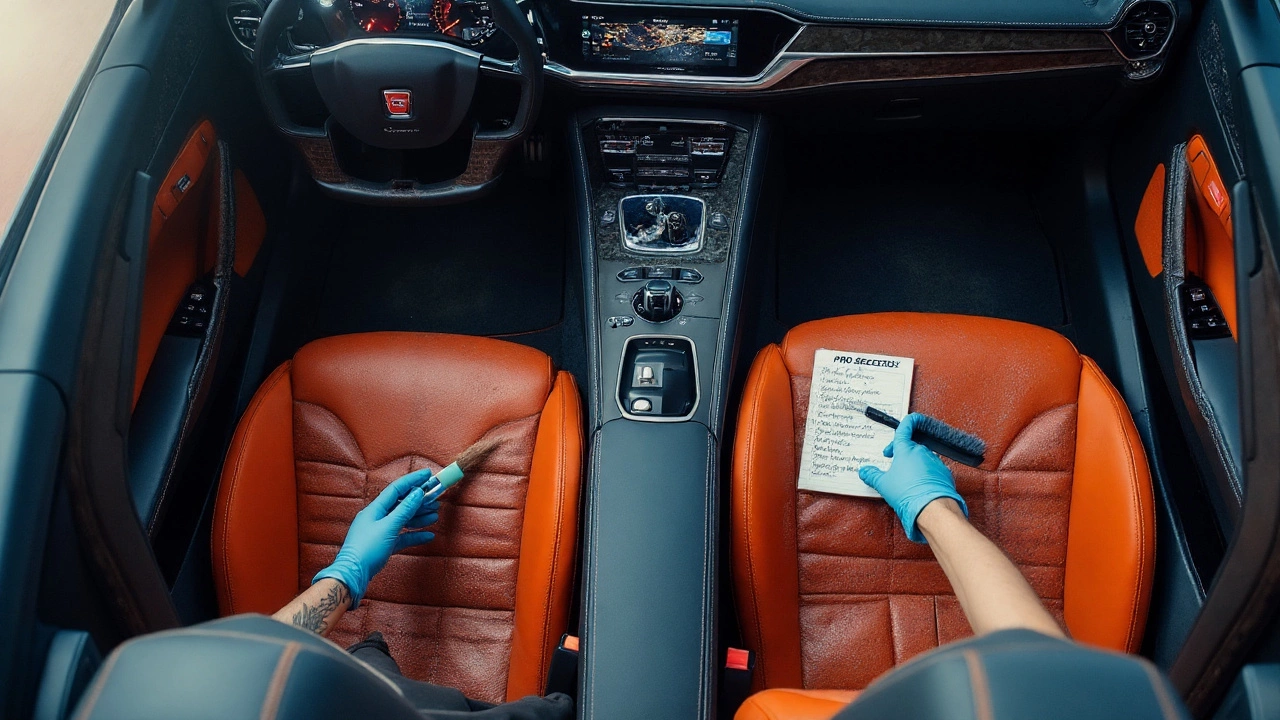
Leather is another beast. Forget saddle soap from the horse barn. Modern car leather is coated, needing gentle, water-based products like Leatherique, Lexol, or Colourlock. These clean off dirt without drying out or cracking surfaces. A two-step routine—cleaner first, then conditioner—keeps leather looking new. Those handy “all-in-one” wipes mostly just shove dirt around and coat things in silicone. Pro tip: regular users rarely notice their armrest fading or creasing until it’s too late. Add a conditioner every couple months and you’ll feel the difference.
For glass, generic blue ammonia-based cleaning sprays are out. Not only do they streak, they can damage sensitive window tint films. Pros use Stoner’s Invisible Glass or Gyeon Glass, applying them with tight-weave microfiber cloths for a crystal finish. Dealing with lingering odors? Simple air fresheners mask smells but don’t kill them. Detailers will spray enzyme odor eliminators, then use ozone machines or activated charcoal bags to really wipe out bad scents at the source.

Step-by-Step: How Detailers Clean Car Interiors Like New
So what’s the play-by-play for a pro-level interior cleanup? First, detailers strip down the space. Floor mats come out—always. Seats move forward and back so no grime gets missed. Rubbish and loose stuff are binned. Next is dry work: vacuuming, pet hair removal with a rubber tool or stone, and air guns to blow out dust from seams and under seats. This is where the advanced vacuums and crevice tools crush the cheap cordless stick-vac you grabbed on sale.
Now the wet work begins. For hard surfaces, pros spray a mist of interior cleaner on the tool, never straight onto sensitive panels. Microfiber towels or soft brushes agitate away stains and stickiness around switches, cup holders, and door pockets. Vents and seams get scrubbed with detail brushes and either wiped dry or blown clean. Don’t overlook the steering wheel—it’s one of the dirtiest spots. High-touch areas get disinfected, not just cleaned.
Seats and upholstery follow. Spray, scrub, and if the job is heavy-duty, extract. For leather seats, detailers use a gentle brush and a small amount of cleaner, let it dwell, then wipe off any residue. Conditioner gets its turn once things are dry. Glass is usually last—less risk of overspray undoing your hard work. The glass cleaner is misted onto a towel (never the glass directly, especially if it’s hot out), and wiped in tight circles. Tough spots get a little steel wool (grade 0000!) but only for windows, not plastic or tint.
Scent control comes at the end. Ozone generators run for a set time with footwells vented. Safe to say, pros won’t return a car smelling like “vanillaroma” trees—you’ll get a crisp, subtle scent instead. The final step? A sharp-eyed once-over, then a quick vacuum touch-up to grab anything the process loosened up. No one wants to leave behind a single missed crumb or pet hair after all that work.
Tips and Tricks From Pro Detailers You Can Try At Home
Now, not everyone has a steamer or a $500 extractor vacuum. But there’s enough you can do at home to level up your own interior cleaning game. For starters, Microfiber towels are non-negotiable—buy a dozen high-quality ones, not the cheap packs. Keep interior and wheel towels separate. Grab yourself a basic set of interior detail brushes. Dollar store toothbrushes are fine for tight seams, but pro brushes are gentler on plastics and leather. Switch your cleaning products: go for pH-balanced or automotive-specific cleaners, not random house sprays.
If you don’t want to invest in a pet hair stone, try a rubber glove—rub your hand over upholstery and hair will clump up for easy vacuuming. For sticky cup holders, soak with a warm, soapy rag for a few minutes, then scrub. Hard-to-reach vents? Dip a foam paintbrush or cotton swab in cleaner. It’ll fit into those tiny crevices. For oddly shaped cupholders, I’ve seen folks pour coins or use cupcake liners at the bottom so future gunk comes out easy next time.
Stubborn stains in seats? Don’t oversaturate—mist your product, agitate with a brush, blot, and repeat as needed. Over-wetting soaks the foam padding and can cause mold. If seats need deep work but no extractor is in sight, a handheld wet-dry vac with a carpet tool brings you closer to pro results. And don’t sleep on your seatbelts—wrap in a microfiber towel with a bit of cleaner, pull them out gently, and you’d be shocked at the filth that comes away.
For that professional scent: skip chemical bombs and look for odor eliminators like Ozium or automotive “enzyme” sprays—they’re made to break down organic smells, not coat them up. If you’ve ever wondered why rental cars always smell pretty neutral, it’s not by accident. Pro shops have “secret formulas,” but it’s mainly just deep cleaning plus these specialty sprays.
How Detailers Avoid Damage and Protect Your Interior
Ever wonder why a friend’s homemade cleaning job left faded buttons or shiny, greasy plastic? Here’s the “don’t do this” list every pro lives by. No harsh degreasers or household cleaners—these can strip coatings, dry out plastics, and trigger cracking over time. Ammonia-heavy sprays are banned: They haze up glass and will permanently damage screen coatings and tints. Magic erasers are only used super gently on stains, never on shiny plastic or soft leather—they’ll thin the finish fast.
Too much pressure when scrubbing marks on vinyl? That’ll leave shiny spots, a dead giveaway. Detailers let the chemistry work: they apply, let it sit (dwell time matters) so the cleaner can break down the grime, then gently remove it. On the flip side, letting liquids sit too long, especially on electronics or deep in fabrics, leads to mold, odors, and electronic faults. Tight control of how much solution goes on and how quickly it gets vacuumed away is crucial.
A layer of protection comes after cleaning. For plastics and rubber, pros use dressings like 303 Aerospace Protectant, which is non-greasy and has built-in UV protection. Leather gets a conditioner, not a thick, shiny cream. Glass is treated with hydrophobic sprays to repel fog and fingerprints. If you’re trying these at home, less is more. Extra product just attracts dust or makes things slippery, so go light and buff dry with a fresh towel.
There’s a saying in the detail world: “Clean, don’t cover up.” That’s why pro results last, while shortcuts just look shiny for a day. And yes, when you ask detailers about air fresheners, most will roll their eyes—they’re after a truly clean interior, not a quick fix. If you want your ride to feel professionally detailed, borrow the pro products, dial in your technique, and put in just a bit more effort—and you’ll notice the difference next time you step in.