Custom Car Seat Project Planner
Select your customization level to see estimated costs, required tools, and safety considerations.
Level 1
Re-Upholstery
Keep frame & foamLevel 2
Frame Swap
New shell/frameLevel 3
Bespoke Build
From scratchRequired Tools & Materials
Critical Safety Checklist
Imagine sliding into a driver’s seat that fits your body like a glove. The side bolsters hug your hips perfectly, the lumbar support aligns with your spine, and the leather is stitched in a color that matches your mood. It sounds like a dream from a high-end concept car, but you can actually make this happen. The short answer to "can you make custom car seats?" is yes. However, the long answer involves a mix of creative upholstery skills, mechanical know-how, and a serious respect for safety regulations.
Whether you are looking to revive a cracked vintage bucket seat or build a fully bespoke throne for your daily driver, the process is more than just sewing fabric. It requires understanding the structural integrity of the foam, the mechanics of the sliders, and the legal requirements for crash safety. Let’s break down exactly how you can turn an off-the-shelf seat into a custom masterpiece without compromising your life in the process.
Understanding the Anatomy of a Car Seat
Before you pick up a needle or a power drill, you need to understand what you are working with. Most people think of a car seat as a single object, but it is actually a complex assembly of three distinct systems: the frame, the cushioning, and the cover. Each part plays a specific role in comfort and safety.
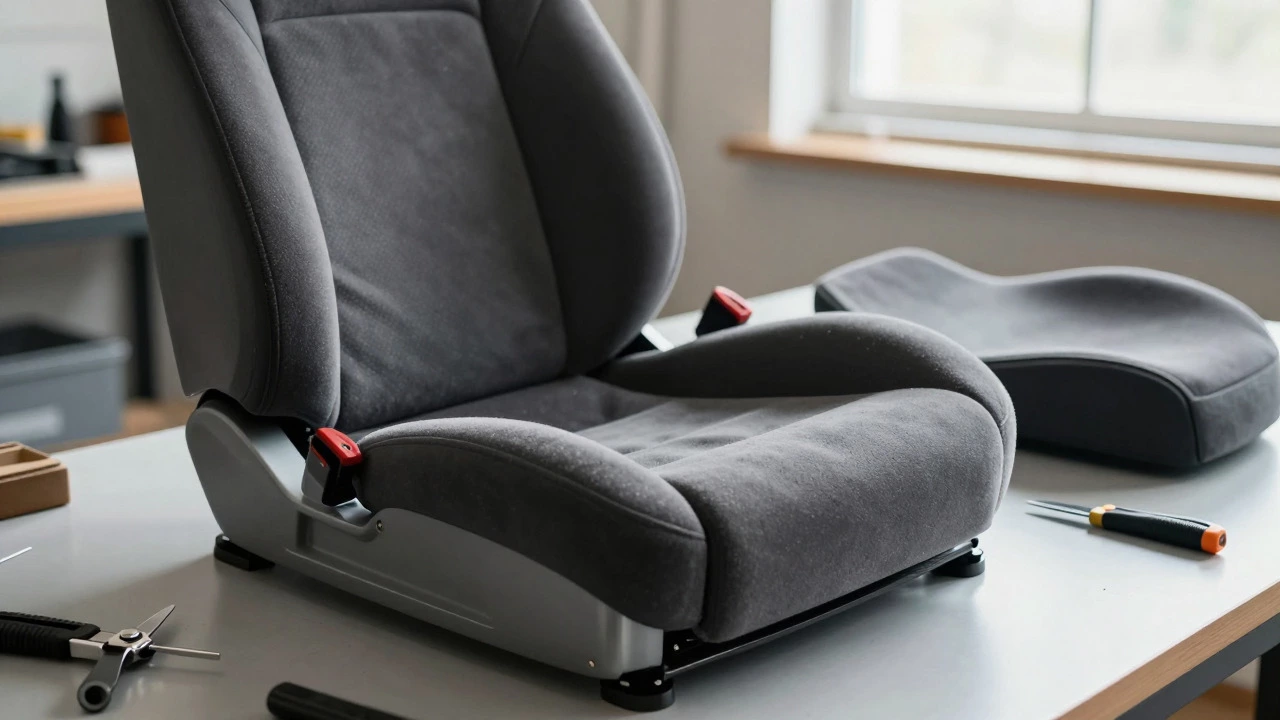
The Seat Frame is the skeleton. Usually made of steel or aluminum, it holds everything together. In modern cars, this frame also houses the mounting points for airbags and sensors. If you plan to modify the frame, you need to be careful not to weaken its structure. The Foam Core provides comfort and shape. High-density polyurethane foam is standard, but enthusiasts often swap this for memory foam or even gel-infused layers for better heat dissipation. Finally, the Upholstery Cover is the skin. This is where most customization happens, using materials like Alcantara, premium leather, or durable synthetic fabrics.
Knowing these components helps you decide how deep you want to go. Are you just re-covering the existing foam? Or are you building a new shell from scratch? The scope of your project will determine the tools and skills you need.
Level 1: Re-Upholstering Existing Seats
This is the most common entry point for custom car seats. You keep the original frame and foam but replace the outer layer. This approach is cost-effective and keeps the original safety ratings intact because the structural components remain unchanged.
To start, you need to remove the seat from the vehicle. Disconnect the battery first to avoid accidental airbag deployment. Once the seat is out, use a trim removal tool to pop open the plastic clips holding the cover in place. Take photos at every step. Trust me, you will forget how the wiring harnesses route through the back later.
Once the old cover is off, inspect the foam. If it is sagging or crumbling, you have two choices: repair it with expanding foam adhesive or replace it entirely. For a true custom look, many builders cut away sections of the foam to create deeper channels for side support. This is where you can tailor the fit to your body type. Wider hips? Cut out more foam on the sides. Longer torso? Add a wedge of foam under the lower back.
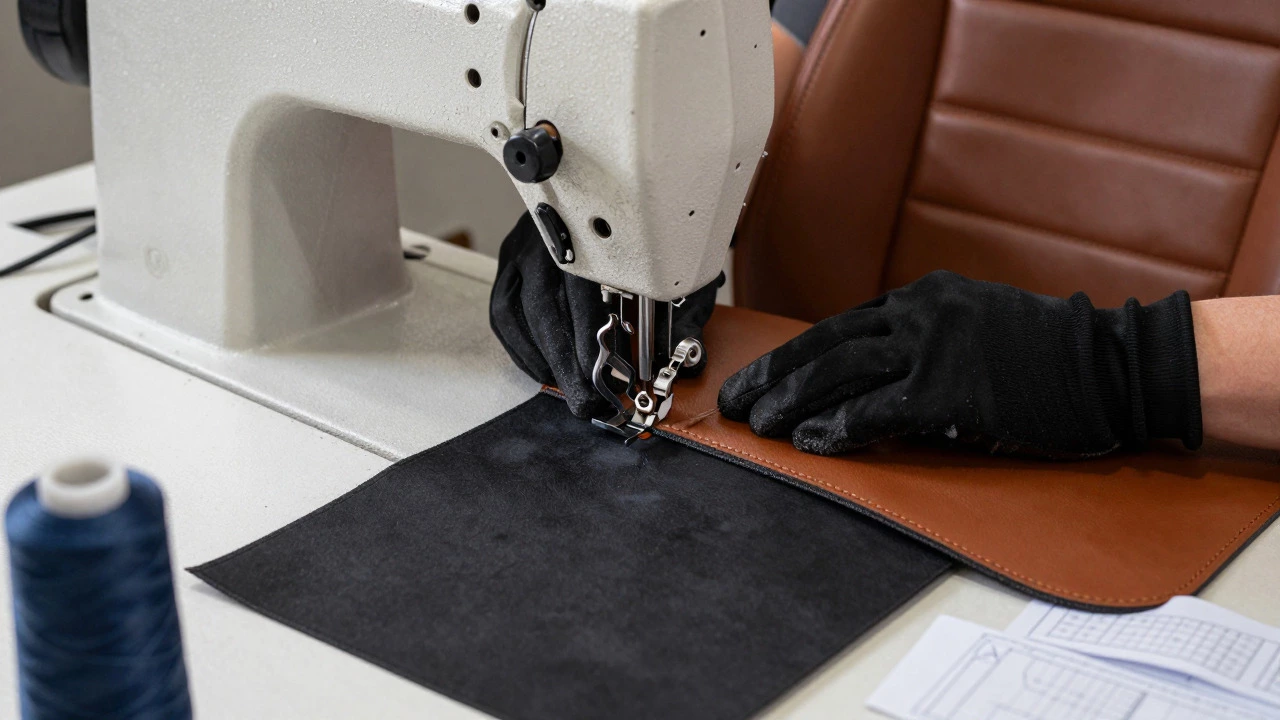
When choosing your new material, consider durability. Alcantara offers a suede-like grip that is popular in sports cars, but it stains easily. Genuine Leather ages beautifully but can get hot in summer. Synthetic options like Clairvoyant Leather provide a middle ground with high durability and easy cleaning. Sewing the new cover requires a heavy-duty sewing machine capable of handling thick layers. Use a walking foot to prevent the material from shifting.
Level 2: Swapping Frames and Shells
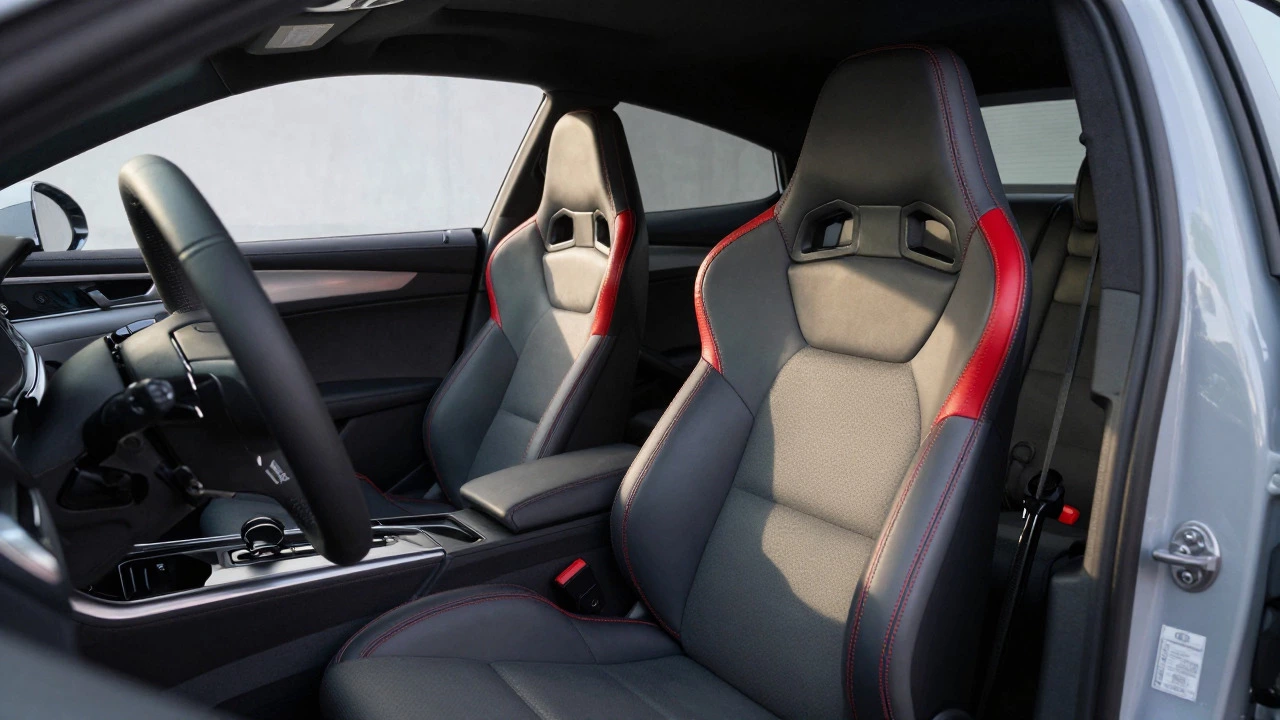
If you want a dramatic change in shape, re-upholstering might not be enough. This is where you introduce aftermarket frames. Companies like Sparco, Recaro, and Corbeau sell bare shells or complete seats that you can customize further.
Swapping frames allows you to change the recline angle, the height adjustment range, and the overall profile of the seat. Racing-style seats, for example, offer aggressive lateral support that stock seats lack. However, installing a new frame requires compatible sliders. You cannot simply bolt a race seat into a sedan designed for a plush lounge chair. You need to source specific mounting brackets that adapt the new seat to your car’s floor pan.
At this level, you might also experiment with different foam densities. Some customizers use layered foam, combining a firm base layer for support with a softer top layer for comfort. This technique, known as contouring, allows you to sculpt the seat to your exact dimensions. It takes time and patience, but the result is a seat that feels like it was molded specifically for you.
Level 3: Full Bespoke Builds
For the ultimate custom experience, some enthusiasts build seats from raw materials. This involves welding a custom frame, cutting foam blocks into shape, and creating a pattern for the cover from scratch. This is rarely done for street cars due to the complexity and cost, but it is common in historic restorations or unique show cars.
Building a frame requires metalworking skills. You need to ensure the welds are strong enough to withstand G-forces during braking and cornering. The foam must be carved using specialized tools to maintain symmetry. Even a slight imbalance can cause discomfort over long drives. The cover pattern must be drafted carefully, accounting for stretch and shrinkage in the material.
While impressive, full bespoke builds come with significant risks. Without proper testing, there is no guarantee the seat will perform well in a collision. This level of customization is best left to professional upholsterers who have access to testing equipment and engineering expertise.
The Critical Role of Safety Standards
Here is where things get serious. Customizing car seats isn’t just about looks; it’s about survival. Every factory seat undergoes rigorous crash testing to meet government standards. When you modify a seat, you void those certifications. You need to take responsibility for ensuring your custom seat is safe.
The most critical component is the Side Airbag. Many modern seats have airbags built into the side bolsters. If you cut the foam or sew over the wrong area, you can disable the airbag or cause it to deploy incorrectly. Always check the service manual for your vehicle to locate airbag modules. Mark them clearly before cutting any foam.
Another key factor is the Seat Belt Geometry. The anchor points for the shoulder belt must remain in their original position relative to the occupant’s chest. If you raise the seat too high or move the backrest angle significantly, the belt may not restrain you properly in a crash. Adjust the sliders carefully to maintain the correct belt path.
In Australia, where I live in Brisbane, roadworthy inspections are strict. While they may not test every stitch, a visibly unsafe modification can fail inspection. Ensure your custom seat has secure mounting points and does not interfere with pedals or steering clearance.
| Feature | Re-Upholstery | Frame Swap | Bespoke Build |
|---|---|---|---|
| Cost | Low to Medium | Medium to High | Very High |
| Skill Required | Basic Sewing | Mechanical & Fabrication | Expert Engineering |
| Safety Risk | Low (if airbags preserved) | Medium (mounting issues) | High (untested structure) |
| Customization Potential | Color & Texture | Shape & Support | Total Design Freedom |
Tools and Materials You Will Need
You don’t need a factory to start customizing, but you do need the right gear. Here is a list of essentials for a basic re-upholstery project:
- Heavy-Duty Sewing Machine: Look for one with a high torque motor and a walking foot attachment. Standard home machines will struggle with thick leather.
- Trim Removal Tools: Plastic pry tools help you remove clips without damaging the plastic housing.
- Utility Knife and Foam Saw: For trimming excess foam and shaping contours.
- Spray Adhesive: To bond the foam to the backing cloth before covering it.
- Needles and Thread: Use size 18 or 20 needles and polyester thread rated for automotive use. Nylon thread can degrade over time.
- Pattern Paper: To draft templates for your new cover pieces.
If you are moving to frame swaps, add socket sets, torque wrenches, and possibly a welder to your toolkit. Precision matters when dealing with load-bearing components.
Common Pitfalls to Avoid
Even experienced builders make mistakes. One common error is ignoring the stretch factor of the material. Leather stretches over time, so if you pull it too tight initially, it may loosen and wrinkle after a few months. Leave a little slack in non-stress areas.
Another mistake is neglecting the underside of the seat. The bottom cushion needs to be secured firmly to prevent shifting while driving. Use rivets or strong stitching along the edges to lock the foam in place.
Don’t forget about ventilation. Modern seats often have fans or perforated leather for airflow. If you seal the seat completely with impermeable vinyl, you will sweat through your clothes on a hot Brisbane afternoon. Plan for airflow channels if possible.
When to Hire a Professional
There is no shame in outsourcing parts of the job. If you are uncomfortable with electrical work, leave the airbag wiring to a pro. If you lack a good sewing machine, consider having a local upholsterer stitch the final cover while you handle the foam shaping. Hybrid approaches save money and reduce risk.
Professional shops also have access to industrial-grade materials that are hard for consumers to buy in small quantities. They can source exact color matches for rare interiors, which is invaluable for classic car owners.
Is it legal to install custom car seats?
Yes, it is generally legal to install custom car seats as long as they are securely mounted and do not interfere with vehicle controls. However, they must still allow for proper seat belt usage. In many regions, including Australia, modified seats must pass a roadworthy inspection. Ensure your custom seat has robust mounting points and does not block pedal access.
Will custom seats affect my insurance?
It depends on your policy. Minor upholstery changes usually don’t matter, but structural modifications like frame swaps might need to be declared. If the seat lacks crash certification, your insurer could argue reduced safety in a claim. Always inform your provider of significant interior modifications to avoid coverage disputes.
How much does it cost to custom re-upholster car seats?
DIY costs vary widely. Basic fabric covers might cost $50-$100 per seat, while premium leather or Alcantara can run $200-$400 per seat in materials alone. Professional services typically charge $500-$1,500 per seat depending on complexity and material quality. Factor in tool rentals or purchases if you are doing it yourself.
Can I keep side airbags when re-upholstering?
Yes, but you must be extremely careful. Identify the airbag module location before cutting any foam. Stitch around the airbag pocket rather than through it, and ensure the new cover material does not obstruct the deployment path. Using the original cover as a template helps preserve these critical safety features.
What is the best material for custom car seats?
The best material depends on your priorities. Genuine leather offers luxury and durability but requires maintenance. Alcantara provides excellent grip and a sporty look but stains easily. Synthetic leathers like Clairvoyant are affordable, durable, and easy to clean. For high-heat climates, breathable mesh or perforated materials are recommended for comfort.