Wheel Spacer Safety Estimator
Enter your current or planned wheel spacer configuration to determine the safe driving distance and risk level.
Safety Assessment
Calculating...Recommended Actions:
You just installed a set of wheel spacers to give your car that aggressive stance or to clear up some brake caliper clearance. The wheels look great, the fitment is tight, but now you’re staring at your dashboard wondering: how far can I actually drive before something snaps? It’s not just about distance; it’s about physics, leverage, and whether you used quality hardware.
Here is the blunt truth: if you have installed high-quality, hub-centric spacers with proper extended studs or long bolts, you can drive indefinitely-yes, even cross-country trips. If you used cheap, non-hub-centric spacers with short stock bolts, you might be looking at a few hundred kilometers before disaster strikes. The limiting factor isn't usually the metal itself, but the interface between the wheel, the spacer, and the hub.
The Physics of Leverage and Load
Think of your wheel as a lever. When you add a spacer, you are moving the center of gravity of the tire further away from the vehicle's hub assembly. This increases the moment arm, which means every bump in the road creates more stress on the wheel bearings and the suspension components than before. For every 5mm of spacer thickness, the load on the outer wheel bearing increases significantly.
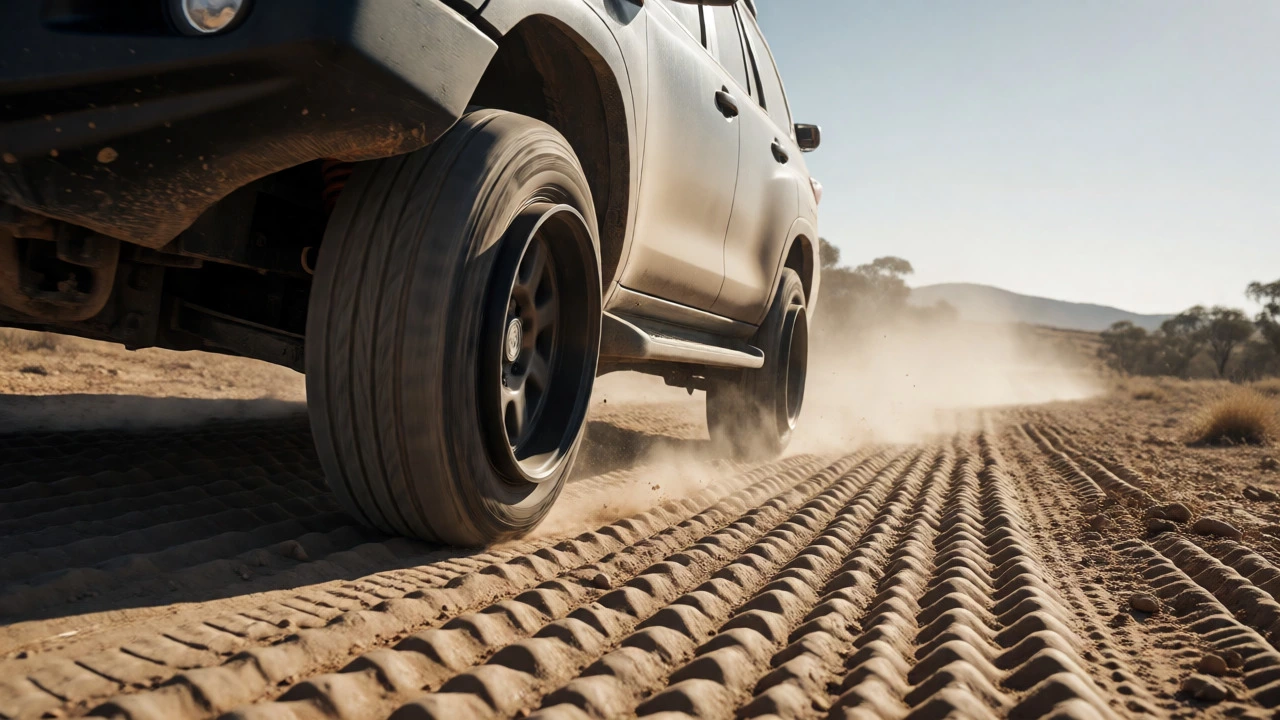
If you are driving on smooth highways, this extra leverage is manageable. But hit a pothole in Brisbane or take a rough gravel track in the outback, and that leverage multiplies. The question "how far" becomes "under what conditions." A 10mm spacer on a lightweight hatchback driven mostly on city roads is low risk. A 25mm spacer on a heavy SUV loaded with camping gear, driving over corrugated dirt roads, is a different story entirely.
Hub-Centric vs. Lug-Centric: The Critical Difference
This is where most people get into trouble. There are two main types of spacers, and their safety profiles are worlds apart.
| Feature | Hub-Centric Spacer | Lug-Centric (Slip-On) Spacer |
|---|---|---|
| Centering Method | Precision ring fits onto the hub bore | Relies on lug nuts for centering |
| Vibration Risk | Low (if machined correctly) | High (prone to wobble) |
| Safe Distance | Unlimited (with proper hardware) | Short term / Low speed only |
| Hardware Needed | Extended studs or long bolts | Stock bolts often insufficient |
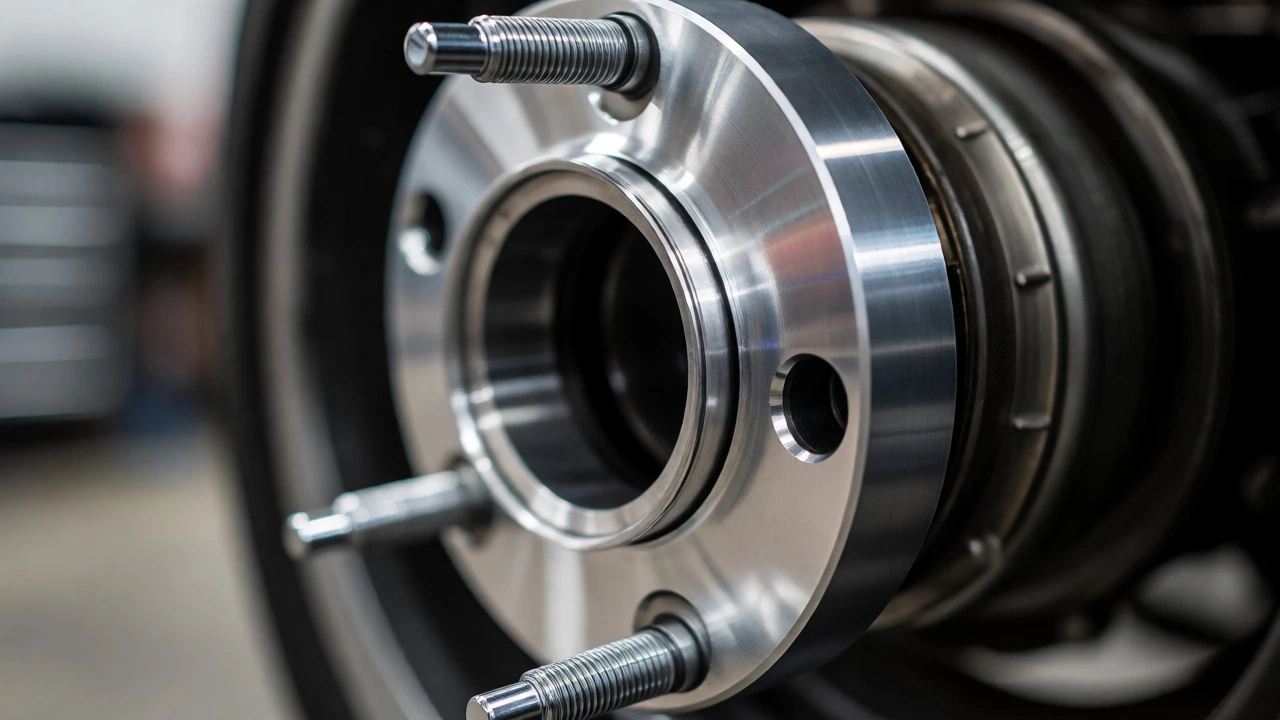
A hub-centric spacer has a raised lip that slides directly onto the axle hub. This ensures the wheel is perfectly centered by the hub, not the lugs. Because the hub takes the shear load, the lug nuts only need to clamp the parts together. This setup is safe for daily driving and long-distance travel, provided the hardware is rated correctly.
In contrast, a lug-centric spacer relies on the conical seats of your lug nuts to center the wheel. As you drive, heat cycles cause expansion and contraction. If the fit isn't perfect, the wheel can shift slightly. Over hundreds of kilometers, this micro-movement can loosen nuts or crack the spacer material. Never rely on slip-on spacers for anything other than a temporary fix or very thin adjustments (under 3-5mm).
Hardware Integrity: Studs vs. Bolts
Your ability to drive long distances depends heavily on how the spacer attaches to the car. Most cars use either stud-mounted hubs (where studs protrude from the hub) or bolt-on hubs (where bolts screw into the hub).
- Stud-Mounted Hubs: If you add a spacer thicker than 5-10mm, you must use extended wheel studs. These replace the factory studs and provide enough thread engagement for the new wheel nut. Without them, the nut barely grabs the stud, risking failure under heavy braking or cornering.
- Bolt-On Hubs: Common in many European cars like BMW and Audi. Here, you need longer bolts that pass through the spacer and engage deeply into the hub threads. Standard length bolts will strip the threads or fail to hold securely when a spacer is introduced.
If you skipped upgrading the hardware because you wanted to save money, your driving limit is likely under 100km. Check your lug nut torque after the first 50km. If they feel loose, stop immediately. Do not attempt a highway trip.
Real-World Scenarios: How Far Is Too Far?
Let's break this down into practical scenarios based on real-world usage.
Scenario 1: The Daily Commuter (5-10mm Hub-Centric) You installed 10mm hub-centric spacers on your Toyota Hilux to fill the wheel arches. You use extended studs. You drive 40km to work each day. Verdict: Drive forever. Just re-torque the nuts after the first week and check them during routine services. The stress increase is minimal for modern vehicles.
Scenario 2: The Weekend Warrior (20mm+ Non-Hub-Centric) You bought cheap aluminum rings for your Jeep Wrangler to run wider tires. They aren't hub-centric, and you're using stock bolts. You plan a 500km off-road trip. Verdict: Risky. Limit your speed to under 80km/h. Stop every 100km to inspect the wheels for play. If you hear clicking or feel vibration, abort the trip. Off-road impacts amplify the weakness of lug-centric designs.
Scenario 3: The Track Day Car (Custom Machined Adapters) Your Subaru WRX uses custom-forged adapters to change the bolt pattern. These are engineered specifically for the car. Verdict: Unlimited, assuming regular inspection. High-performance adapters are designed to handle G-forces better than generic spacers. However, always check for cracks in the adapter material after hard sessions.
Signs Your Setup Is Failing
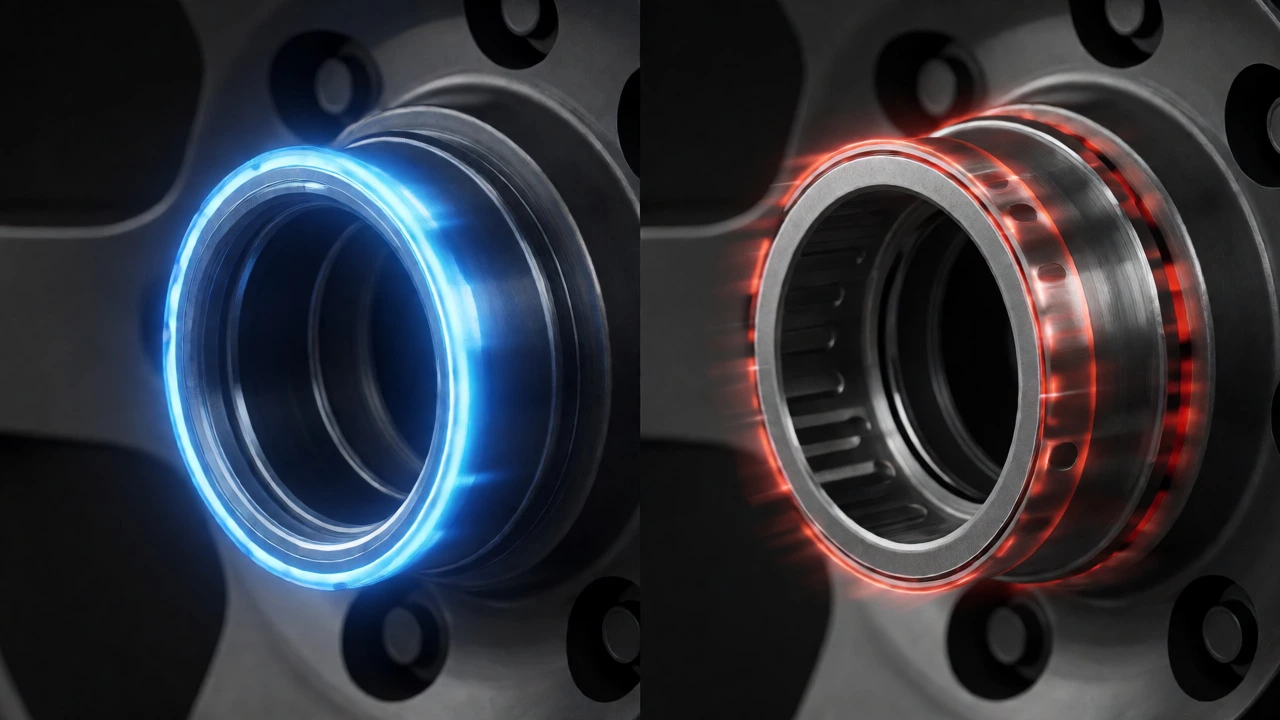
Distance doesn't always equal failure time. Sometimes, failure happens instantly. Watch for these red flags:
- Vibration at Speed: If your steering wheel shakes between 60-90 km/h, your spacers might be warped, dirty, or improperly seated. Dirt trapped between the hub and spacer causes imbalance.
- Uneven Tire Wear: Inner edge wear suggests excessive negative camber caused by too much spacer width without alignment correction.
- Clicking Noises: A rhythmic click while turning indicates loose hardware or interference between the spacer and brake dust shield.
- Visual Cracks: Inspect the spacer face for hairline cracks, especially around the lug holes. Aluminum fatigue is real.
Maintenance Checklist for Long Trips
Before you embark on a journey exceeding 200km, perform this quick audit:
- Clean Surfaces: Ensure the hub face and spacer contact surfaces are free of rust and debris. Use a wire brush if necessary.
- Torque Verification: Use a calibrated torque wrench. Do not guess. Follow manufacturer specs (usually 100-120 Nm for passenger cars).
- Thread Engagement: Confirm at least 5-6 full turns of thread engagement on studs or bolts.
- Interference Check: Spin the wheel and listen for rubbing against fenders or brake components.
If everything checks out, you can drive as far as your fuel tank allows. The spacer itself won't wear out from mileage alone; it fails due to poor installation or inadequate design.
Can wheel spacers fall off while driving?
Yes, but rarely if installed correctly. Spacers fall off primarily due to improper torque, stripped threads, or using stock bolts with thick spacers. If you use hub-centric spacers with extended studs and torque them to spec, the risk is negligible. Always re-check torque after the first 50-100km.
Do wheel spacers affect handling?
They do. By widening the track, spacers generally improve stability and reduce body roll. However, they also increase scrub radius, which can make steering feel heavier or more sensitive to road imperfections. Large spacers may require an alignment adjustment to correct toe and camber settings.
Are aluminum spacers safer than steel?
Both are safe if manufactured to standards. Aluminum is lighter and dissipates heat well, reducing brake fade. Steel is stronger and less prone to cracking under extreme stress but adds unsprung weight. For street driving, 6061-T6 aluminum is standard and highly reliable. Avoid cast aluminum; choose forged or billet.
How often should I retighten wheel spacer bolts?
Retorque after the first 50-100km of driving. After that, check them every 10,000km or during tire rotations. Heat cycling and vibration can cause gradual loosening, especially with aftermarket hardware. Visual inspections monthly are a good habit.
What is the maximum safe spacer size?
There is no universal number. Generally, staying within 20-25% of your wheel width is safe. For example, on an 8-inch wide wheel, 20mm is reasonable. Beyond 25-30mm, you risk pushing the wheel past the suspension geometry limits, causing ball joint or tie rod issues. Always consult a specialist for sizes over 25mm.