Body Kit Installation Time Estimator
Estimated Timeline
Pro Tips:
- • Check mounting points before buying.
- • Use high-strength VHB tape or bolts.
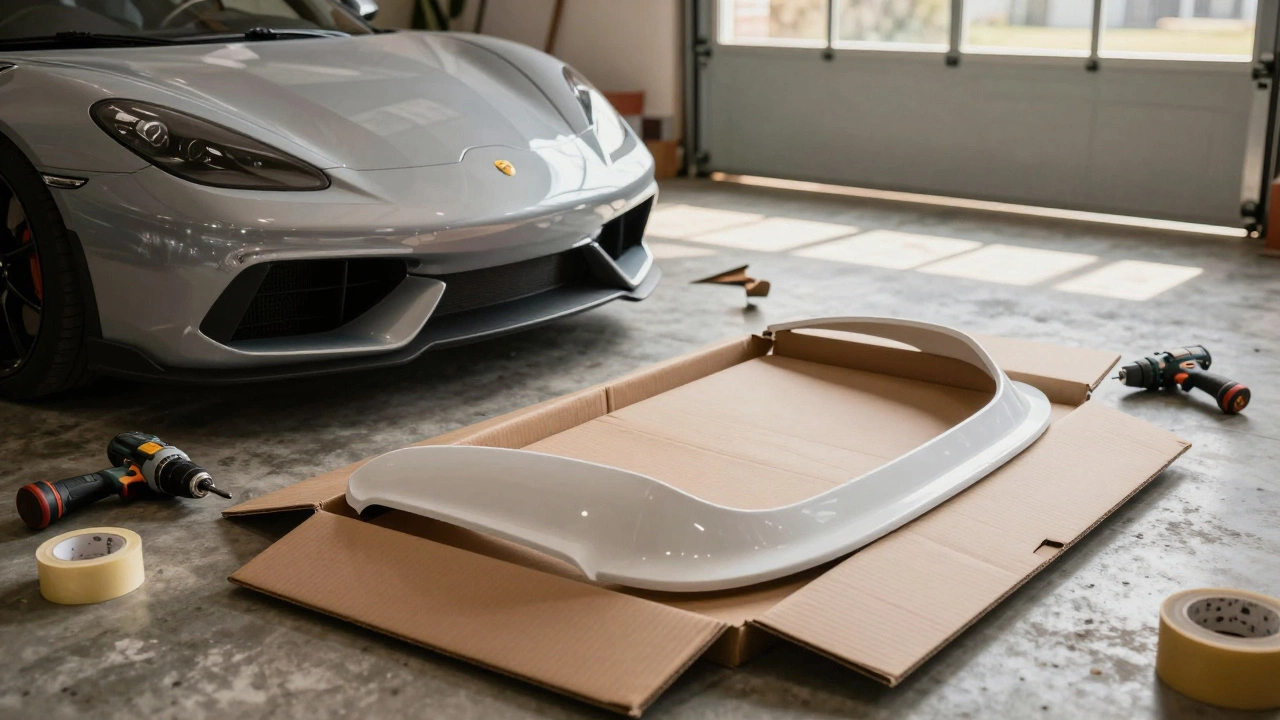
So you’ve just picked up that new wide-body kit for your daily driver. The photos online look incredible-aggressive lines, perfect gaps, and a stance that commands attention. But then reality hits: you’re staring at a box full of fiberglass or polyurethane parts in your garage, wondering how many weekends this project will actually eat into your life. The short answer? It depends entirely on what you’re installing and who’s doing it.
If you’re planning to tackle this yourself, expect anywhere from two days for a simple front lip to three weeks for a full four-piece conversion. If you’re handing the keys to a professional shop, the timeline shrinks significantly, but the cost skyrockets. Understanding these variables before you start cutting tape off your bumper is crucial. Nobody wants their car stuck in 'project limbo' for months because they underestimated the prep work.
The Complexity Spectrum: From Lips to Full Conversions
Not all body kits are created equal. The time required scales directly with the number of panels involved and the level of integration needed. A single piece is manageable; a complete overhaul is a lifestyle change.
| Kit Component | DIY Beginner (Hours) | DIY Experienced (Hours) | Professional Shop (Days) |
|---|---|---|---|
| Front Lip Splitter | 4-8 hours | 2-4 hours | 0.5-1 day |
| Sidescirts / Rocker Panels | 6-12 hours per side | 3-6 hours per side | 1-2 days |
| Rear Diffuser | 4-8 hours | 2-4 hours | 0.5-1 day |
| Fender Flares (Clip-on) | 8-16 hours | 4-8 hours | 1-2 days |
| Full Bumper Replacement | 12-24 hours | 6-12 hours | 2-4 days |
| Wide-Body Conversion (Fenders + Doors) | 40-80+ hours | 20-40 hours | 5-10 days |
A front lip splitter is often the entry point for most enthusiasts. These usually bolt onto existing mounting points or use high-strength adhesive. If your car has pre-drilled holes, you might be done in an afternoon. However, if you need to drill new holes and seal them properly to prevent rust, add another few hours. Sidescirts are trickier because they run along the bottom of the doors, requiring careful alignment with door jambs and wheel arches. One millimeter off, and the gap looks terrible.
Full bumper replacements introduce electrical complexity. You aren’t just swapping plastic; you’re transferring fog lights, parking sensors, tow hooks, and sometimes even radar modules for adaptive cruise control. This wiring transfer alone can take half a day. Wide-body conversions are a different beast entirely. They often require cutting original factory panels, welding extensions, and extensive metalwork before any paint is applied. This isn’t a weekend job; it’s a multi-week commitment.
Material Matters: Fiberglass vs. Polyurethane vs. ABS
The material your body kit is made from drastically affects installation speed and difficulty. Manufacturers typically offer three main types, each with its own quirks.
Polyurethane (PU) is the gold standard for street cars. It’s flexible, durable, and resistant to rock chips. Because it’s slightly pliable, it can often be tapped into place with a rubber mallet if there’s minor misalignment. Installation is relatively straightforward, focusing mostly on drilling and bolting. PU kits tend to have better out-of-the-box fitment than fiberglass, saving you hours of sanding and filling.
Fiberglass is lighter and cheaper but brittle. It doesn’t bend; it breaks. If the fitment isn’t perfect, you’ll spend significant time grinding down edges and using body filler to smooth transitions. Fiberglass also requires more meticulous surface preparation before painting because it’s porous. While the actual bolting takes the same amount of time as PU, the prep and finishing work can double your labor hours.
ABS Plastic is increasingly common for OEM-style upgrades. It’s tough and can be welded if cracked, but it’s rigid. ABS parts often require precise heat-forming or trimming to match your specific model year variations. For example, a 2025 model might have slightly different sensor placements than a 2024, requiring manual adjustment of the ABS housing. This rigidity means zero tolerance for error during installation.
The Hidden Time Sink: Preparation and Fitment
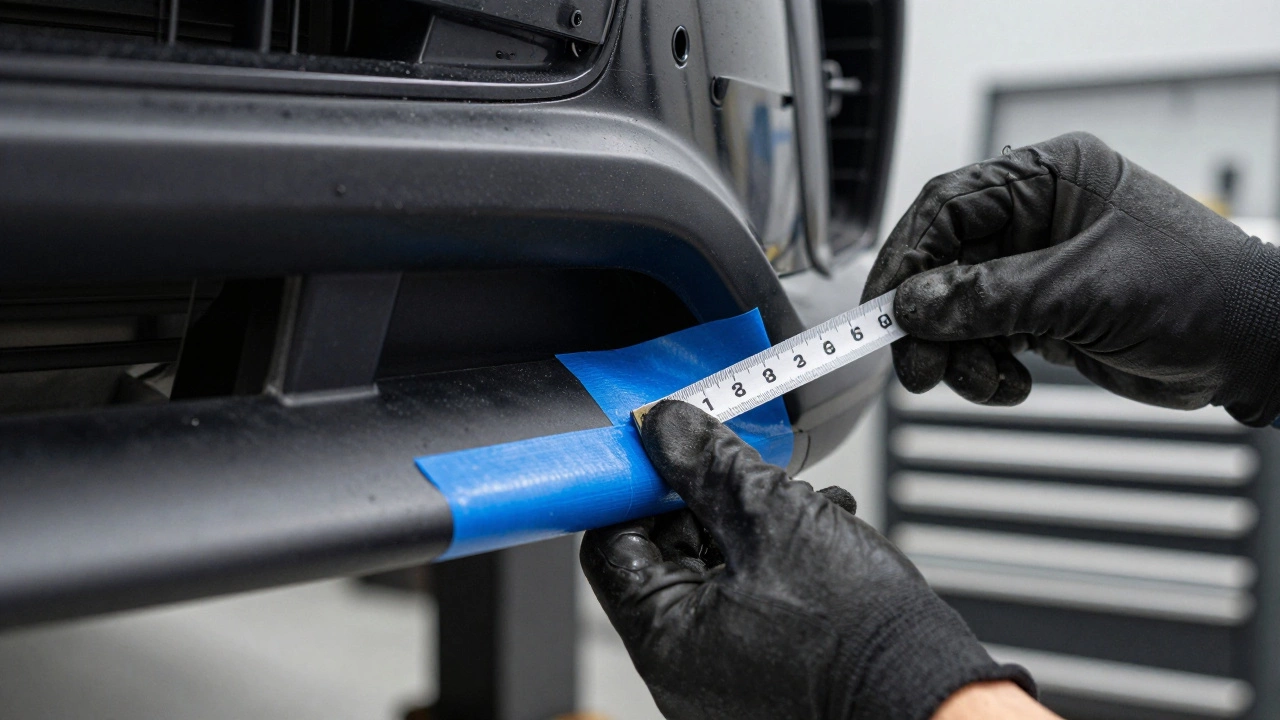
Most beginners underestimate the "dry fit" phase. Never glue or bolt anything permanently until you’ve test-fitted every piece with masking tape. This step is non-negotiable. Dry fitting reveals gaps, overlaps, and interference issues that only become apparent when the part is actually on the car.
During dry fitting, you’ll likely discover that the manufacturer’s template doesn’t perfectly match your vehicle’s VIN-specific features. Maybe your car has a tow hook receiver that blocks a mounting hole. Or perhaps the hood clearance is insufficient for the new front bumper. Resolving these conflicts involves measuring, marking, drilling, and re-testing. This iterative process can easily add 10-20% to your total installation time.
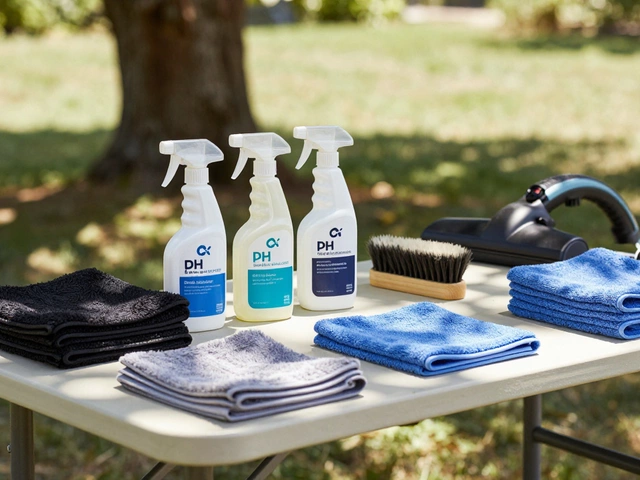
Surface preparation is another major factor. Even if you’re buying a primed kit, you need to sand down the attachment points on your car to ensure a flush bond. Adhesive tapes like 3M VHB require perfectly clean, degreased surfaces. Rushing this step leads to parts sagging or falling off after a few wash cycles. Proper prep includes removing wax, cleaning with isopropyl alcohol, and applying primer surfacer where necessary. For a full bumper swap, this prep work alone can take a full day.
Paint Matching: The Biggest Variable
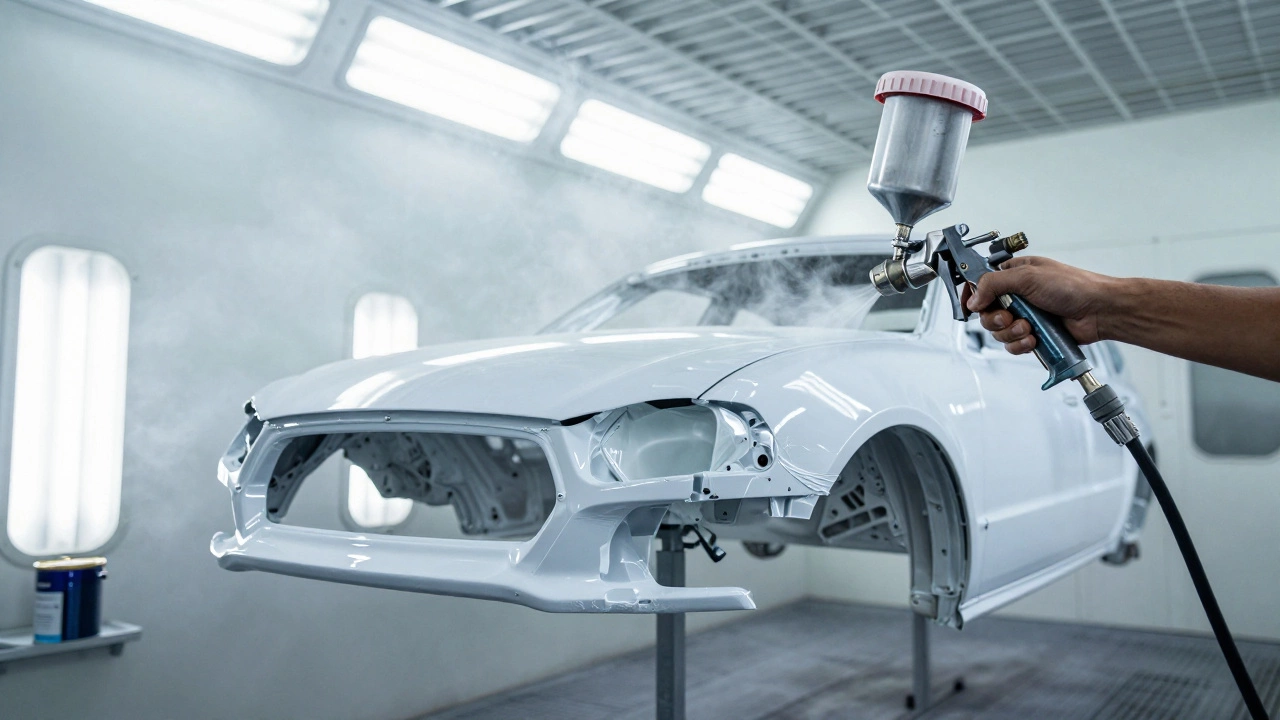
Here’s the hard truth: if you want your body kit to look factory-installed, you must paint it. Raw polyurethane or fiberglass looks cheap and unfinished. Painting adds the most unpredictability to your timeline.
Doing it yourself? Expect at least three to five days. This includes masking the entire car, priming the kit, color matching, spraying base coats, clear coating, and waiting for proper curing times between layers. Humidity and temperature in Brisbane can affect drying times, so check the weather forecast. Poor ventilation or dust in your garage can ruin a paint job, forcing you to strip and redo everything.
Hiring a professional painter is faster but expensive. Shops often charge per panel or by the hour. A high-quality paint job requires multiple stages: blocking, priming, sealing, base coat, clear coat, and wet sanding/polishing. Most reputable shops won’t rush this process. Turnaround time for a professionally painted kit is typically one to two weeks, depending on their backlog. Factor this wait time into your overall project schedule.
DIY vs. Professional Installation: Making the Call
Should you do it yourself or pay a pro? It comes down to skill, tools, and patience.
Choose DIY if: You have a well-equipped garage, basic mechanical skills, and plenty of free time. You enjoy the hands-on aspect of customization and don’t mind learning through trial and error. DIY saves you thousands in labor costs but demands a steep learning curve. You’ll need tools like a drill press, angle grinder, sander, and possibly a welder for wide-body kits.
Choose Professional if: You value precision and warranty protection. Professional installers have jigs, lifts, and experience with hundreds of similar vehicles. They know how to align panels perfectly and handle complex wiring transfers without damaging airbags or sensors. More importantly, many shops offer a warranty on their fitment and paint work. If something goes wrong, they fix it. With DIY, you’re on your own.
Hybrid approaches exist too. You might remove the old bumpers and prep the car yourself, then send the kit to a specialist for painting and reinstallation. This balances cost savings with quality assurance.
Common Pitfalls That Delay Projects
Avoid these common mistakes to keep your project on track:
- Skipping the template check: Always verify that the kit matches your exact trim level. Sport trims often have different grilles and intakes than base models.
- Using the wrong adhesive: Standard duct tape or cheap spray adhesives fail under heat and vibration. Use automotive-grade VHB tape or structural epoxy.
- Ignoring drainage holes: New bumpers may block existing drainage channels, leading to water accumulation and rust. Drill additional holes if necessary.
- Forgetting about electronics: Adaptive cruise control radars are often mounted behind the grille. Misaligning the new bumper can disable safety systems, requiring recalibration at a dealer.
- Underestimating paint cure time: Clear coat feels dry to the touch in hours but takes weeks to fully harden. Washing or detailing too soon can scratch the finish.
Final Thoughts on Timing
Installing a body kit is as much about planning as it is about execution. A simple lip might take a Saturday morning, while a full wide-body transformation could occupy your spare time for months. Be realistic about your skills and resources. If you’re unsure, consult with a local auto body shop early in the process. They can provide a detailed quote and timeline based on your specific vehicle and kit choice. Remember, rushing the job leads to poor fitment, ugly paint jobs, and potential damage to your car. Take your time, prepare thoroughly, and enjoy the transformation.
How long does it take to install a front lip splitter?
A front lip splitter typically takes 2 to 8 hours to install, depending on whether it bolts on or uses adhesive. If drilling new holes is required, add extra time for sealing and alignment. Most beginners should plan for a full half-day to ensure proper fitment and bonding.
Can I install a body kit myself?
Yes, you can install a body kit yourself if you have basic mechanical skills, access to tools like drills and sanders, and patience for detailed prep work. Simple components like lips and diffusers are beginner-friendly. Complex wide-body kits involving metalwork and painting are better left to professionals unless you have advanced fabrication experience.
Do I need to paint a body kit after installation?
While not strictly mandatory, painting is highly recommended for a seamless, professional look. Unpainted kits often appear dull and mismatched against your car’s glossy finish. Painting adds several days to the project due to priming, color matching, and curing times, but it significantly enhances durability and aesthetics.
What is the difference between fiberglass and polyurethane body kits?
Polyurethane (PU) is flexible, durable, and resistant to impact, making it ideal for street driving. It allows for minor adjustments during installation. Fiberglass is lighter and cheaper but brittle, prone to cracking upon impact, and requires more extensive sanding and filling for perfect fitment. PU is generally preferred for ease of installation and longevity.
Will a body kit void my car warranty?
Generally, no. In many regions, including Australia, manufacturers cannot void your entire warranty solely because of aftermarket modifications. However, if the body kit causes damage to related components (e.g., interfering with sensors or causing rust), those specific repairs may not be covered. Always check your warranty terms and consider documenting the installation professionally.
How much does professional body kit installation cost?
Professional installation costs vary widely based on complexity and location. A simple front lip might cost $100-$300 in labor. A full bumper replacement with paint can range from $800 to $2,500+. Wide-body conversions involving metalwork and custom painting can exceed $5,000. Always get multiple quotes from reputable auto body shops.