Body Kit Fitment & Prep Estimator
Enter details and click "Analyze Fitment" to see estimated time and potential issues.
Ever looked at a factory-fresh sedan and thought, "This looks like it’s missing something?" You’re not alone. That blank space on the front bumper or the plain side skirts is exactly where a body kit changes everything. It’s not just about looking aggressive; it’s about completing the visual story of your car. But here’s the catch: buying the kit is the easy part. Installing it without ending up with gaps, rattles, or paint damage requires patience, precision, and a bit of elbow grease.
Most people panic because they think they need a professional spray booth and $2,000 in labor costs. You don’t. With the right approach, you can achieve a clean, OEM-plus fitment in your driveway. Whether you’re installing a simple lip spoiler or a full wide-body conversion, the principles remain the same. Let’s break down exactly how to do it right, step by step.
What Actually Goes Into a Body Kit?
Before you pick up a drill, you need to know what you’re dealing with. A body kit is an assembly of aftermarket exterior parts designed to alter the appearance or aerodynamic profile of a vehicle. Unlike stock panels, these are rarely drop-in replacements. They are overlays, modifications, or extensions.
Typically, a kit includes three main components:
- Front Lip/Bumper: Attaches to the bottom edge of the existing bumper or replaces it entirely.
- Side Skirts: Run along the rocker panels to lower the visual center of gravity.
- Rear Diffuser/Spoiler: Adds aggression to the rear end and can improve downforce.
Materials matter. Most kits are made from ABS plastic, polyurethane, or fiberglass. ABS is tough and flexible, making it ideal for daily drivers. Polyurethane is even more flexible but harder to paint. Fiberglass is rigid and cheap but cracks easily if you hit a curb. For this guide, we’ll assume you’re working with ABS or Polyurethane, as they are the most common for DIY installs.
Preparation Is 90% of the Job
You wouldn’t build a house without a foundation, right? Same logic applies here. If your car’s body isn’t prepped correctly, nothing will stick properly.
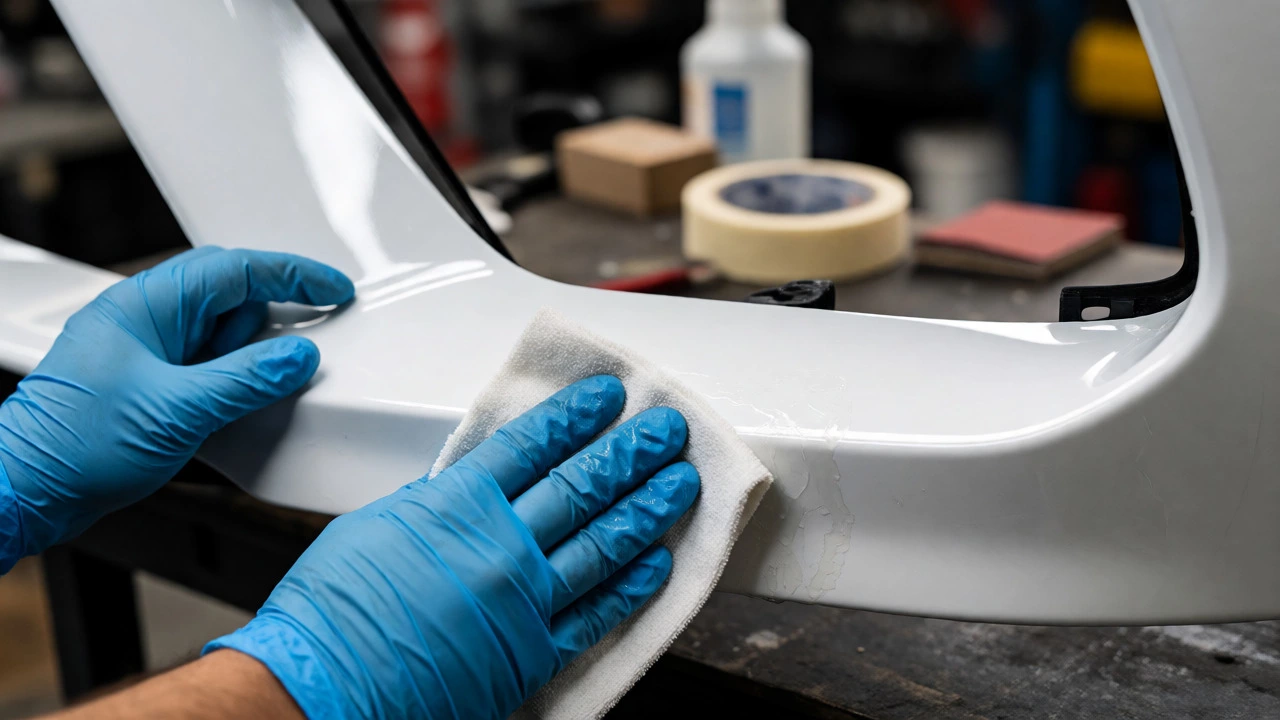
First, wash the area thoroughly. Dirt, wax, and road grime are enemies of adhesion. Use a degreaser specifically designed for automotive surfaces. Isopropyl alcohol (IPA) mixed 50/50 with water is the gold standard for final cleaning. Wipe down every inch where the kit will touch the car.
Next, gather your tools. You don’t need a mechanic’s garage, but you do need specific items:
- Tape measure and chalk or masking tape for marking lines.
- Jigsaw or oscillating multi-tool (if cutting is required).
- Drill with step bits and various sizes.
- Sandpaper (80, 120, 220, and 400 grit).
- Automotive-grade adhesive (3M VHB tape or structural epoxy).
- Clamps, zip ties, and double-sided tape.
- Heat gun (for shaping flexible materials).
| Tool | Necessity | Why You Need It |
|---|---|---|
| Metric Tape | Critical | Ensures symmetrical placement on both sides. |
| Isopropyl Alcohol | Critical | Removes oils that prevent glue/tape adhesion. |
| Oscillating Tool | Recommended | Cuts through plastic bumpers cleanly without cracking them. |
| Heat Gun | Optional | Helps mold polyurethane around complex curves. |
| Rivets/Screws | Situational | Needed if the kit doesn’t come with integrated mounting points. |
The Dry Fit: Measure Twice, Cut Once
This is the step everyone skips, and it’s why so many DIY jobs look sloppy. Before applying any adhesive or drilling holes, hold the body kit pieces against the car. This is called a "dry fit."
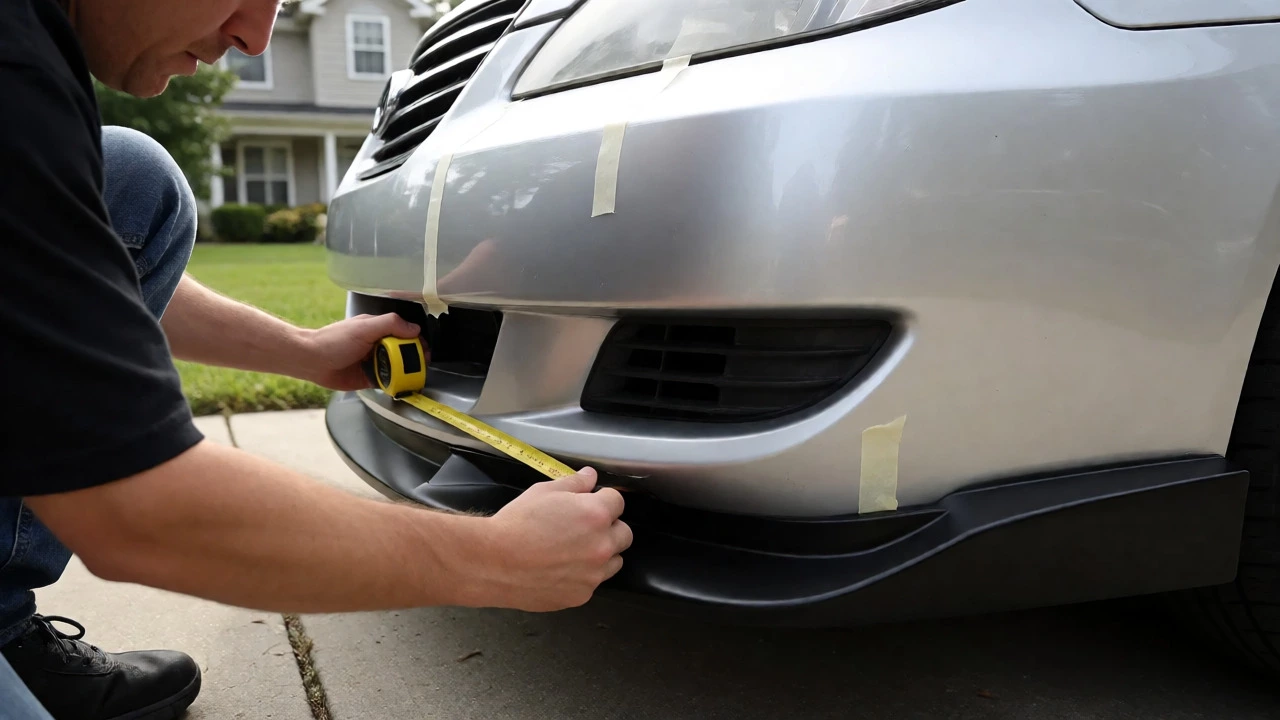
Start with the front lip. Center it carefully. Use masking tape to mark the outer edges onto the bumper. Check the distance from the ground on both the left and right sides. Cars often sit slightly unevenly due to suspension wear, so don’t trust the factory lines blindly. Adjust until the gap between the lip and the bumper is consistent all the way across.
For side skirts, alignment is trickier. They need to follow the contour of the rocker panel. If the skirt has a flat back and your car has a curved one, you might need to heat the skirt gently with a heat gun to soften it, then press it into shape while it cools. Do this before marking your drill holes.
If your kit requires trimming the stock bumper (common with lip spoilers), use the masking tape lines as your cut guide. Double-check that you aren’t cutting into airbag sensors or wiring harnesses hidden behind the plastic. When in doubt, cut less than you think you need. You can always remove more material, but you can’t add it back.
Mounting Methods: Tape, Screws, or Both?
There’s no single "best" way to mount a body kit. It depends on the material and your risk tolerance.
Adhesive Mounting: Best for lightweight ABS lips and diffusers. High-strength 3M VHB tape is surprisingly durable. It creates a seamless look with no visible fasteners. However, it fails if the surface isn’t perfectly clean or if extreme heat gets involved. Always use a primer promoter with the tape for maximum bond strength.
Mechanical Fastening: Screws, bolts, or rivets provide security. This is essential for heavier kits or those subject to high wind loads, like large rear wings. The downside? Visible hardware. To hide screws, use trim caps or countersink the holes so the screw head sits flush with the plastic.
Hybrid Approach: This is the pro move. Use tape for initial positioning and long-term adhesion, then add screws at key stress points (corners and center). This prevents the "peel-off" effect where one corner lifts and eventually pulls the whole piece off.
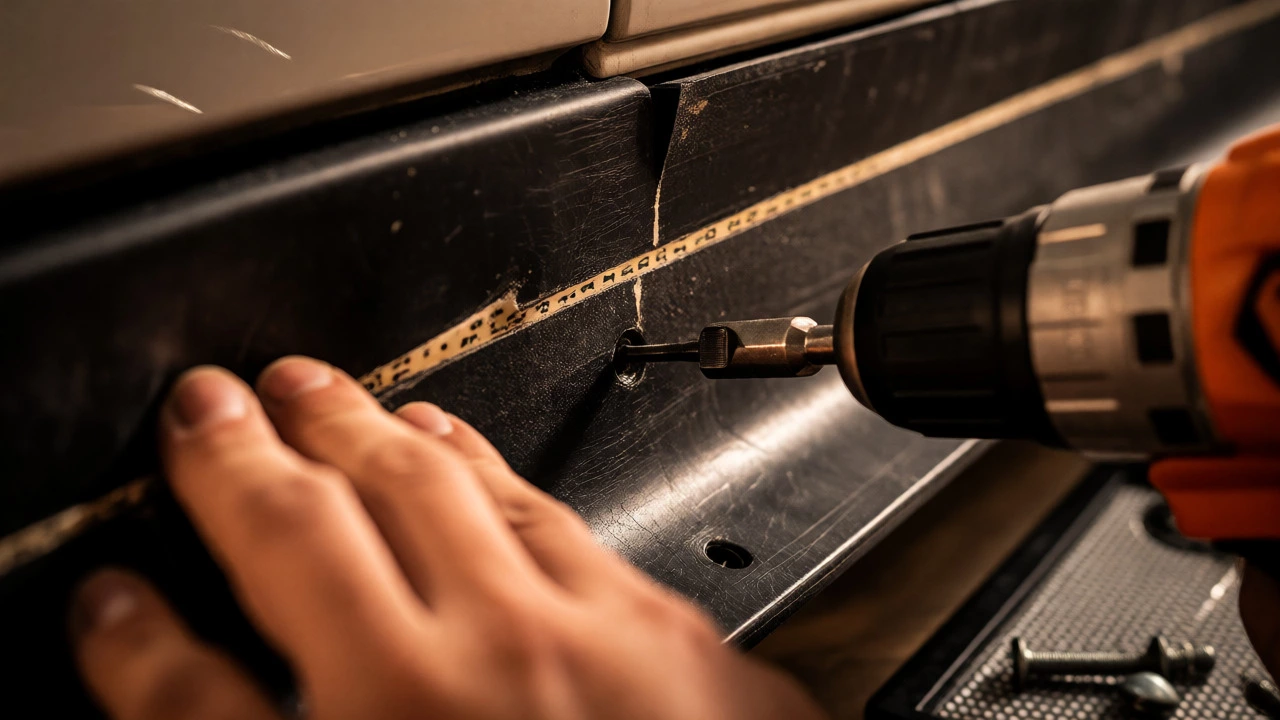
When drilling into plastic bumpers, use a sharp drill bit and go slow. Plastic melts if you drill too fast, creating burrs that ruin the finish. After drilling, deburr the holes with a larger bit or sandpaper to ensure smooth seating for screws.
Dealing with Gaps and Imperfections
Even with perfect measurements, small gaps happen. Factory tolerances vary, and aftermarket parts aren’t always CNC-perfect. Don’t panic. A 1-2mm gap is normal and often unavoidable.
If the gap is larger, check your alignment again. Sometimes shifting the piece by 5mm solves the issue. If the gap persists, you have two options:
- Filler: Use automotive body filler (Bondo) to bridge small gaps. Sand it smooth after it cures. This works best for static gaps that won’t flex.
- Blackout Trim: Apply black rubber or vinyl trim tape over the seam. This hides the gap and protects the paint underneath from rubbing.
Avoid using silicone sealant unless necessary. Silicone never fully cures hard, attracts dirt, and makes future removal a nightmare. If you must seal a joint, use a urethane-based sealant instead.
Painting Considerations
Should you paint the kit before or after installation? Generally, before. Painting installed parts leads to overspray on your windows, tires, and door handles. Plus, masking off tight seams is frustrating.
Prep the kit itself first. Scuff the entire surface with 400-grit sandpaper to create a mechanical bond for the primer. Clean it with IPA. Apply a flexible primer designed for plastics. Flexible primers contain additives that allow the coating to expand and contract with temperature changes without cracking.
Once painted, let it cure for at least 48 hours before handling. Rushing this step causes fingerprints and scratches in the fresh clear coat. Remember, the goal is a seamless blend with your car’s color. If you’re unsure about matching the paint code, bring a sample chip to an auto body shop for a custom mix.
Final Checks and Legalities
You’ve mounted the kit, filled the gaps, and painted it. Now, take a step back. Look at the car from different angles. Does it look balanced? Often, a kit that looks good on paper can appear too bulky on the actual car. If it feels "too much," consider removing the rear wing or swapping the front lip for a subtler version.
Check local regulations. In some regions, protruding parts must meet specific height requirements to avoid scraping speed bumps or parking blocks. Ensure your license plate remains clearly visible and unobstructed. Some jurisdictions require modified vehicles to pass a safety inspection if structural changes were made.
Finally, drive cautiously for the first week. Adhesives continue to cure over time. Avoid car washes with high-pressure jets pointing directly at the new seams. Hand wash only. After a month, re-tighten any screws and check for lifting edges. Early detection saves headaches later.
Can I install a body kit myself without painting?
Yes, many kits come pre-painted or in textured black plastic. However, unpainted raw ABS or fiberglass will fade and crack under UV exposure. If you choose not to paint, apply a UV-resistant clear coat or ceramic coating to protect the material. Textured black kits are the most low-maintenance option for beginners.
Will a body kit void my car warranty?
Generally, no. Under laws like the Magnuson-Moss Warranty Act in the US or similar consumer protection laws elsewhere, dealers cannot void your entire warranty simply because you added aftermarket parts. However, if the body kit causes damage to a covered component (e.g., a loose lip tears off and damages the radiator), that specific repair might not be covered. Keep receipts and installation records to prove proper installation.
How long does it take to install a body kit?
For a beginner, expect 6-10 hours for a full kit including prep and dry fitting. Professionals can do it in 2-4 hours. If you plan to paint, add another 2-3 days for curing time. Rushing the process is the number one cause of poor fitment and peeling adhesives.
Do I need to remove the bumper to install a front lip?
Not always. Many front lips are designed to bolt or tape onto the existing bumper without removal. Removing the bumper provides better access for drilling and ensures a cleaner seal, but it increases the complexity and risk of breaking clips. Check your specific kit instructions; most modern universal lips are designed for no-removal installation.
What happens if the body kit doesn't fit perfectly?
Minor gaps are normal and can be filled with body filler or hidden with trim. Major misalignments usually indicate incorrect measurement during the dry-fit stage. You may need to re-drill holes or use shims (thin spacers) to adjust the position. Never force a part into place, as this can warp the plastic and cause permanent deformation.