LED Headlight Compatibility & Alignment Tool
1. Do I Need a CANbus Decoder?
Modern cars with complex Body Control Modules (BCM) often detect LEDs as "burnt out" bulbs due to low power draw, causing flickering or error codes.
2. Beam Alignment Calculator
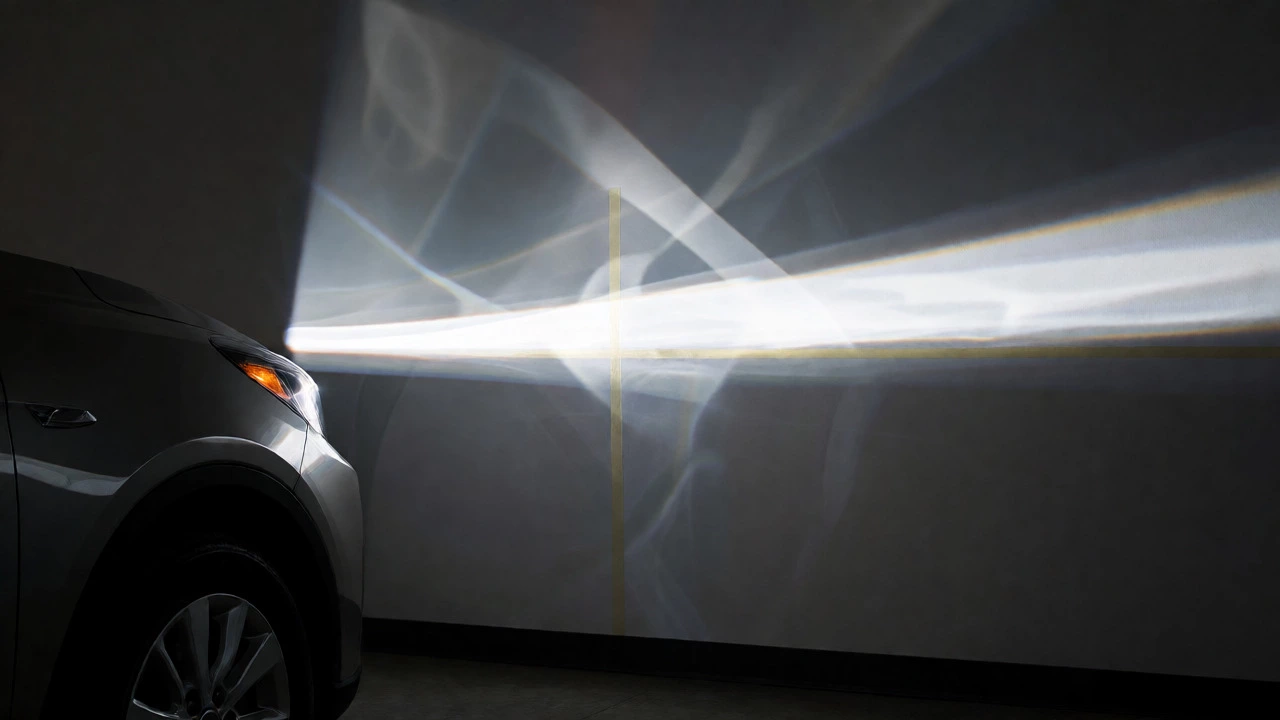
Use the "Wall Method" to prevent blinding oncoming drivers. The cutoff line should sit just below the horizontal centerline of your headlight.
You just bought those shiny new LED headlights that promised to double your visibility and cut your energy use in half. You pop them into your car’s housing, flip the switch, and... nothing? Or worse, they flicker like a bad horror movie prop. It’s frustrating, right? The truth is, swapping out halogen bulbs for LEDs isn’t always a simple "plug-and-play" situation. There are specific quirks with wiring, heat management, and beam alignment that can turn a ten-minute job into an all-day headache if you skip the prep work.
This guide cuts through the confusion. We’re not just going to tell you to screw in the bulb. We’ll walk you through exactly how to install LED headlights so they actually work, don’t blind oncoming drivers, and last more than a week. Whether you’re driving a 2015 sedan or a lifted truck, the core principles remain the same. Let’s get your lights working properly.
Why Your Car Might Hate Your New LEDs
Before you grab your screwdriver, you need to understand why this swap is tricky. Traditional cars were designed around Halogen Bulbsincandescent light sources that use a tungsten filament and generate significant heat. These bulbs draw a steady amount of power (usually 55-60 watts). LED HeadlightsLight Emitting Diode fixtures that use semiconductors to produce light with high efficiency and low heat output at the diode itself, however, draw much less power-often only 20-30 watts.
Your car’s computer, specifically the Body Control Module (BCM), monitors circuit resistance. When it sees the lower wattage of LEDs, it thinks a bulb has burned out. This triggers two common issues:
- Flickering: The BCM pulses power trying to wake up the "dead" bulb.
- Error Codes: Your dashboard lights up with a warning message, annoying you every time you start the engine.
To fix this, you often need a CANbus Decodera resistor or capacitor module that mimics the electrical load of a halogen bulb to prevent error codes. Not every car needs one, but many modern vehicles (especially European models like BMW, Audi, and VW) absolutely do. Check your owner’s manual or forum threads for your specific make before buying.
Gather Your Tools and Safety Gear
You don’t need a mechanic’s shop, but you do need the right kit. Fumbling around in the dark under your hood leads to dropped screws and broken clips. Here is what you should have ready:
- Nitrile Gloves: Never touch the glass or chip of an LED bulb with bare fingers. Oils from your skin create hot spots that shorten the lifespan of the component.
- Screwdrivers: Both Phillips and Flathead, as some headlight assemblies use different fasteners.
- Tape Measure: Critical for aligning the beam later.
- Masking Tape: For marking wall targets during alignment.
- Wire Strippers/Crimpers: If you need to splice in resistors.
- Zip Ties: To secure loose wires away from moving parts.
Also, ensure your engine is cool. Working near the radiator fans when they might kick on unexpectedly is a good way to lose a finger.
The Step-by-Step Installation Process
Follow these steps methodically. Rushing causes misalignment, which is the number one reason people hate their new lights.
Step 1: Access the Back of the Housing
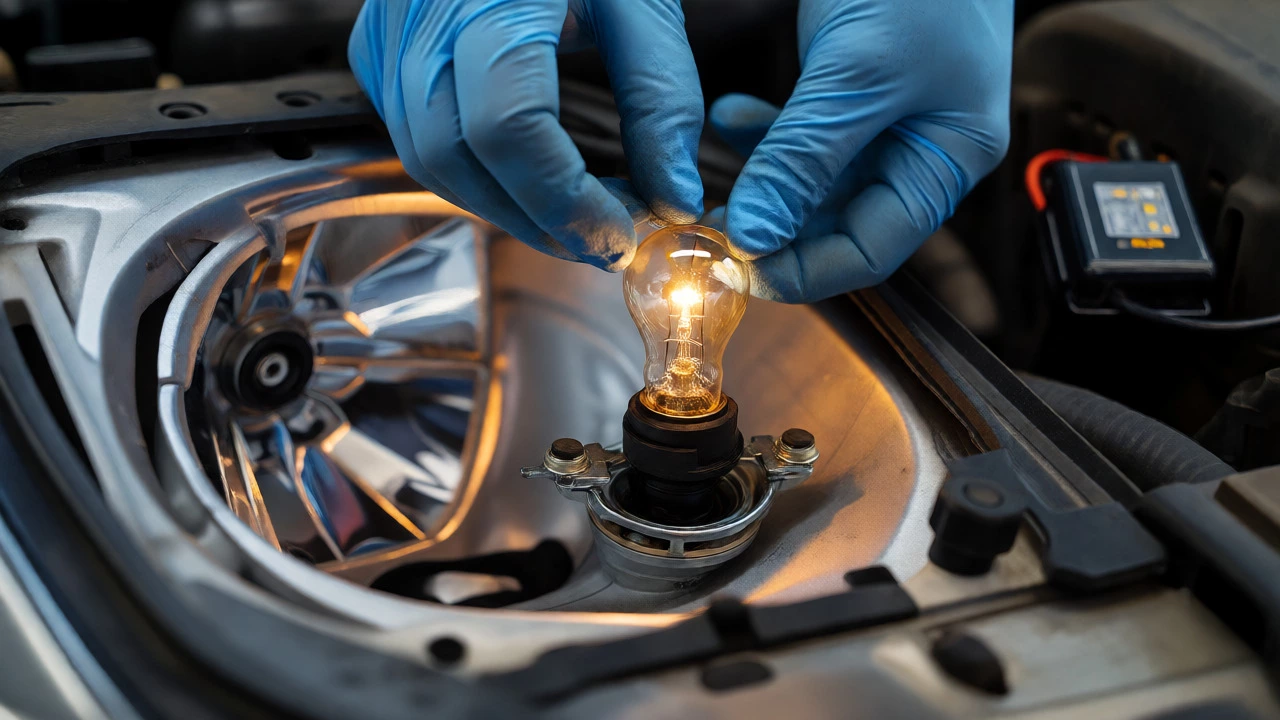
Open your hood. Locate the back of the headlight assembly. In most cars, there is a rubber dust cover or a plastic cap held by a twist-lock mechanism. Twist counterclockwise and pull it off. You will see the wiring harness connected to the old halogen bulb.
Step 2: Remove the Old Bulb
Unclip the wire connector from the halogen bulb. Then, release the metal retaining clip holding the bulb in place. Pull the bulb straight out. Do not wiggle it too hard, as the socket can crack. Discard the old bulb responsibly.
Step 3: Install the LED Driver (If Applicable)
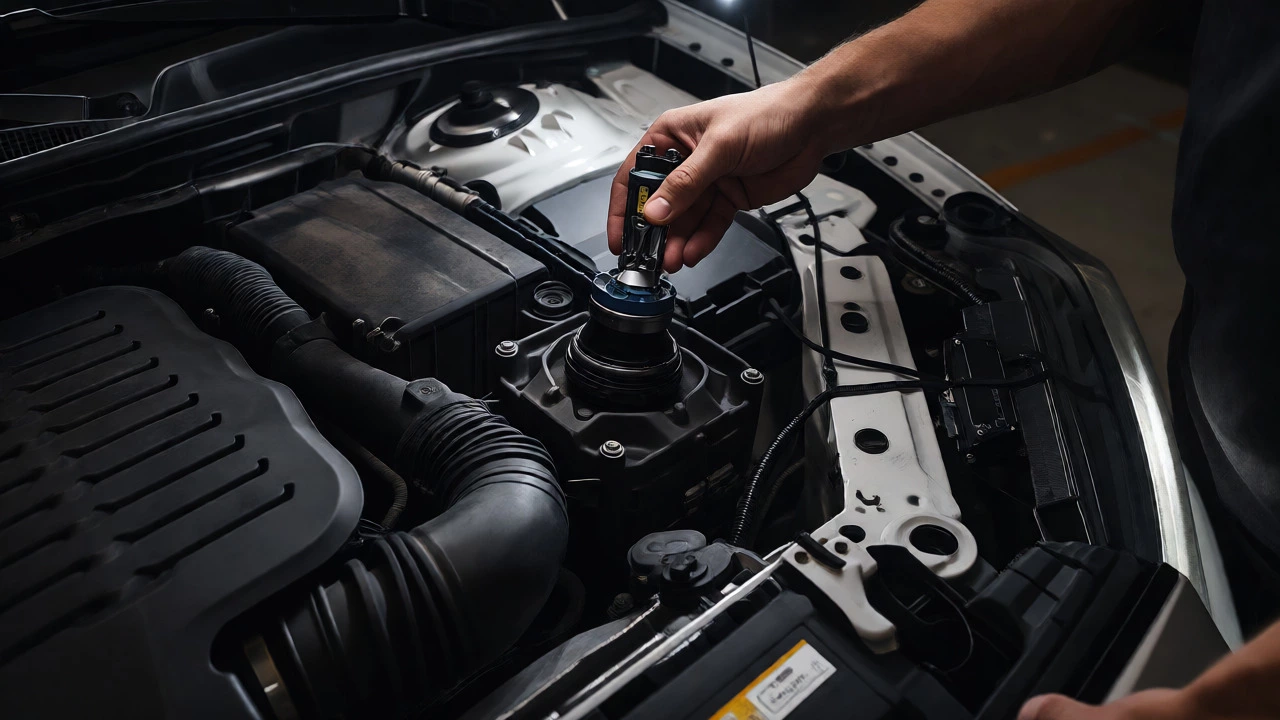
Most aftermarket LED kits come with two parts: the bulb itself and a small external box called a driver. The driver converts DC power and regulates current. Find a dry, ventilated spot inside the engine bay to mount this driver. Use the provided double-sided tape or zip ties. Keep it away from direct heat sources like the exhaust manifold.
Step 4: Insert the LED Bulb
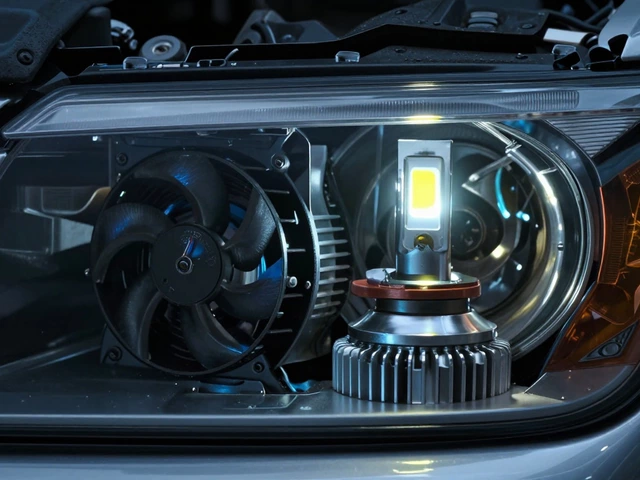
Take your new LED bulb. Align the tabs on the base with the slots in the housing. Push it in firmly until it clicks. Reattach the metal retaining clip. Make sure the LED chips face horizontally (left and right), not vertically (up and down). If they face up/down, your beam pattern will be wrong, creating glare for other drivers.
Step 5: Connect the Wiring
Plug the LED bulb into the driver, then plug the driver into your car’s original wiring harness. If your car requires a CANbus decoder, wire it in parallel between the driver and the car’s harness. Secure any excess wire length with zip ties so it doesn’t rattle against the fan or belts.
Step 6: Test Before Sealing
Turn on your headlights. Check both low and high beams. Look for consistent brightness and no flickering. If everything works, proceed to sealing. If not, recheck connections.
Step 7: Seal the Dust Cover
Reinstall the rubber dust cover. This is crucial. If moisture gets into the housing, your lenses will fog up permanently. Ensure the seal is tight. Some LED bases are thicker than halogens, making the cover fit poorly. If it won’t snap shut, you may need an adapter ring specific to your car model.
Beam Alignment: The Most Skipped Step
Here is where amateurs fail. Halogen filaments emit light in a sphere; LEDs emit light in a directional cone. Even if installed correctly, the focal point changes. If your lights are aimed too high, you are blinding everyone coming toward you. If too low, you aren’t seeing far enough ahead.
Use the "Wall Method" for quick alignment:
- Park your car 25 feet from a flat wall on level ground.
- Measure the height from the ground to the center of your headlight bulb. Mark this height on the wall with masking tape.
- Turn on your low beams.
- Look at the beam pattern on the wall. The cutoff line (the sharp edge between light and dark) should sit just below the tape mark.
- Adjust the vertical screws on the back of the headlight assembly until the beam hits the correct spot.
| Issue | Likely Cause | Quick Fix |
|---|---|---|
| Flickering | Low power draw detected by BCM | Install CANbus decoders/resistors |
| One side dimmer | Loose connection or faulty driver | Reseat connectors; swap drivers to test |
| Glare complaints | Misaligned beam or wrong orientation | Re-align using wall method; rotate bulb 90 degrees |
| Foggy lens | Moisture ingress | Check dust cover seal; apply silicone sealant |
Legal and Safety Considerations
Just because it fits doesn’t mean it’s street legal. Many regions require that replaced headlights maintain the original beam pattern. DOT (Department of Transportation) compliant LEDs exist, but they are rare. Often, cheap Amazon LEDs scatter light everywhere, acting more like floodlights than focused beams.
If you live in a strict jurisdiction, look for "DOT Approved" labels. However, note that approval usually refers to the entire assembly, not just the bulb. Using non-DOT bulbs in a DOT housing can still pass inspection if the beam is aligned correctly. Always check local laws. Better yet, ask a friend to stand 50 feet away while you drive past. If they squint or cover their eyes, your aim is off.
Pro Tips for Longevity
LEDs hate heat. While the diodes themselves run cooler than halogens, the electronics (drivers) and the base of the bulb generate significant heat. They rely on airflow to stay cool.
- Don’t block vents: Ensure the fan on the back of the LED bulb has clearance. Don’t shove it tight against the bumper support.
- Avoid water immersion: Unless rated IP68, don’t let the driver submerge in puddles.
- Check voltage: If your alternator is failing and sending over-voltage spikes, LEDs will die quickly. A stable 12V-14.4V system is ideal.
Finally, buy quality. The difference between a $20 kit and a $100 kit is often the thermal management materials (like copper braids vs. aluminum fins) and the reliability of the driver capacitors. Cheap drivers fail first, leaving you with dead bulbs in six months.
Final Thoughts
Installing LED headlights is one of the best upgrades for night driving safety. It transforms a dim, yellowish tunnel vision into crisp, white clarity. But respect the process. Treat the alignment phase with the same seriousness as the physical installation. Take your time, use gloves, and verify the beam pattern. Once done correctly, you’ll wonder why you didn’t do it sooner. Your eyes-and the drivers behind you-will thank you.
Do I need a CANbus decoder for my LED headlights?
Not always. Older vehicles with simple analog circuits usually don't need them. Modern cars with complex Body Control Modules (BCM), especially German brands like BMW, Audi, and Mercedes, often require a CANbus decoder to prevent flickering and dashboard error messages. If your car throws a 'bulb out' error after installing LEDs, you definitely need one.
Can I install LED headlights myself without professional help?
Yes, most installations are DIY-friendly. You typically need basic tools like screwdrivers and pliers. The main challenge is accessing the back of the headlight housing, which can be cramped in some compact cars. If you can change a tire or wiper blades, you can likely install LEDs. Just be patient with the wiring and alignment.
Why are my new LED headlights causing glare for other drivers?
This is almost always due to improper beam alignment or incorrect bulb orientation. LEDs emit light differently than halogens. If the LED chips are facing up/down instead of left/right, the light scatters upward. Alternatively, the headlights may be aimed too high. Use the wall method to adjust the vertical angle so the cutoff line sits just below the horizontal centerline of your headlight height.
Will LED headlights melt my headlight housing?
Rarely, but possible if poor quality. High-quality LEDs have built-in fans or heat sinks to manage temperature. However, if the fan fails or the bulb is blocked from airflow, excessive heat can warp older plastic housings. Ensure the bulb's cooling fan has space to breathe and isn't touching plastic components directly.
Are LED headlights street legal?
Laws vary by region. In the US, retrofitting LEDs into halogen housings is technically a gray area unless the bulb is DOT-approved for that specific application. Many states enforce strict beam pattern rules. If your LEDs project a clean, sharp cutoff line and don't scatter light excessively, they generally pass inspection. Always check your local vehicle code.