Body Kit Installation Difficulty Estimator
Answer a few questions to see if your body kit project is feasible for DIY installation.
Installation Assessment
Ever seen a car with a wild rear wing, aggressive front splitter, or flared fenders and thought, "I could do that"? You’re not alone. Body kits are one of the most visible ways to transform a stock car into something that turns heads. But here’s the real question: are body kits easy to install? The answer isn’t yes or no-it’s "it depends."
What You’re Really Asking
When people ask if body kits are easy to install, they’re not just wondering about tools and bolts. They’re asking: "Can I do this myself without wrecking my car or blowing my budget?" The truth is, some body kits are plug-and-play. Others require welding, cutting, and hours of sanding. Your experience will depend on three things: the kit type, your car model, and your skill level.Types of Body Kits and Their Difficulty
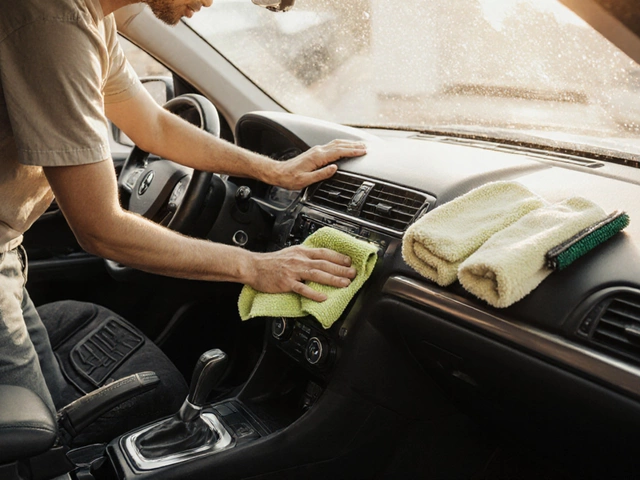
Not all body kits are created equal. There are three main types, and each has a totally different installation profile.- Clip-on kits - These are the easiest. Made from flexible urethane or ABS plastic, they attach with double-sided tape, bolts, or factory mounting points. Think front lips, side skirts, and rear diffusers that snap into place. Brands like Razzi and Kaminari make these for common models like the Honda Civic or Toyota Corolla. Installation often takes 4-8 hours with basic tools.
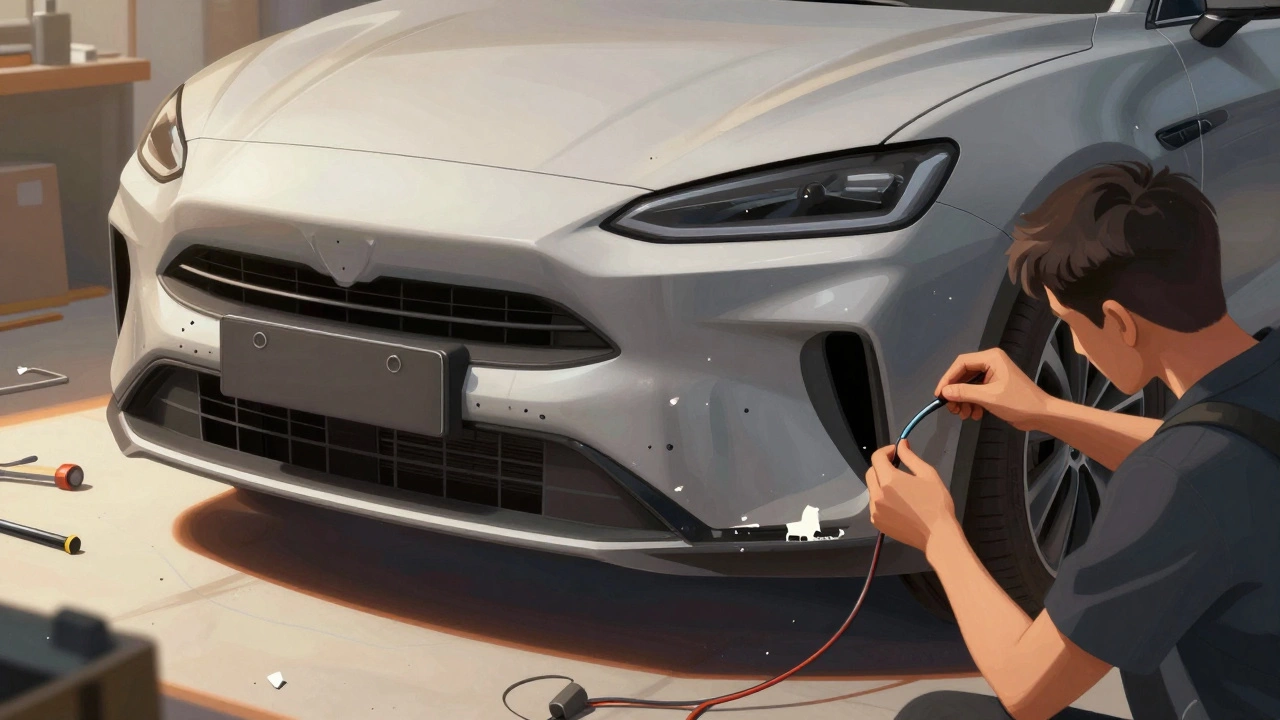
- Full replacement kits - These replace factory bumpers entirely. They usually come with new mounting brackets, but you’ll need to remove your stock bumper, drill holes, and align everything perfectly. If your car has sensors (parking, radar, cameras), you’ll need to relocate or reroute them. This isn’t a weekend project-it’s a 2-4 day job for someone with moderate mechanical skills.
- Custom fiberglass kits - These are high-end, often hand-laid, and designed for show cars. They rarely fit out of the box. Expect to do extensive trimming, fiberglass repair, and bodywork. Many people hire professionals for these. If you’re trying to install one yourself, you’re essentially doing a full body shop job.
What Makes Installation Harder
Even the easiest kit can become a nightmare if you don’t account for these hidden factors.- Factory sensors - Modern cars have sensors built into bumpers. A front lip kit might block your adaptive cruise sensor. Rear diffusers can interfere with parking sensors. You’ll need to test these after installation. Some kits come with sensor relocation kits, but not all.
- Paint mismatch - Most body kits come unpainted. If you’re not painting it yourself, you’ll need to pay a shop $500-$1,200 to match your car’s color. A bad paint job ruins the whole look.
- Fitment issues - Even OEM-quality kits can have gaps. You might need to sand, fill, or trim parts to get a clean line. A 2mm gap on a side skirt looks sloppy. A 5mm gap on a rear bumper looks broken.
- Weather and environment - Installing a body kit in a dusty garage or during rain? Bad idea. Dust gets in the adhesive. Moisture causes poor bonding. Do this in a clean, dry space.
Tools You’ll Actually Need
Forget the fancy tool lists online. Here’s what you really need to get the job done without frustration:- Socket set and ratchet (metric or SAE, depending on your car)
- Drill and drill bits (for new mounting holes)
- Panel removal tools (plastic pry tools, not screwdrivers)
- 3M double-sided tape (automotive-grade, not hardware store tape)
- Masking tape and paper (to protect paint during dry-fitting)
- Sandpaper (120-400 grit for smoothing edges)
- Clamps or bungee cords (to hold parts in place while bonding)
- Latex gloves (adhesive is a nightmare to wash off)
You don’t need a welder, air compressor, or paint booth unless you’re doing fiberglass work. Keep it simple.
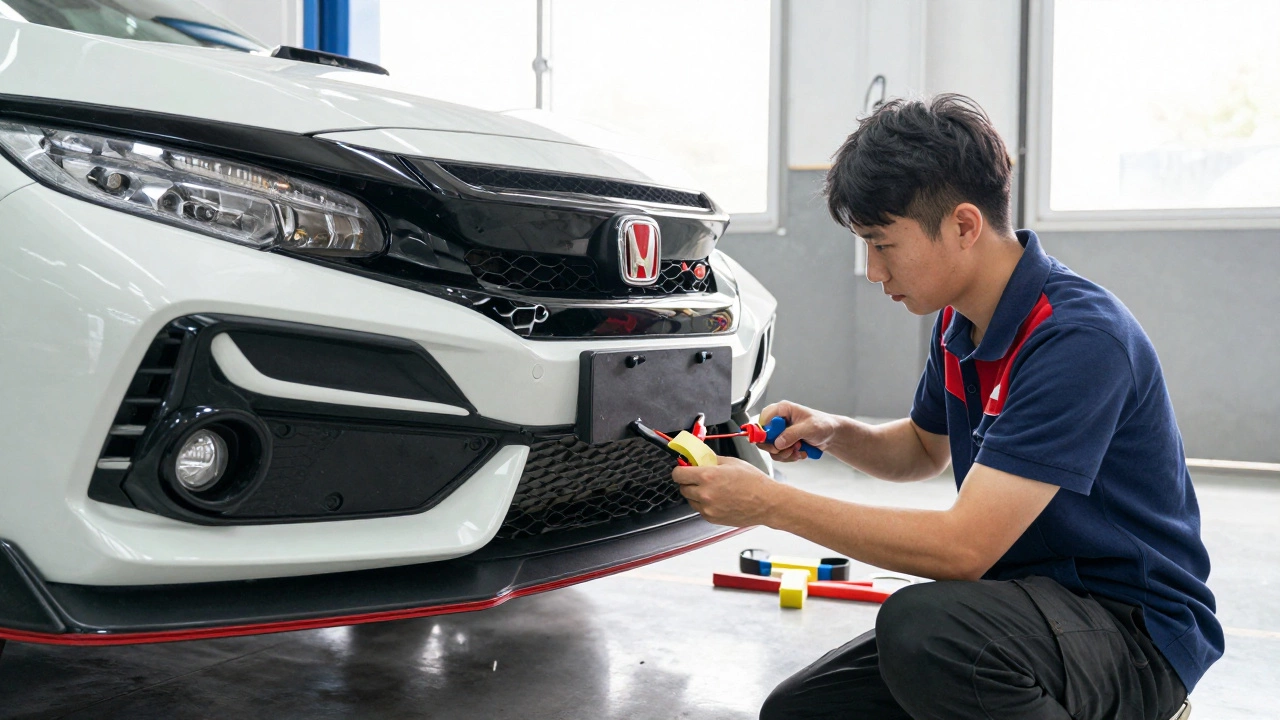
Real-Life Installation Example: 2020 Honda Civic Type R
Last year, a friend in Brisbane bought a front lip and side skirts for his Type R. He picked a clip-on kit from a reputable Australian supplier. Here’s what happened:- He removed the factory front bumper in 2 hours (12 bolts, 2 clips, and unplugged the fog lights).
- He dry-fitted the new lip with masking tape. Found a 3mm gap at the center. Sanded the mounting tabs down by 1mm.
- Used 3M automotive double-sided tape along the top edge and bolted the bottom.
- Installed side skirts with factory mounting points. Used extra tape where the skirt met the wheel arch.
- Waited 24 hours before driving. No issues.
Total time: 7 hours. Total cost: $450 for the kit, $120 for paint. He did it himself on a Saturday and Sunday.

When You Should Walk Away
Some jobs aren’t worth the risk. If your situation looks like this, hire a pro:- Your car is under warranty and the kit voids it (check your manual)
- You’re installing a full bumper replacement on a car with advanced driver aids (Tesla, BMW, Audi)
- You’ve never removed a car panel before
- The kit requires cutting into the fender or quarter panel
- You’re on a tight deadline (like a car show in two weeks)
Professional installation for a full body kit runs $800-$2,000 depending on complexity and location. It’s expensive, but it’s cheaper than fixing a crooked bumper or repainting your whole side panel because you messed up the alignment.
Pro Tips That Save Time (and Your Car)
- Always dry-fit everything before gluing or drilling. Use masking tape to hold parts in place.
- Don’t rush the adhesive cure time. Most 3M tapes need 24 hours to reach full strength. Drive too soon? The kit can come loose.
- Use a heat gun to gently bend urethane parts if they don’t sit right. Don’t force them.
- Take photos before you remove factory parts. It helps when reassembling.
- Buy a little extra 3M tape. You’ll always need more than you think.
Final Answer: Are Body Kits Easy to Install?
Simple clip-on kits? Yes, if you’re patient and have basic tools. Full bumper replacements? Only if you’ve done similar work before. Custom fiberglass? Not unless you’re a body shop technician.The easiest body kits to install are the ones that don’t require you to modify your car. Stick to bolt-on or tape-on parts. Avoid kits that need drilling, cutting, or welding unless you know exactly what you’re doing.
Most people who try DIY body kits fail not because they’re bad at mechanics-they just didn’t plan for the fitment, paint, or sensor issues. Do your research. Watch videos of your exact car model. Read forum threads. Talk to people who’ve done it. Then decide.
It’s not about being a mechanic. It’s about being prepared.
Do body kits come with instructions?
Most quality body kits include basic installation guides, but they’re often generic. They won’t cover your specific car’s sensor layout or mounting quirks. Always supplement with YouTube videos or forum threads for your exact model and year.
Can I install a body kit in my driveway?
Yes, if you have a clean, flat, dry surface. Avoid dusty or wet areas. Use drop cloths to protect your garage floor or pavement. Make sure you have good lighting-installing at night with a phone flashlight is a recipe for misaligned parts.
Will a body kit damage my car’s value?
It depends. A clean, factory-style body kit on a popular model can boost resale value among enthusiasts. A poorly installed, mismatched, or overly aggressive kit on a daily driver will hurt resale. Keep the original parts and store them safely. You can always reinstall them before selling.
How long does a body kit last?
High-quality urethane or ABS kits last 10+ years if maintained. They can crack if exposed to extreme cold or UV without protection. Always use a UV-resistant clear coat if you’re painting it yourself. Avoid pressure washers directly on the edges-they can lift the adhesive.
Do I need to get my car inspected after installing a body kit?
In Australia, most states don’t require inspection for cosmetic body kits unless they alter the vehicle’s dimensions by more than 50mm or block lights/sensors. Check your state’s road authority guidelines. In Queensland, if your kit sticks out past the fender line, you may need certification. Always err on the side of caution.