Body Kit Installation Time Estimator
Estimated Installation Time:
Time Estimates by Kit Type:
- Bolt-On Polyurethane Kit: 4–6 hours
- Bolt-On Fiberglass Kit with Brackets: 8–12 hours
- Weld-In Carbon-Fiber Kit: 1.5–2 days (12–16 hours)
- Custom Split-Level Kit (Mixed Material): 2–3 days
Quick Takeaways
- Typical install time ranges from 4hours (bolt‑on kits) to 2days (weld‑in fiberglass or carbon‑fiber kits).
- Key factors: kit type, vehicle model, preparation work, and installer experience.
- DIY is realistic for bolt‑on kits on simple hatchbacks; complex kits usually need a professional.
- Plan for additional time for paint matching, alignment checks, and post‑install curing.
- Use the checklist below to avoid common delays.
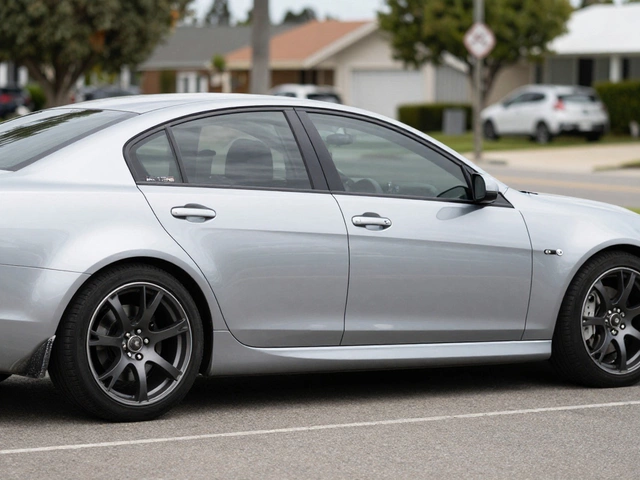
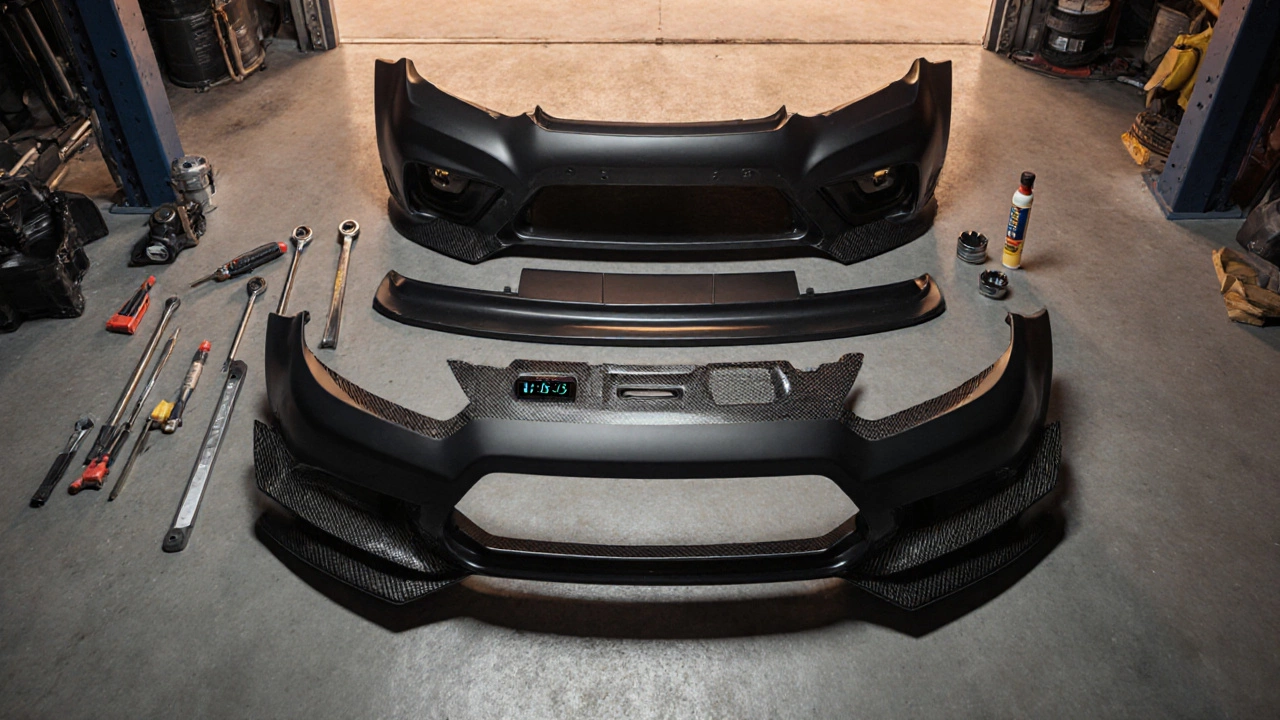
What Is a Body Kit?
Body kit is a set of exterior components-including front bumper, side skirts, rear bumper, and often a spoiler-designed to change a car’s appearance and improve aerodynamics. Manufacturers offer kits in various materials (fiberglass, polyurethane, carbon‑fiber) and mounting methods (bolt‑on, bolt‑on with brackets, weld‑in). The goal is to give a vehicle a more aggressive look while sometimes reducing drag.
Key Players in a Fit
Understanding who does what helps you estimate time accurately.
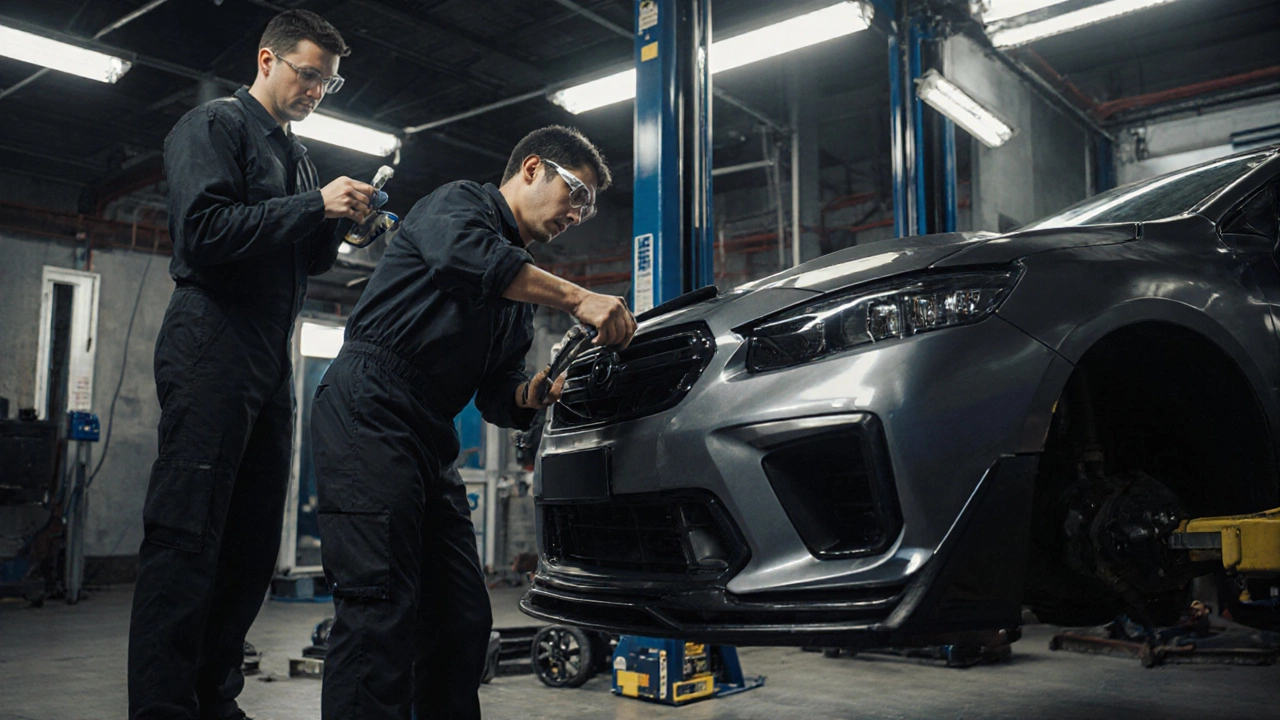
- Professional installer: A trained technician with access to lifts, alignment tools, and welding equipment.
- DIY enthusiast: An owner who tackles bolt‑on kits with basic hand tools and a willingness to learn.
- Vehicle: The specific make, model, and year, which dictate bolt patterns, existing mounting points, and clearance.
Factors That Influence Installation Time
Not all kits are created equal. Below are the biggest time drivers.
- Kit material: Polyurethane is lightweight and flexible, often bolt‑on, while fiberglass or carbon‑fiber may require structural bonding and curing.
- Mounting method: Bolt‑on kits usually need only bolts and sealant. Weld‑in kits demand cutting, welding, grinding, and post‑weld treatment.
- Vehicle complexity: Hatchbacks with simple front clips are faster than SUVs with intricate bumper reinforcements.
- Preparation work: Removing old parts, cleaning, and prepping surfaces can add 30‑60minutes per component.
- Paint & finish: Matching paint, painting new pieces, or clear‑coating adds 1‑4hours depending on the shop’s process.
- Alignment checks: After fitting, a wheel alignment and visual inspection ensure the car drives straight and the kit sits correctly.
Typical Time Estimates by Kit Type
| Kit Type | Typical Labor Time | Difficulty | Key Tools Required |
|---|---|---|---|
| Bolt‑on polyurethane kit | 4-6hours | Easy | Torque wrench, sealant, basic hand tools |
| Bolt‑on fiberglass kit with brackets | 8-12hours | Medium | Torque wrench, drill, adhesive, sandpaper |
| Weld‑in carbon‑fiber kit | 1.5-2days (12-16hours) | Hard | Welder, grinders, body filler, paint booth |
| Custom split‑level kit (mixed material) | 2-3days | Very Hard | All of the above plus CNC jigs |
Step‑by‑Step Overview of a Typical Installation
Below is a high‑level flow that works for most bolt‑on kits. Add or skip steps for welded kits as noted.
- Gather all kit components and verify part numbers against your vehicle’s VIN.
- Raise the car on a lift or jack stands; ensure it’s level.
- Remove existing bumpers, side skirts, and any trim that interferes with the new pieces.
- Clean mounting surfaces with a solvent to remove rust, old sealant, or debris.
- Dry‑fit each component to check clearances. Adjust as needed (trim excess, file brackets).
- Apply sealant or adhesive where required. For welded kits, cut openings, tack‑weld, then fully weld.
- Torque all bolts to manufacturer specifications (usually 30-45Nm for polyurethane, up to 70Nm for steel brackets).
- If painting is needed, mask surrounding areas, spray‑coat the new parts, and allow proper curing time (usually 2hours for quick‑dry, 24hours for full cure).
- Re‑install any trim or lighting elements that were removed.
- Lower the car, perform a wheel alignment, and do a visual inspection for gaps or uneven seams.
- Take the car for a short test drive, re‑check bolts after 50km, and adjust if any squeaks or vibrations appear.
For weld‑in kits, steps 4‑7 expand significantly because you’ll need cutting, welding, grinding, and body‑filling, each of which adds 1-3hours per panel.

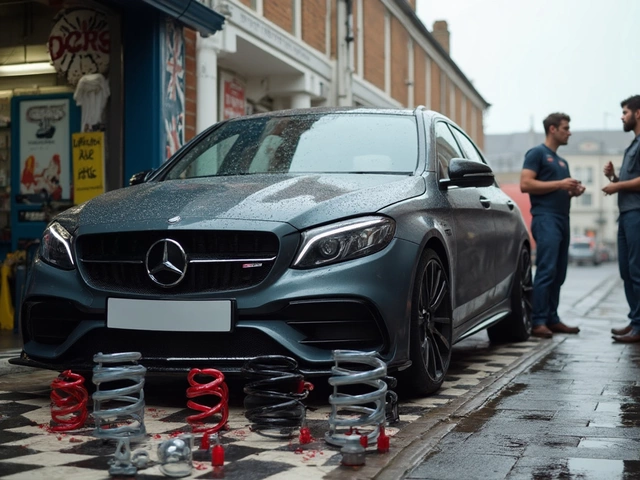
DIY vs. Professional Installation - Pros & Cons
| DIY | Professional | |
|---|---|---|
| Cost | Labor saved ($200‑$500) | Higher labor cost but includes warranty |
| Time | Potentially longer due to learning curve | Predictable schedule |
| Quality | Depends on skill; risk of mis‑alignment | Factory‑level fit, proper torque, paint matching |
| Tools | Basic hand tools; may need to rent a lift | Full workshop equipment |
| Warranty | Usually void if kit requires OEM‑approved installation | Installation warranty (often 1‑year) |
If you’re comfortable with basic torque work and have a modest budget, a bolt‑on polyurethane kit is a safe DIY project. Anything that involves cutting or welding should be left to a certified body shop to avoid costly mistakes.
Common Pitfalls & How to Avoid Them - Checklist
- ⦿Skipping surface prep - always clean and degrease mounting areas.
- ⦿Using the wrong torque - refer to the kit’s manual; over‑tightening can crack plastic.
- ⦿Ignoring paint match - do a test spray on a scrap piece first.
- ⦿Neglecting alignment - a mis‑aligned bumper can cause uneven tire wear.
- ⦿Rushing cure times - let adhesives cure fully before driving.
- ⦿Forgetting to reinstall sensors - modern cars have parking sensors and impact detectors in bumpers.
Frequently Asked Questions
How long does a bolt‑on body kit take to install?
For a typical bolt‑on polyurethane kit on a sedan, expect 4‑6hours of labor. The time includes removal of the stock bumper, fitting, torqueing, and a quick paint‑match if needed.
Do I need a lift to install a body kit?
A lift or sturdy jack stands are highly recommended. They give you safe access to the mounting points and keep the car level for accurate bolt torque.
Can I install a welded fiberglass kit myself?
Technically you could, but welding fiberglass requires specialized equipment and skill. Mistakes often lead to structural weakness or costly repairs, so most owners hand it to a professional shop.
Will installing a body kit affect my car’s warranty?
If the kit alters structural components or requires cutting, it can void parts of the manufacturer’s warranty. Stick to bolt‑on kits that use existing mounting points to stay covered.
How much should I budget for a complete install?
A bolt‑on kit (parts + labor) typically runs $700‑$1,200 in Australia. Weld‑in carbon‑fiber kits can climb to $3,000‑$5,000 due to material cost and longer labor.
Knowing the body kit installation time helps you plan the work, budget correctly, and decide whether to roll up your sleeves or book a reputable shop. Use the checklist, time estimates, and FAQs as your roadmap, and you’ll get a sleek new look without nasty surprises.