Wheel Spacer Safety & Break-In Tracker
Configuration
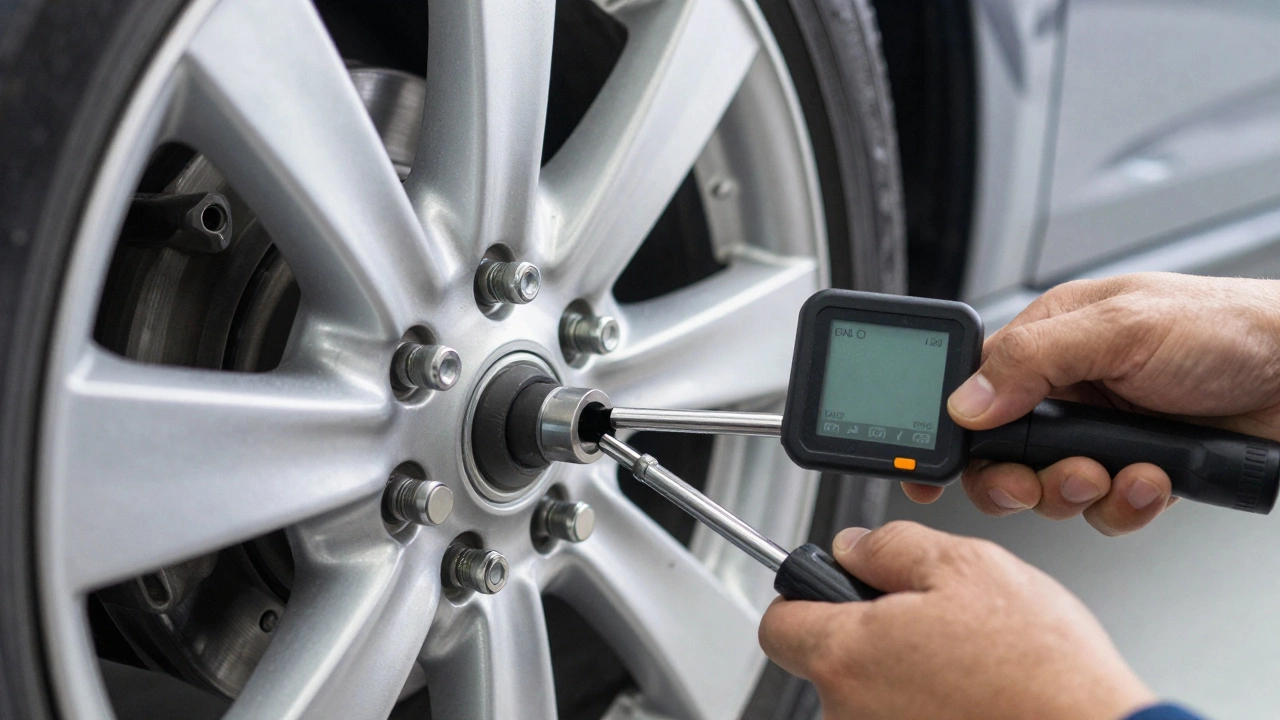
Visual Simulation
Standard thickness within recommended limits.
Break-In Protocol Status
Not StartedAvoid hard acceleration/braking. Let parts seat.
Re-torque to spec using calibrated wrench. No impact guns.
Confirm settling is complete. Installation should be stable.
Return to normal maintenance intervals.
You just installed a set of wheel spacers to widen your stance or clear up brake calipers. The car looks aggressive, the fitment is perfect, but now you’re staring at the odometer wondering: how far can I actually drive before something snaps? It’s a valid fear. A loose wheel doesn’t just ruin your day; it ends your trip in a very bad way.
The short answer is that you can drive indefinitely on wheel spacers-thousands of miles, even years-if they are installed correctly. There is no mileage limit built into the metal itself. However, there is a critical "break-in" period where the risk of failure is highest. If you skip the re-torquing steps during this window, you might not make it past 50 miles without stripping a thread or losing a wheel.
Why Distance Doesn't Matter as Much as Torque
We often think about mechanical wear in terms of distance. Tires wear out after 40,000 miles. Brake pads last for 30,000 miles. But wheel spacers are static components. They don't rotate against anything (if done right) and they don't move relative to the hub. Therefore, distance isn't the enemy here. Vibration and improper clamping force are.
The real danger zone isn't mile 1,000; it's mile 0 to 50. When you first bolt on new hardware, the microscopic peaks and valleys on the metal surfaces settle under pressure. This process is called "cold flow" or simply settling. As these surfaces flatten out slightly, the tension on the bolts decreases. If you don't account for this, the lug nuts loosen up while you're driving down the highway.
So, when people ask how far they can drive, they are really asking: "How long until the bolts loosen?" The answer depends entirely on whether you follow the break-in protocol. If you do, you can drive across Australia with zero issues. If you don't, you might lose a wheel on the next exit ramp.
The Critical Break-In Period: First 50 Miles
Think of the first 50 miles as a probationary period. During this time, the vehicle undergoes thermal cycles (heating up from friction, cooling down at stops) and vibration cycles (potholes, speed bumps). These forces test the integrity of your installation.
Here is the non-negotiable schedule for the first few days:
- Mile 0-10: After installation, take the car for a gentle drive. Avoid hard acceleration, heavy braking, or high speeds. This allows the initial seating of the parts.
- Mile 10-20: Re-torque all lug nuts to the manufacturer's specification. Use a calibrated torque wrench. Do not guess. Do not use an impact gun for the final tightening.
- Mile 50: Perform a second re-torque check. By this point, any significant settling should have occurred. If the nuts still hold the correct torque value, the installation is stable.
- Mile 100-200: One final check. After this, you can return to normal maintenance intervals (every tire rotation or oil change).
If you skip the 20-mile re-torque, you are gambling. The metal has settled, the clamp load has dropped, and the vibrations from the road will work the nuts loose. I’ve seen cars come back with stripped threads because the owner drove 100 miles straight from the shop without checking. Don't be that guy.
Hub-Centric vs. Bolt-On: Does Type Change the Distance?
Not all spacers are created equal, and the type you choose affects how safe long-distance driving feels. There are two main categories: hub-centric and bolt-on (or stud-extender style).
| Feature | Hub-Centric Spacers | Bolt-On / Stud Extenders |
|---|---|---|
| Centering Method | Fits precisely over the hub bore | Relies on lug nuts for centering |
| Vibration Risk | Low (properly centered) | Higher (potential for imbalance) |
| Load Distribution | Evenly distributed across hub | Concentrated on lug studs |
| Long-Distance Suitability | Excellent | Good, if torqued perfectly |
Hub-centric spacers are the gold standard for daily drivers and long trips. They have a raised lip that fits exactly into your car’s hub bore. This means the weight of the car rests on the hub, not the lug nuts. The lug nuts only keep the wheel from falling off sideways. Because the wheel is perfectly centered, there is less vibration. Less vibration means less chance of the nuts working themselves loose over hundreds of miles.
Bolt-on spacers, which look like small rings that bolt onto the existing studs, rely more heavily on the lug nuts to keep everything aligned. If the wheel isn't perfectly balanced or if the surface isn't perfectly clean, you get vibration. That vibration travels up the stud and can loosen the nut faster. For long-distance driving, hub-centric is always the safer bet.

The Hidden Danger: Extended Studs and Thread Engagement
When you add a spacer, you are pushing the wheel further away from the hub. This requires longer studs. Many people buy cheap spacers that come with flimsy extended studs. This is where the "how far" question becomes dangerous.
If the stud isn't long enough, or if the material is soft steel rather than grade 8 or 10.9 alloy, the threads can strip under load. When you hit a pothole at 60 mph, the sudden shock load pulls on those studs. If there isn't enough thread engagement (the part of the stud screwed into the hub), the stud can shear off.
Rule of thumb: Ensure at least 7-8 full threads of engagement between the stud and the hub. If you're unsure, measure. If you're using aftermarket studs, make sure they are rated for your vehicle's weight and performance level. Driving on undersized studs is like building a house on sand. It might stand for a week, but eventually, it collapses.
Signs Your Spacers Are Failing (Stop Driving Immediately)
You can drive forever on good spacers, but you need to listen to your car. Here are the red flags that mean you should pull over and inspect:
- Humming or Buzzing: A rhythmic humming noise that gets louder with speed usually indicates a warped spacer or poor hub contact. This creates vibration that loosens bolts.
- Wheel Wobble: If you feel the steering wheel shaking at highway speeds, your wheel balance is off, or the spacer isn't seated flat. Stop driving. A wobbly wheel puts immense stress on bearings and studs.
- Loose Lug Nuts: If you can wiggle a lug nut by hand, do not drive another inch. Jack up the car, re-torque, and check for stripped threads.
- Heat Discoloration: Blue or purple stains around the lug holes indicate excessive friction and heat. This means the wheel isn't sitting flush against the spacer. Inspect for debris or warping.

Maintenance Tips for Long-Term Reliability
To ensure you can drive thousands of miles without issue, treat your spacers like any other critical safety component:
- Clean Surfaces: Before installing, clean the hub face and the back of the wheel with brake cleaner. Remove all rust, paint, and grease. Any debris acts as a wedge, preventing proper clamping force.
- Use Anti-Seize Sparingly: Apply a tiny dab of copper anti-seize on the hub bore to prevent corrosion, but never put it on the threads unless specified. Too much lubricant changes the torque coefficient, leading to under-tightening.
- Check Bearings: Adding width increases the leverage on your wheel bearings. While modern bearings are robust, extra width adds radial load. Listen for grinding noises. If you hear them, replace the bearing immediately.
- Torque Regularly: Even after the break-in period, check lug torque every 6 months or whenever you rotate tires. It takes two minutes and saves your life.
Legal and Insurance Considerations
In some regions, including parts of Australia, modifying the track width can affect insurance coverage. If you get into an accident and your insurer determines that improperly installed spacers contributed to the loss of control, they may deny the claim. Always check local regulations regarding maximum wheel protrusion and ensure your modifications are documented.
Driving on wheel spacers is safe for unlimited distances, provided you respect the physics involved. The metal won't wear out, but the connections will fail if neglected. Stick to the 50-mile break-in rule, use hub-centric designs, and torque to spec. Do that, and your ride will stay wide, stable, and safe for the long haul.
Can I leave wheel spacers on permanently?
Yes, wheel spacers are designed to be permanent modifications. Unlike temporary fixes, they are made from durable aluminum or steel alloys that do not degrade over time. As long as they are properly installed and maintained, you can keep them on for the life of the vehicle.
How often should I re-torque lug nuts after installing spacers?
You must re-torque after the first 10-20 miles, again at 50 miles, and once more at 100-200 miles. After this initial break-in period, check them every time you rotate your tires or perform major maintenance. Regular checks prevent loosening due to vibration.
Do wheel spacers damage wheel bearings?
Properly installed hub-centric spacers do not significantly increase bearing wear. However, bolt-on spacers or those that are too thick can add extra leverage and stress to the bearings. If you notice grinding noises or play in the wheel, inspect your bearings immediately.
What is the safest thickness for wheel spacers?
Generally, spacers between 10mm and 25mm are considered safe for most passenger vehicles. Thicker spacers require longer studs and place more stress on suspension components. If you need more than 25mm, consider offset wheels instead to maintain structural integrity.
Can I use wheel spacers on my truck or SUV?
Yes, but trucks and SUVs carry heavier loads, so you must use high-quality, forged aluminum or steel spacers rated for heavy-duty use. Ensure the stud length is sufficient for the added weight and that the torque specifications are strictly followed.