Interior Dressing Matcher & Guide
Select your surface material and desired look to get a personalized recommendation and safety checklist.
Select options on the left and click "Get Recommendation" to see which product suits your needs best.
Ensure you have completed these steps before applying any dressing to avoid streaks and damage.
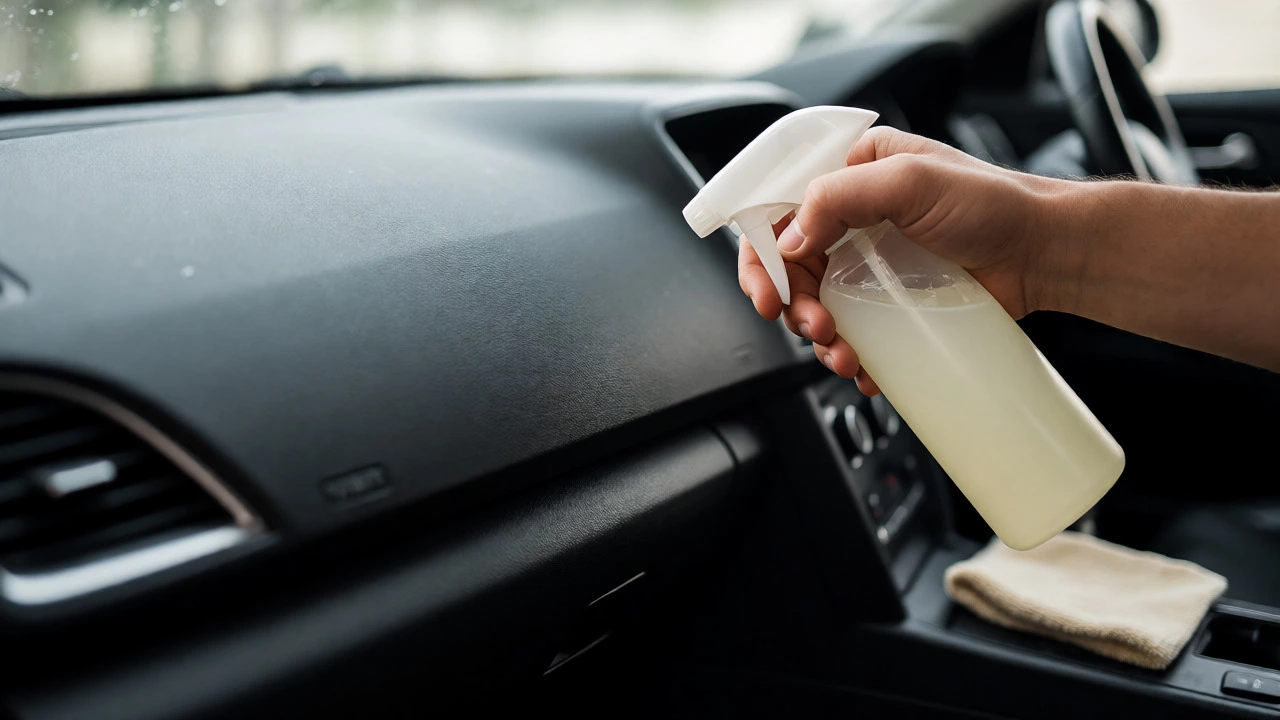
You just spent an hour scrubbing your dashboard. It looks clean, but it’s dull, gray, and lifeless. You grab a bottle of interior dressing, spray it on, wipe it off, and suddenly the plastic looks like wet oil. Or worse, you apply it to your leather seats, and three days later they’re sticky enough to trap every speck of dust in Brisbane. Sound familiar? Most people treat interior dressing as a simple "spray and wipe" task, but getting that factory-fresh, matte finish without the grease requires understanding what the product actually does.
What Is Interior Dressing Actually Doing?
Before you buy anything, you need to know what you’re putting on your car. Interior dressing is a cosmetic treatment designed to restore color, add UV protection, and repel dust from non-porous surfaces like plastic, rubber, and vinyl. It is not a cleaner. This is the biggest mistake DIY detailers make. If you apply dressing over dirt, you’re just sealing grime under a shiny layer.
Think of it like sunscreen for your car’s interior. Its primary job is to prevent the sun’s UV rays from breaking down the polymers in your dashboard and door cards. Without it, Australian summers will turn your black trim into cracked, chalky gray within five years. But here’s the catch: different materials react differently to these chemicals. What works on a hard plastic vent might ruin suede or stain light-colored fabric.
The Critical Prep Work Nobody Talks About
If you skip this step, your dressing will look patchy and streaky. Always start with a thorough cleaning. You need a dedicated interior all-purpose cleaner (APC) diluted according to the label instructions. Use a soft-bristled brush to agitate the pores of the plastic or vinyl. Dirt gets trapped deep in the texture; wiping alone won’t get it out.
- Vacuum first: Remove loose debris so you don’t scratch surfaces while wiping.
- Agitate and wipe: Spray APC onto a microfiber towel (not directly on electronics) and scrub textured areas.
- Dry completely: This is vital. Water blocks dressing from bonding properly. Let the surfaces air dry for at least 10 minutes.
I learned this the hard way on my old Toyota Hilux. I rushed the drying process, applied dressing to damp vents, and ended up with white hazy spots that took weeks to fade. Patience pays off here.
Choosing the Right Product for Your Material
Not all dressings are created equal. The market is flooded with options, ranging from cheap aerosol sprays to professional-grade creams. Your choice depends entirely on the material you’re treating.
| Type | Best For | Finish | Durability |
|---|---|---|---|
| Aerosol Silicone Sprays | Rubber seals, tires, exterior trim | High Gloss / Wet Look | Low (1-2 weeks) |
| Water-Based Creams | Dashboards, center consoles, door panels | Satin / Matte | Medium (4-6 weeks) |
| Leather Conditioners | Genuine leather seats | Natural / Soft Sheen | High (2-3 months) |
| Ceramic Interior Coatings | All hard surfaces | Matte / Dry Touch | Very High (6+ months) |
Avoid silicone-heavy aerosols on your dashboard. They attract dust like crazy and can leave a greasy residue that reflects sunlight right into your eyes while driving. In Australia, where glare is a real safety issue, a matte or satin finish is far superior. Water-based products like those from brands such as Meguiar’s or Chemical Guys offer better control and a more natural look.
Step-by-Step Application Technique
Once your car is clean and dry, follow this method to avoid streaks and overspray. The goal is thin, even coverage. More is not better.
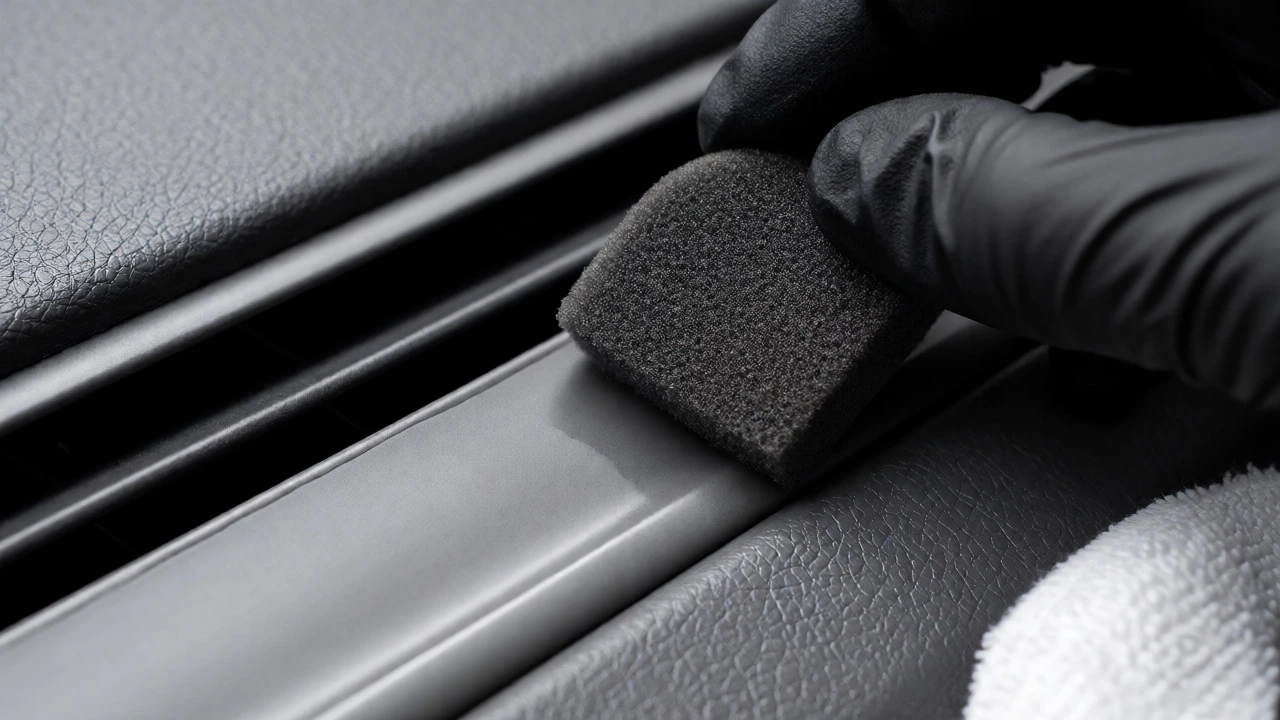
- Use applicator pads: Never spray directly onto the dashboard. Overspray lands on windshields and glass, creating a haze that’s nightmare to remove. Spray the product onto a foam or microfiber applicator pad instead.
- Work in sections: Divide your dashboard into small zones. Apply the dressing in overlapping circular motions, then buff lightly with a clean, dry microfiber towel to ensure even distribution.
- Check for pooling: After applying, look closely at crevices and buttons. If liquid has pooled there, wipe it away immediately. Dried pools create permanent dark spots.
- Let it cure: Give the product 15-20 minutes to set before touching or closing doors tightly. This allows solvents to evaporate and the protective layer to bond.
For leather, the approach changes slightly. Apply conditioner sparingly with a soft cloth, let it soak in for 10 minutes, then buff off any excess. Leather needs nourishment, not just a surface coat.
Common Mistakes That Ruin Your Finish
Even experienced owners mess this up. Here are the pitfalls to watch out for:
- Over-application: Slathering on thick layers doesn’t mean better protection. It means longer drying times and higher risk of transfer onto clothes. Thin layers win every time.
- Ignoring ventilation: Some dressings contain volatile organic compounds (VOCs). Open your doors or windows when working indoors to avoid inhaling fumes, especially in smaller garages.
- Treating suede or Alcantara incorrectly: Standard dressings will flatten the nap and stain these materials. Use specific suede brushes and cleaners only. Never use oily conditioners on fabric-like interiors.
- Skipping the windshield check: Before you drive off, inspect your front windshield. If you see smudges, clean them with glass cleaner immediately. Dressing residue on glass reduces visibility significantly at night.
In Brisbane’s humidity, uncured dressing can feel tacky for hours. Using a fan or dehumidifier in your garage speeds up curing and prevents dust from sticking to the wet surface.

Maintenance Schedule for Long-Lasting Results
You don’t need to dress your interior every week. Overdoing it leads to buildup. A realistic schedule looks like this:
- Monthly: Light wipe-down with a dry microfiber to remove dust.
- Quarterly: Full clean and re-application of water-based dressing on hard plastics.
- Bi-annually: Deep conditioning for leather seats and steering wheel.
- Annually: Consider a ceramic interior coating if you want long-term low maintenance.
Consistency beats intensity. Regular light care keeps the original factory finish looking new much longer than sporadic heavy treatments.
Frequently Asked Questions
Can I use household products like olive oil or baby oil?
No. While they might shine temporarily, vegetable oils go rancid over time, attracting bacteria and causing bad odors inside your cabin. They also break down plasticizers faster than specialized automotive products.
Will interior dressing make my steering wheel slippery?
Yes, if you use too much or the wrong type. Avoid glossy silicone sprays on steering wheels. Use a matte-finish water-based dressing or a dedicated leather grip enhancer to maintain traction while driving.
How do I fix streaks after applying dressing?
Take a clean, dry microfiber towel and buff the area vigorously. If streaks persist, the surface likely wasn’t fully dry before application. Re-clean the area with APC, let it dry completely, and reapply thinly.
Is ceramic interior coating worth the extra cost?
If you hate frequent maintenance, yes. Ceramic coatings provide superior UV resistance and hydrophobic properties, lasting 6-12 months compared to 4-6 weeks for traditional dressings. However, application requires precise prep work.
Can I apply dressing to fabric seats?
Generally no. Standard dressings are designed for hard surfaces. Fabric seats require fabric protectants (like Scotchgard) which repel stains without altering the texture or color depth of the weave.