Lowering Springs DIY Decision Tool
Is Your Car Ready for DIY Lowering Springs?
Answer these questions to determine if you're prepared for the job or if you should take it to a professional.
Your Vehicle Information
Your Experience Level
Your Driving Conditions
Your Result
Putting lowering springs on your car sounds simple: take out the old ones, slip in the new ones, and boom - your car sits lower, looks meaner, and handles better. But if you’ve ever tried it yourself, you know it’s rarely that easy. The real question isn’t whether it’s possible - it’s whether you’re ready for what comes next. For someone in Brisbane with a lowered Mustang or a lifted Civic, the answer depends on your tools, your patience, and how much you actually understand about suspension geometry.
What lowering springs actually do
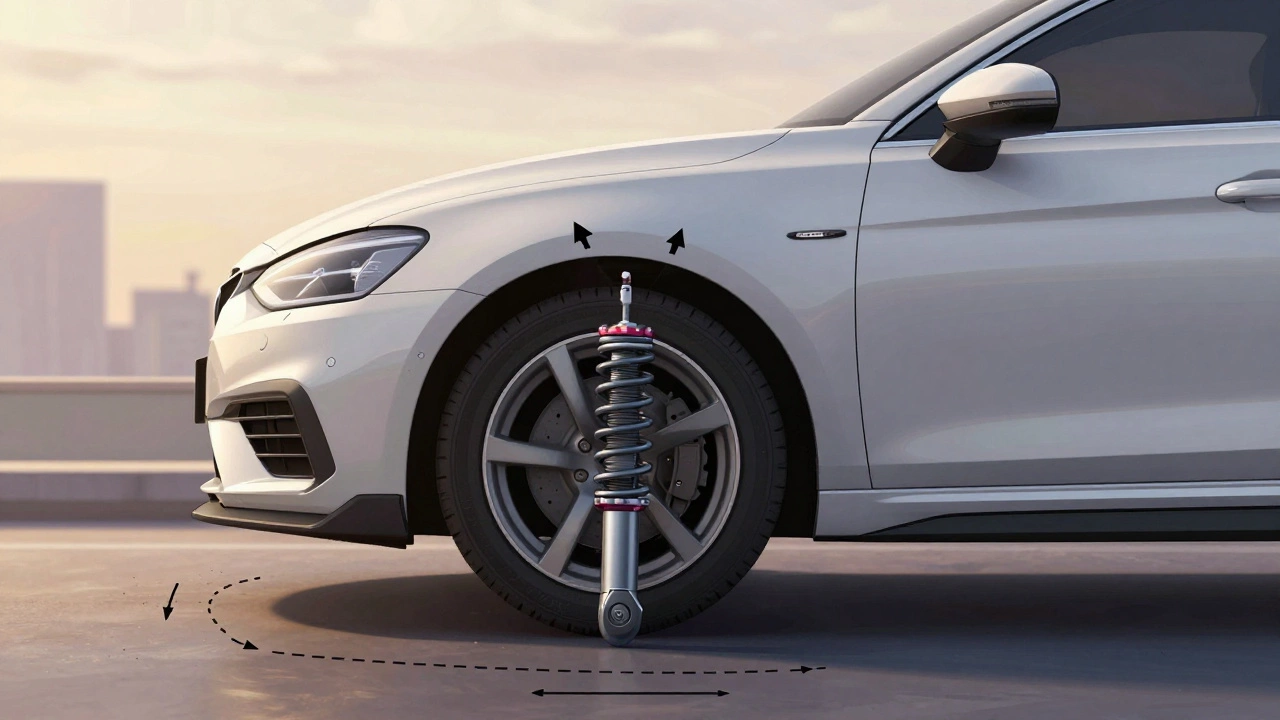
Lowering springs are just that - springs with a shorter free length and stiffer rate than stock. They reduce ride height by 1 to 2 inches, which lowers the center of gravity. That improves cornering, reduces body roll, and gives your car that planted, aggressive look. But they don’t change the damping. That’s still handled by your shocks or struts. So if your stock dampers are worn out, putting on lowering springs will make your ride harsher, not better.
Most lowering springs are designed for stock suspension geometry. But here’s the catch: when you lower a car, you change the angles of the control arms, camber, and toe. A 1.5-inch drop might seem small, but it can throw your alignment off by more than 1 degree. That’s enough to eat through your tires in 5,000 kilometers if you don’t fix it.
The tools you’ll need
You can’t do this job with just a jack and a wrench. You need:
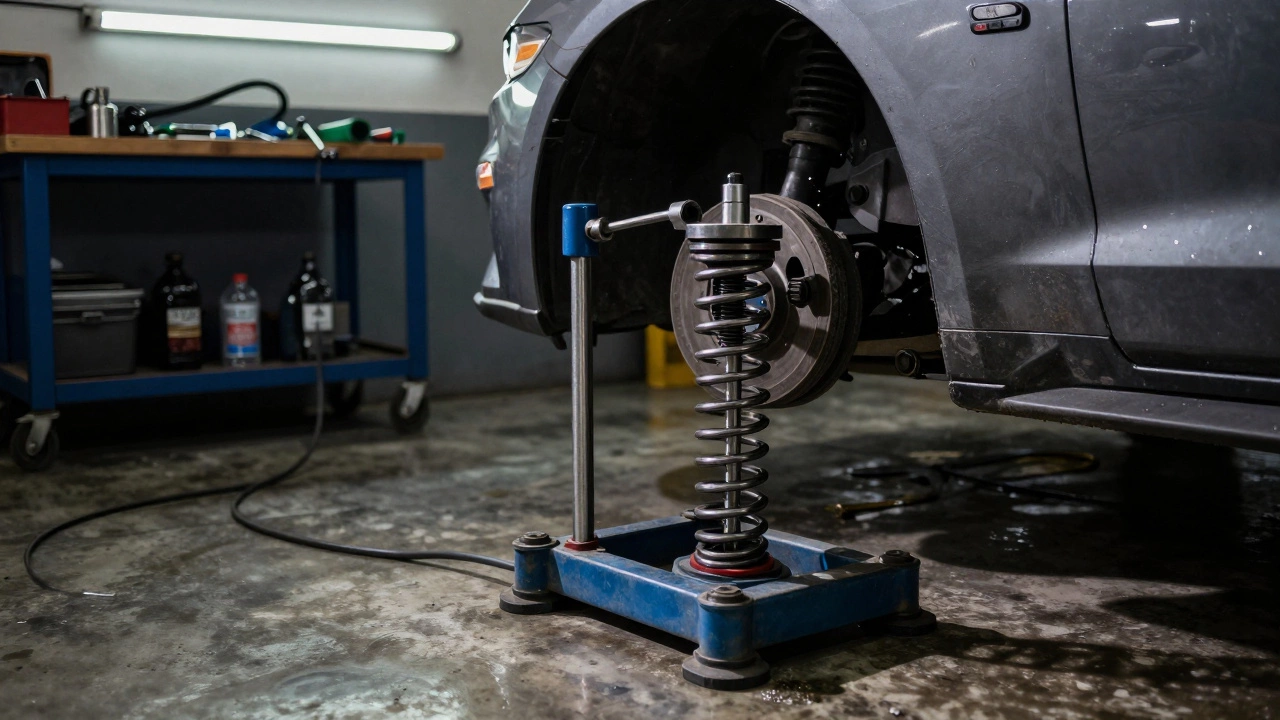
- A spring compressor - this is non-negotiable. Stock springs are under 1,000 pounds of pressure. One slip and you’re in the ER.
- Socket set and torque wrench
- Jack stands and a floor jack
- Breaker bar
- Penetrating oil (like WD-40 Specialist or PB Blaster)
- Alignment tool or access to a shop
Some cars make it easier. A Honda Civic Type R? The front struts are accessible, and the rear is a simple bolt-on setup. A BMW E90? You have to remove the entire strut assembly. A Ford F-150 with coil springs? You’re looking at a full day and a lot of rust.
The process: step by step
Here’s how it breaks down if you’re doing it yourself:
- Jack up the car and secure it on jack stands. Never work under a car supported by just a jack.
- Remove the wheels. Spray penetrating oil on all bolts - especially the ones holding the strut to the knuckle. Let it sit for 15 minutes.
- Disconnect the sway bar links and brake lines if needed. Some cars require you to unbolt the ABS sensor too.
- Remove the top mount nuts inside the trunk or engine bay. This is where the strut connects to the body.
- Use the spring compressor to compress the coil spring. Once it’s locked, remove the center nut on the strut shaft.
- Slide out the old spring and shock assembly. Replace the spring with the new lowering spring. Reassemble in reverse.
- Lower the car, torque all bolts to factory specs (check your service manual).
- Get an alignment. Seriously. Don’t skip this.
That’s the basic flow. But every car is different. A Subaru WRX needs you to remove the entire strut tower. A VW Golf GTI requires special tools to reset the rear camber. If you’re not sure, YouTube has videos for almost every model - but watch for ones posted after 2023. Suspension designs change.
Why people mess this up
Most DIYers think the hardest part is removing the springs. It’s not. It’s what comes after.
- Skipping alignment - This is the #1 mistake. You’ll notice uneven tire wear, pulling to one side, or a weird steering feel. A $100 alignment saves you $600 in tires.
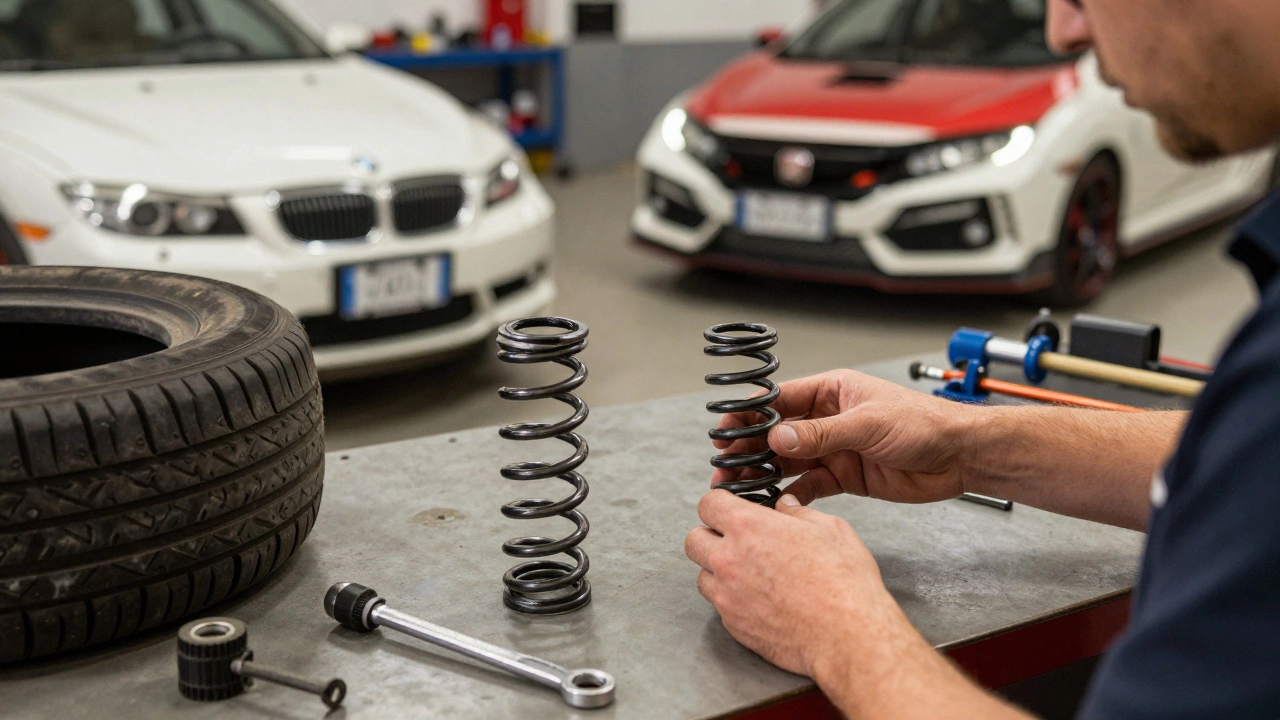
- Using cheap springs - Some $80 kits from Amazon sag within months. Brands like Eibach, H&R, and KW are proven. They’re not cheap, but they last.
- Not checking ride height - Lowering springs aren’t one-size-fits-all. A 1.2-inch drop on a Toyota Camry might look fine. On a Porsche 911, it’s too much. Measure before you buy.
- Ignoring ride quality - Lowering springs make your car stiffer. If you drive on rough roads, potholes, or gravel, you’ll feel every bump. Your shocks might not handle the extra stress.
When you should skip DIY
Some cars are just too hard. If yours has:
- Integrated strut/spring units (like many newer Hondas or Toyotas)
- Electronic air suspension (like a Mercedes S-Class)
- Multi-link rear suspensions with complex geometry
- Hidden bolts behind plastic trim or under fuel lines
Then you’re better off paying a shop. A professional installation usually costs $250-$400 including alignment. For most people, that’s worth it.
What to expect after installation
Within 100 kilometers, you’ll notice:
- The car feels more connected to the road
- Steering feels sharper
- Cornering feels more confident
But you’ll also notice:
- More road noise
- Bottoming out on speed bumps
- Increased tire wear on the inside edges
If your car has a factory warranty, installing lowering springs could void it - especially if damage occurs to suspension components. Most manufacturers don’t cover suspension parts that are modified.
Alternatives to lowering springs
Not sure if lowering springs are right for you? Consider:
- Coilovers - Adjustable height and damping. More expensive ($800+), but you can tweak it later.
- Lowering blocks - Only for rear axles on trucks. Not for independent suspensions.
- Aftermarket wheels with lower offset - Can make your car look lower without touching the suspension.
Coilovers are the next step if you’re serious about handling. But if you just want a subtle drop and don’t care about adjustability, lowering springs are still the most cost-effective option.
Final verdict
Is putting lowering springs on hard? Yes - if you’re unprepared. No - if you’ve got the right tools, a clear plan, and respect for the job.
It’s not about strength. It’s about patience, precision, and knowing when to call a professional. If you’ve done brake jobs or oil changes before, you can handle this. But don’t rush. Take your time. Double-check every bolt. Get that alignment.
And if you’re not sure? Go to a shop. There’s no shame in paying someone who’s done this 200 times. Your tires, your suspension, and your wallet will thank you.
Can I install lowering springs myself without a spring compressor?
No. Spring compressors are essential. Stock springs are under extreme tension - over 1,000 pounds in many cases. Without a compressor, you risk the spring releasing violently, causing serious injury. Even experienced mechanics won’t attempt this without one. It’s not worth the risk.
Do lowering springs ruin ride comfort?
They can. Lowering springs are stiffer than stock to prevent bottoming out. This makes the ride harsher, especially over bumps, potholes, and speed humps. If you drive on rough roads often, you’ll notice the difference. For daily drivers, it’s a trade-off between looks and comfort. Some brands, like Eibach, offer progressive rates that soften the blow slightly.
Will lowering springs void my car’s warranty?
It depends. Most manufacturers won’t cover suspension damage if they find aftermarket parts installed. But they can’t void the entire warranty - only parts affected by the modification. If your shock fails because of the lowering springs, they’ll deny the claim. If your infotainment system breaks later, they still have to cover it. Always check your warranty terms.
How long do lowering springs last?
Quality lowering springs last as long as stock springs - typically 100,000 to 150,000 kilometers. Cheaper, no-name brands can sag, rust, or break in under 30,000 kilometers. Stick with reputable brands like H&R, Eibach, KW, or TEIN. They use high-quality chrome-silicon steel and are tested for fatigue resistance.
Do I need an alignment after installing lowering springs?
Absolutely. Lowering changes camber and toe angles. Without an alignment, your tires will wear unevenly - often on the inside edge - and your steering may pull to one side. Even if the car feels fine, the damage is happening. Get it done within 500 kilometers of installation.